Want a backyard upgrade without the cost of a full deck build? A floating deck sits low to the ground and skips the deep footings that permanent decks need. It’s faster to build, cheaper overall, and works on almost any flat spot in your yard.
This guide from San Diego Home Remodeling walks you through How to Build a Floating Deck from start to finish. You’ll learn the tools you’ll need, the step-by-step building process, estimated costs, and the common mistakes to avoid so you can build a safe, long-lasting deck with confidence.
Table of Contents
What Is a Floating Deck?
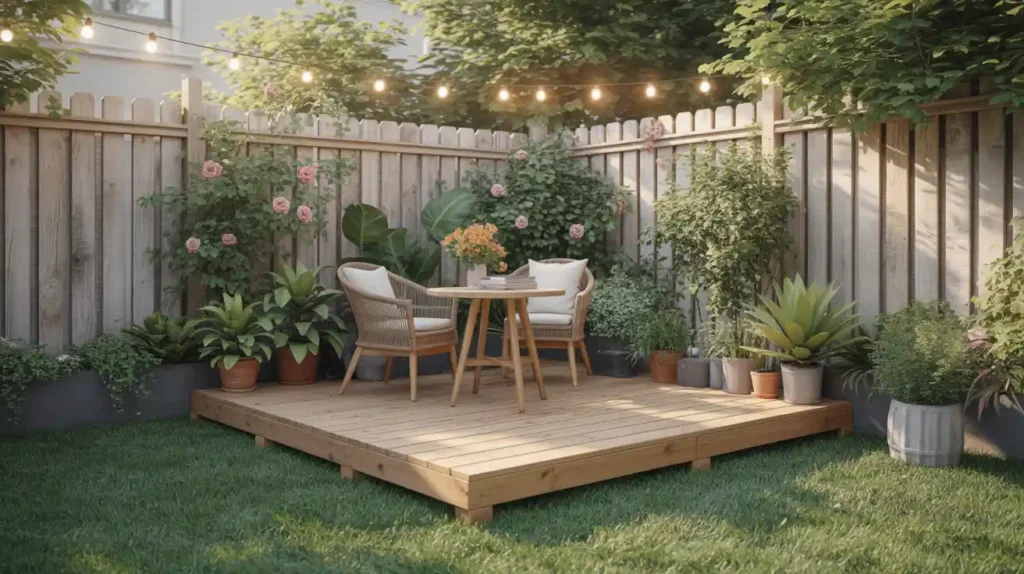
A floating deck is a freestanding deck that rests on concrete blocks or footings instead of being bolted to your house. It “floats” above the ground on a support structure, usually between 6 and 12 inches high. Unlike a traditional deck, it doesn’t need a ledger board attached to your home.
This design makes it a popular choice for homeowners who want a simple outdoor space without touching their house structure. Many people also call this building a movable deck, since smaller floating decks can be shifted or rebuilt in a new spot if your needs change.
Benefits of Building a Floating Deck
A floating deck offers real advantages over a traditional attached deck. Here’s why so many homeowners choose this option:
- Lower cost. Fewer materials and less labor mean real savings.
- Faster build time. Most floating decks take a weekend or two, not weeks.
- No damage to your home. Since it’s not attached, there’s no drilling into your siding or foundation.
- Flexible placement. You can build it anywhere in your yard, not just next to the house.
- Fewer permit hassles. Many cities allow smaller floating decks without a full permit process (though you should always check first).
These benefits are why building a floating deck has become one of the most searched backyard projects among DIY homeowners in the past year.
Check Local Building Codes and Permit Requirements
Before you pick up a single tool, check your local building codes. Rules vary a lot by city and county, and skipping this step can cost you later.
Most areas require a permit if your deck is over a certain height, usually 30 inches off the ground, or if it’s attached to your house. Since a floating deck is freestanding and low to the ground, it often falls under simpler rules. Still, don’t assume. Call your local building department or check their website before you start.
If you’re unsure whether your project needs a permit, a quick call to a local deck builder or contractor can save you a headache down the road.
Tools and Materials You'll Need
Gather these before you start so you’re not making trips to the hardware store mid-project.
Tools:
- Tape measure and chalk line
- Shovel and hand tamper
- Level (a 4-foot level works best)
- Circular saw or miter saw
- Drill and impact driver
- Post hole digger (if needed)
- Speed square
Materials:
- Concrete deck blocks or footings
- Pressure-treated 4×4 or 6×6 posts (if your blocks require them)
- Pressure-treated 2×8 or 2×10 joists
- Deck boards (wood or composite)
- Joist hangers and hardware
- Galvanized or stainless-steel screws
- Gravel for drainage under blocks
Having the right materials on hand makes the actual floating deck build go much smoother and cuts down on wasted time.
How to Build a Floating Deck
Here’s the full process for how to build a floating deck, broken into clear steps.
Step 1: Plan and Mark Your Layout
Decide on the size and shape of your deck. Use stakes and string to mark the corners in your yard. Check that the area is relatively flat, since you’ll level it as you go.
Step 2: Prepare the Ground
Remove grass and roots from the marked area. Add a layer of gravel for drainage. This step keeps water from pooling under your deck and helps prevent rot later.
Step 3: Set Your Deck Blocks
Place concrete deck blocks at each corner and along the perimeter, spaced about 4 to 6 feet apart depending on your deck size. Use a level to make sure each block sits flat and even with the others.
Step 4: Build the Frame
Cut your pressure-treated lumber to size and build the outer frame first. Attach it using exterior screws. Add joists across the frame, spaced 16 inches apart for standard boards.
Step 5: Attach the Frame to the Blocks
Rest the frame on top of your deck blocks. Secure it with brackets or screws so it stays in place, but remember it should not be bolted into the ground or your house.
Step 6: Install the Decking Boards
Lay your deck boards across the frame, leaving a small gap (about 1/8 inch) between each board for drainage and expansion. Screw each board into the joists below.
Step 7: Add Finishing Touches
Trim the edges, sand rough spots, and add stairs or railings if your deck height requires them. Seal or stain wood decking to protect it from weather.
Following these steps carefully is the core of any successful floating deck build, whether you’re working with wood or composite materials.
Common Mistakes to Avoid
Even simple projects go wrong when you rush. Watch out for these common errors:
- Skipping the gravel base. This leads to shifting and drainage problems later.
- Uneven deck blocks. Even small height differences cause a wobbly deck.
- Using the wrong screws. Regular screws rust and weaken over time. Always use exterior-rated hardware.
- Ignoring local codes. Even freestanding decks can have rules about height and setback from property lines.
- Poor joist spacing. Boards that are too far apart will sag or crack faster.
Taking your time on each step now saves you from costly repairs down the road.
How Much Does It Cost to Build a Floating Deck?
Costs vary based on size, materials, and your location, but here’s a general breakdown:
- Small deck (10×10 ft): $800 to $1,500
- Medium deck (12×16 ft): $1,800 to $3,500
- Large deck (16×20 ft or more): $4,000 and up
Composite decking costs more upfront than wood but needs less maintenance over time. Labor costs, if you hire a floating deck builder instead of doing it yourself, typically add $15 to $35 per square foot on top of materials.
Best Materials for a Floating Deck
Your material choice affects both looks and lifespan. Here are the most common options:
- Pressure-treated pine. Affordable and widely available, but needs regular sealing.
- Cedar or redwood. Naturally resistant to rot and insects, with a warmer look.
- Composite decking. Higher cost upfront, but low maintenance and long lasting.
- PVC decking. Fully synthetic, resists moisture well, and holds up in humid climates.
For most homeowners, composite decking offers the best balance of cost and long-term durability.
How to Maintain a Floating Deck
A little upkeep keeps your deck looking good for years:
- Sweep off leaves and debris regularly to prevent moisture buildup.
- Check deck blocks each spring to make sure the structure is still level.
- Reseal or restrain wood decking every 1 to 2 years.
- Inspect screws and hardware yearly for rust or looseness.
- Trim nearby plants so they don’t trap moisture against the wood.
Routine care like this adds years to your deck’s life and keeps repairs to a minimum.
DIY vs. Hiring a Professional
Building a floating deck yourself can save money, especially on smaller projects. If you’re comfortable with basic tools and have a weekend free, a DIY build is realistic.
That said, larger decks, tricky yard slopes, or strict local codes are good reasons to call in a professional. A skilled floating deck builder can also help you avoid structural mistakes that are hard to fix later. Weigh your budget, timeline, and comfort level before deciding which route fits you best.
Is a Floating Deck Right for Your Home?
A floating deck works well for flat or gently sloped yards, and it fits almost any home style. It’s a strong choice if you want a low-cost outdoor space without altering your house.
If your yard is steep, rocky, or has drainage issues, you may need extra site prep or a different deck style altogether. A quick site assessment from a local contractor can confirm if this project fits your space.
Why Choose San Diego Home Remodeling for Outdoor Remodeling Projects?
If you’d rather leave the heavy lifting to the pros, San Diego Home Remodeling has years of hands-on experience building decks, patios, and outdoor living spaces across the region. Our team understands local codes, soil conditions, and the best materials for San Diego’s climate.
Beyond decks, we handle whole home remodeling San Diego projects, so your outdoor space can match the same quality and style as the rest of your home. Whether you need a simple floating deck or a complete backyard transformation, San Diego Home Remodeling brings the experience to get it done right the first time.
Conclusion
Now you know how to build a floating deck from planning to installing the final board. It is a project that fits many budgets and skill levels while adding usable outdoor space to your home. Take your time with each step, follow local building codes, and choose materials that match your climate for the best long-term results.
If you’d rather leave the work to experienced professionals, San Diego Home Remodeling is here to help with high-quality outdoor remodeling solutions. Contact us today to discuss your project and get a free consultation.
FAQs About Building a Floating Deck
Do I need a permit to build a floating deck?
It depends on your city and the height of your deck. Many floating decks under 30 inches don’t need a permit, but always check with your local building department first.
How long does it take to build a floating deck?
Most DIY floating decks take one to two weekends, depending on size and your experience level.
Can a floating deck be moved later?
Yes. This is one reason people refer to it as building a movable deck. Since it’s not attached to your house or set in deep concrete footings, smaller floating decks can be relocated.
What’s the cheapest material for a floating deck?
Pressure-treated pine is usually the most budget-friendly option, though it requires more upkeep than composite or PVC decking.
Is a floating deck as sturdy as a traditional deck?
Yes, when built correctly with proper spacing and level footings. It just doesn’t attach to your home the way a traditional deck does.