Most homeowners spend weeks picking cabinet styles, countertop colors, and hardware, then rush through the finishing details. The toe kick is one of those details. It sits at the very bottom of your base cabinets, just a few inches tall, and yet it carries a surprising amount of weight in how the whole kitchen looks and functions. A poorly installed toe kick leaves gaps, shows the cabinet base, and collects dirt in places you cannot easily reach. A well-done one looks like the cabinets grew right out of the floor.
If you are planning a kitchen update or a full renovation, San Diego Home Remodeling recommends treating kitchen cabinet toe kick installation as a priority step, not an afterthought. This guide walks you through everything you need to know, from standard dimensions to material choices to the actual installation steps, so you can make confident decisions whether you are doing this yourself or overseeing a contractor.
What Is a Toe Kick and Why Does It Matter?
A toe kick is the recessed panel that runs along the bottom front of your kitchen base cabinets. It sits between the cabinet face frame and the floor, typically set back 3 to 4 inches from the cabinet front and standing about 3.5 to 4 inches tall.
The purpose is both ergonomic and aesthetic. When you stand at a countertop, you naturally shift your weight forward. The recessed cabinet base gives your feet room to slide under slightly so you can stand upright without straining your lower back. Without it, you end up leaning forward all day, which gets uncomfortable fast. On the visual side, the cabinet kick plate closes off the gap between the cabinet bottom and the floor, hiding the rough underside of the cabinet boxes, any leveling feet, and whatever is tucked underneath.
Standard toe kick dimensions are 3 to 4 inches deep and 3.5 to 4 inches tall. Some custom cabinet builds go taller, especially in kitchens designed for taller homeowners or for a furniture-style look.
Types of Toe Kick Designs for Kitchen Cabinets
Before you start cutting anything, you need to decide which style works for your kitchen. This is a step most guides skip, and it matters more than people think.
Recessed Toe Kick
This is the standard option you see in most kitchens. The panel sits back from the cabinet face, creating the shadow line that gives base cabinets their familiar look. It is practical, comfortable to stand at, and easy to clean. If you are searching for the most common approach to installing toe kick on kitchen cabinets, this is it.
Flush or Furniture-Style Toe Kick
A flush toe kick sits in line with the cabinet face instead of being recessed. It gives the cabinets a built-in furniture look, similar to a freestanding sideboard or hutch. The tradeoff is comfort. When you stand at the counter, there is nowhere to slide your toes, which can be tiring over long cooking sessions. A practical compromise is to use the furniture style on island sides where you rarely stand for extended periods, and keep the recessed style on the perimeter where you prep and cook.
Floating or Leg-Style
Some modern kitchens use legs or a fully open base instead of a traditional toe kick panel. This creates a light, airy look and makes floor cleaning easier. However, it requires more careful planning for leveling and looks best with specific cabinet lines.
Materials Used for Cabinet Toe Kick Trim
The material you choose affects both how long the toe kick lasts and how well it matches your cabinets. Here are the most practical options.
- Matching cabinet material: Many prefabricated kitchen base cabinets come with toe kick strips made from the same laminate or wood as the cabinet boxes. This is the most seamless option and the easiest to match.
- MDF with paint: Medium-density fiberboard is dense, takes paint well, and holds up in kitchens when properly sealed. It works great for painted cabinet kitchens.
- Solid wood: Used in custom cabinet builds, solid wood toe kicks can be stained to match the cabinet doors. They are durable but cost more.
- Vinyl or PVC: Common in rental properties or budget renovations. Easy to install and moisture-resistant, but can look cheap next to quality cabinetry.
Whatever material you choose, make sure the finish matches your cabinet bottom trim and the color of your cabinet doors. A slight mismatch is very noticeable in natural light.
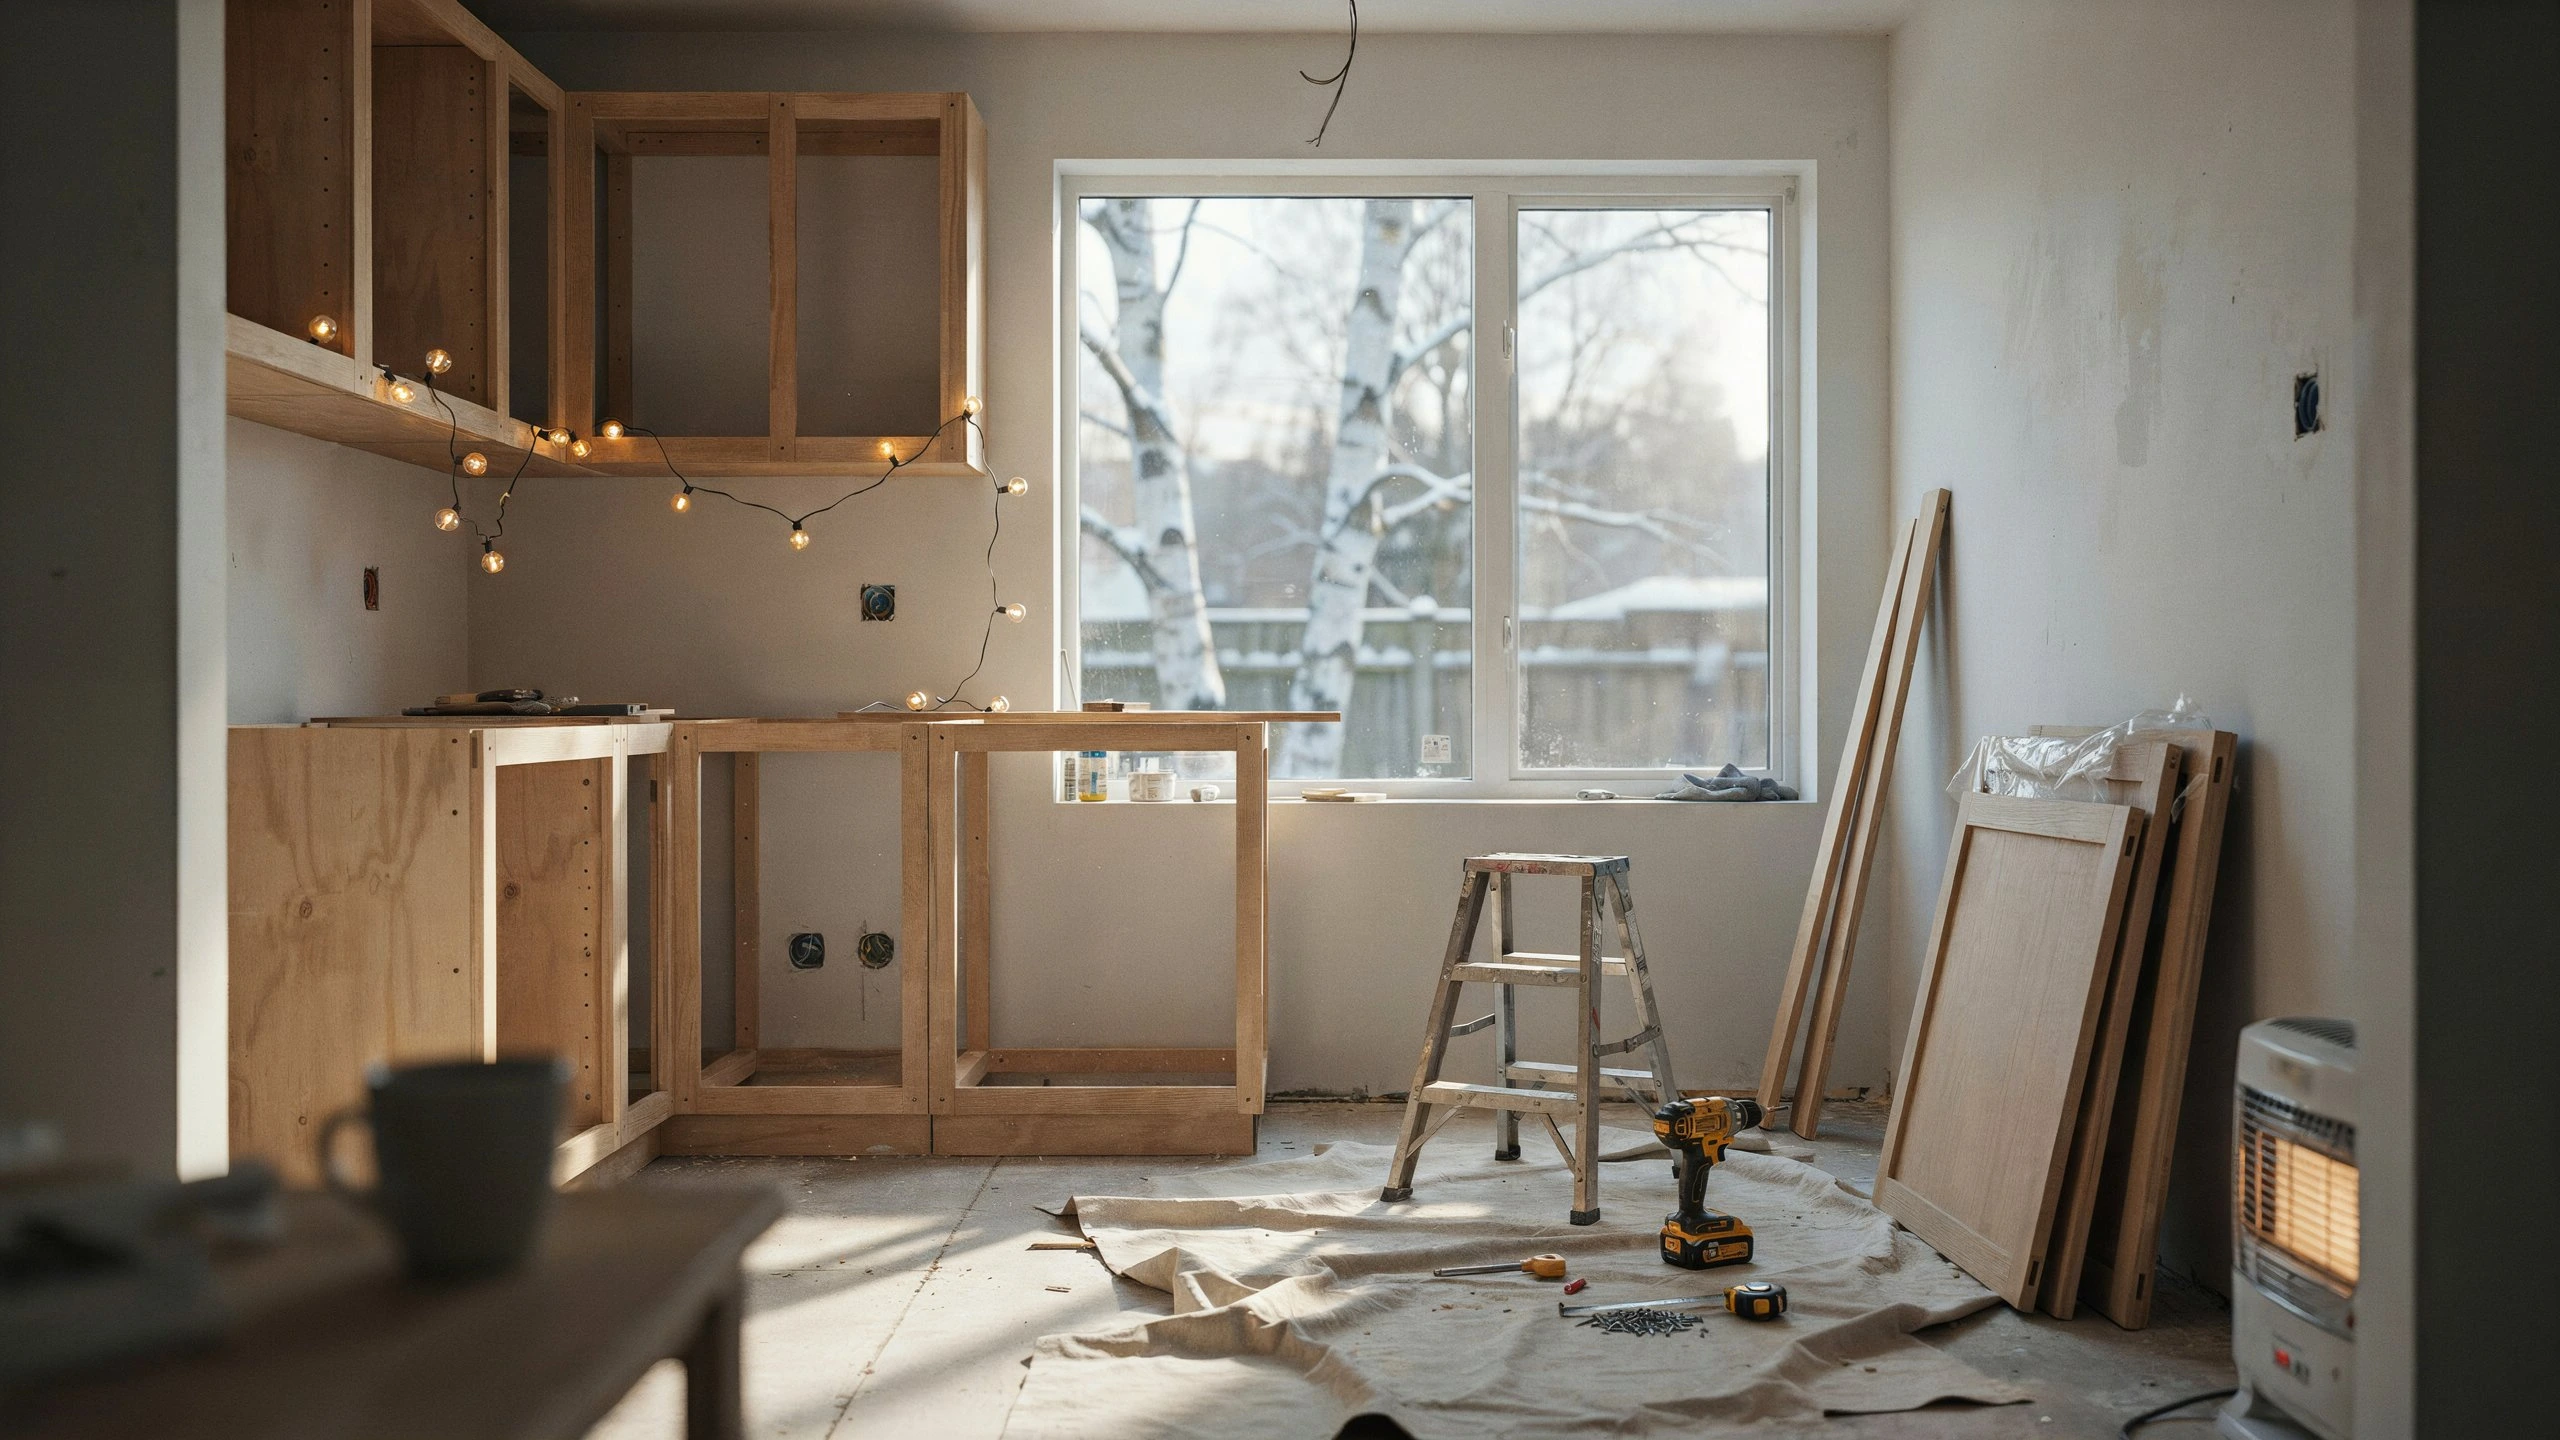
Tools and Materials You Need Before Starting
Good preparation saves time and prevents mistakes. Gather everything before you get on your knees.
- Tape measure and pencil
- Miter saw or circular saw (for angled cuts at corners)
- Coping saw (for scribing to uneven floors)
- Finish nailer or construction adhesive
- Level
- Safety glasses
- Toe kick molding strips (pre-measured or cut to length)
- Wood filler and sandpaper
- Matching paint or stain
Measure twice, cut once applies here more than anywhere. Toe kick panels that are even a quarter inch too long will bow outward and create a gap at the wall.
Step-by-Step Kitchen Toe Kick Installation
Step 1: Measure the Run Length
Start at one end of your cabinet run and measure the full length from wall to wall. For an L-shaped or U-shaped kitchen, measure each section separately. Note any obstacles like dishwashers, ranges, or refrigerators that break up the run.
Step 2: Check the Floor for Level
Floors in older homes are rarely perfectly flat. Use your level along the base of the cabinets before you cut anything. If the floor dips or rises, you will need to scribe the bottom edge of the cabinet toe kick trim to follow the floor line. Skipping this step leaves visible gaps.
Step 3: Cut the Panels to Length
For straight runs, a clean 90-degree cut on both ends is all you need. For outside corners where two cabinet runs meet, cut both pieces at a 45-degree angle for a mitered joint. For inside corners, you can butt one piece into the wall and notch the other around it.
Important: If your floor is uneven, hold the toe kick panel in place and trace the floor line on the back, then cut along that trace with a coping saw. This is called scribing and it creates a tight fit even on imperfect floors.
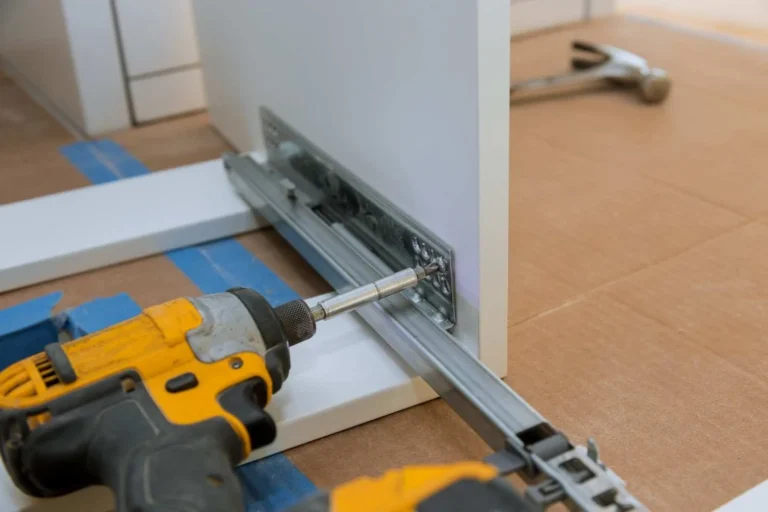
Step 4: Attach the Toe Kick Panels
There are two reliable ways to secure toe kick for kitchen cabinets.
The first is construction adhesive. Apply a bead along the back of the panel and press it firmly against the cabinet base. This works well on flat, level surfaces and avoids any nail holes on the face.
The second is finish nails. Using a finish nailer, drive nails through the top edge of the panel into the bottom of the cabinet box. Set the nails slightly below the surface and fill the holes with matching wood filler.
For most installations, a combination of both gives the best result. Use adhesive for holding power and a few finish nails to keep the panel tight while the adhesive dries.
Step 5: Fit Panels Around Corners and Appliances
At outside corners, the mitered joint needs to be tight. Apply a small amount of wood glue to the joint before pressing it together. Use painter’s tape to hold it while it sets if you do not have a second set of hands.
For appliances like dishwashers, the kitchen toe kick installation gets slightly more involved. Many dishwashers have a separate decorative panel that clips to the front of the appliance base. This panel should match your cabinet toe kick panels in finish and height for a continuous look across the whole run.
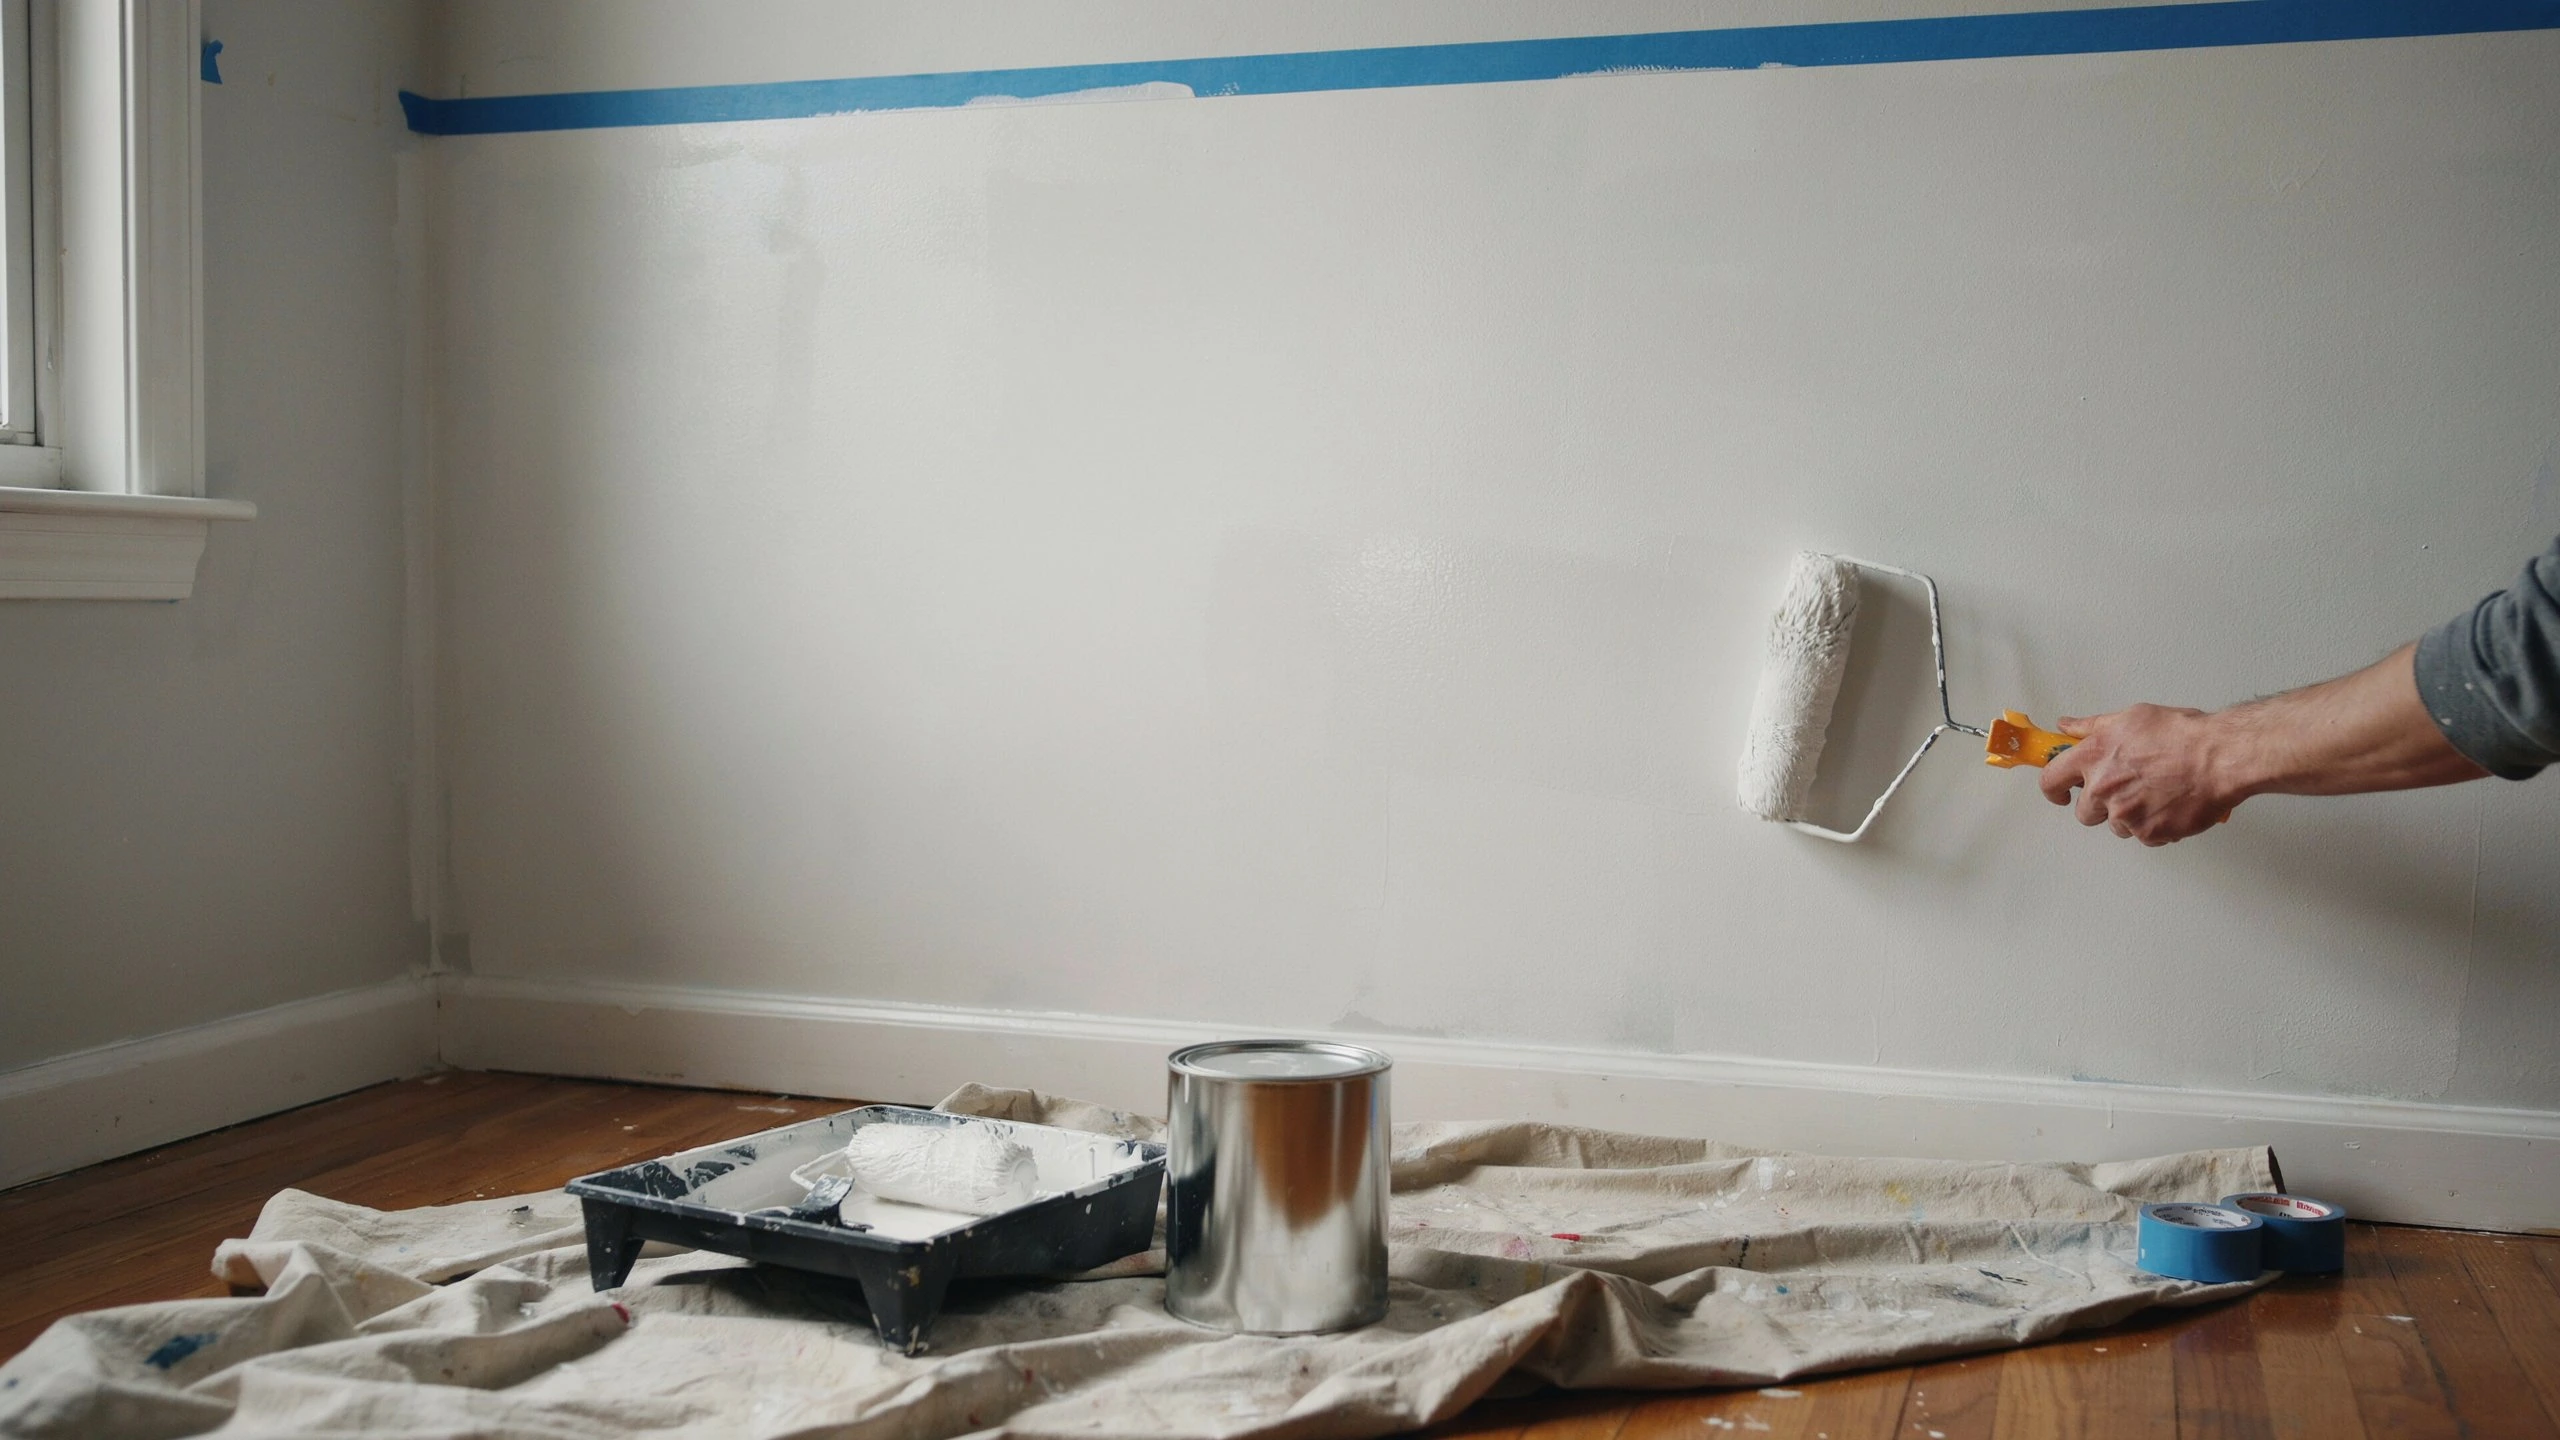
Step 6: Fill, Sand, and Finish
Fill any nail holes with matching wood filler. Let it dry fully, sand lightly, and touch up with paint or stain. Step back and check the whole run from a standing position. Any gaps, bumps, or misaligned joints will be obvious at this point and are much easier to fix before you move on.
Common Mistakes to Avoid
Not accounting for uneven floors: This is the most common issue. Always check with a level and scribe where needed.
Cutting all panels at the same length: Even on what looks like a straight run, minor variations in wall alignment mean each panel may need to be trimmed differently. Measure each section independently.
Using the wrong adhesive: Some construction adhesives damage laminate or vinyl surfaces. Check the adhesive label for compatibility with your cabinet material.
Skipping the finish: Raw or unpainted under cabinet finishing looks unfinished and collects grime quickly. Always seal and finish the toe kick panels after installation.
Toe Kick Ideas Worth Considering
The toe kick area does not have to be just a panel. There are a few upgrades worth knowing about.
Toe kick drawers: use the space behind the panel to add shallow storage. They are perfect for flat items like baking sheets, cutting boards, or placemats. These work best in custom cabinet builds where the custom cabinet toe space is deep enough to accommodate a drawer box.
Toe kick lighting: involves recessing LED strip lights behind the panel to create a soft glow at floor level. It adds a modern look and works well as night lighting. If you enjoy reading about How to Make Oak Kitchen Cabinets Look Modern, this is one of the simplest upgrades that works across many cabinet styles.
Toe kick heating vents: redirect heat from your forced-air system to floor level, which is more efficient than ceiling-height vents in a kitchen. This is a smart option in rooms with tile floors that stay cold in winter.
If you are thinking bigger, projects like a Raised Ranch Open Concept Kitchen 2026 renovation often include updated cabinetry where getting the toe kick details right from the start saves costly fixes later.
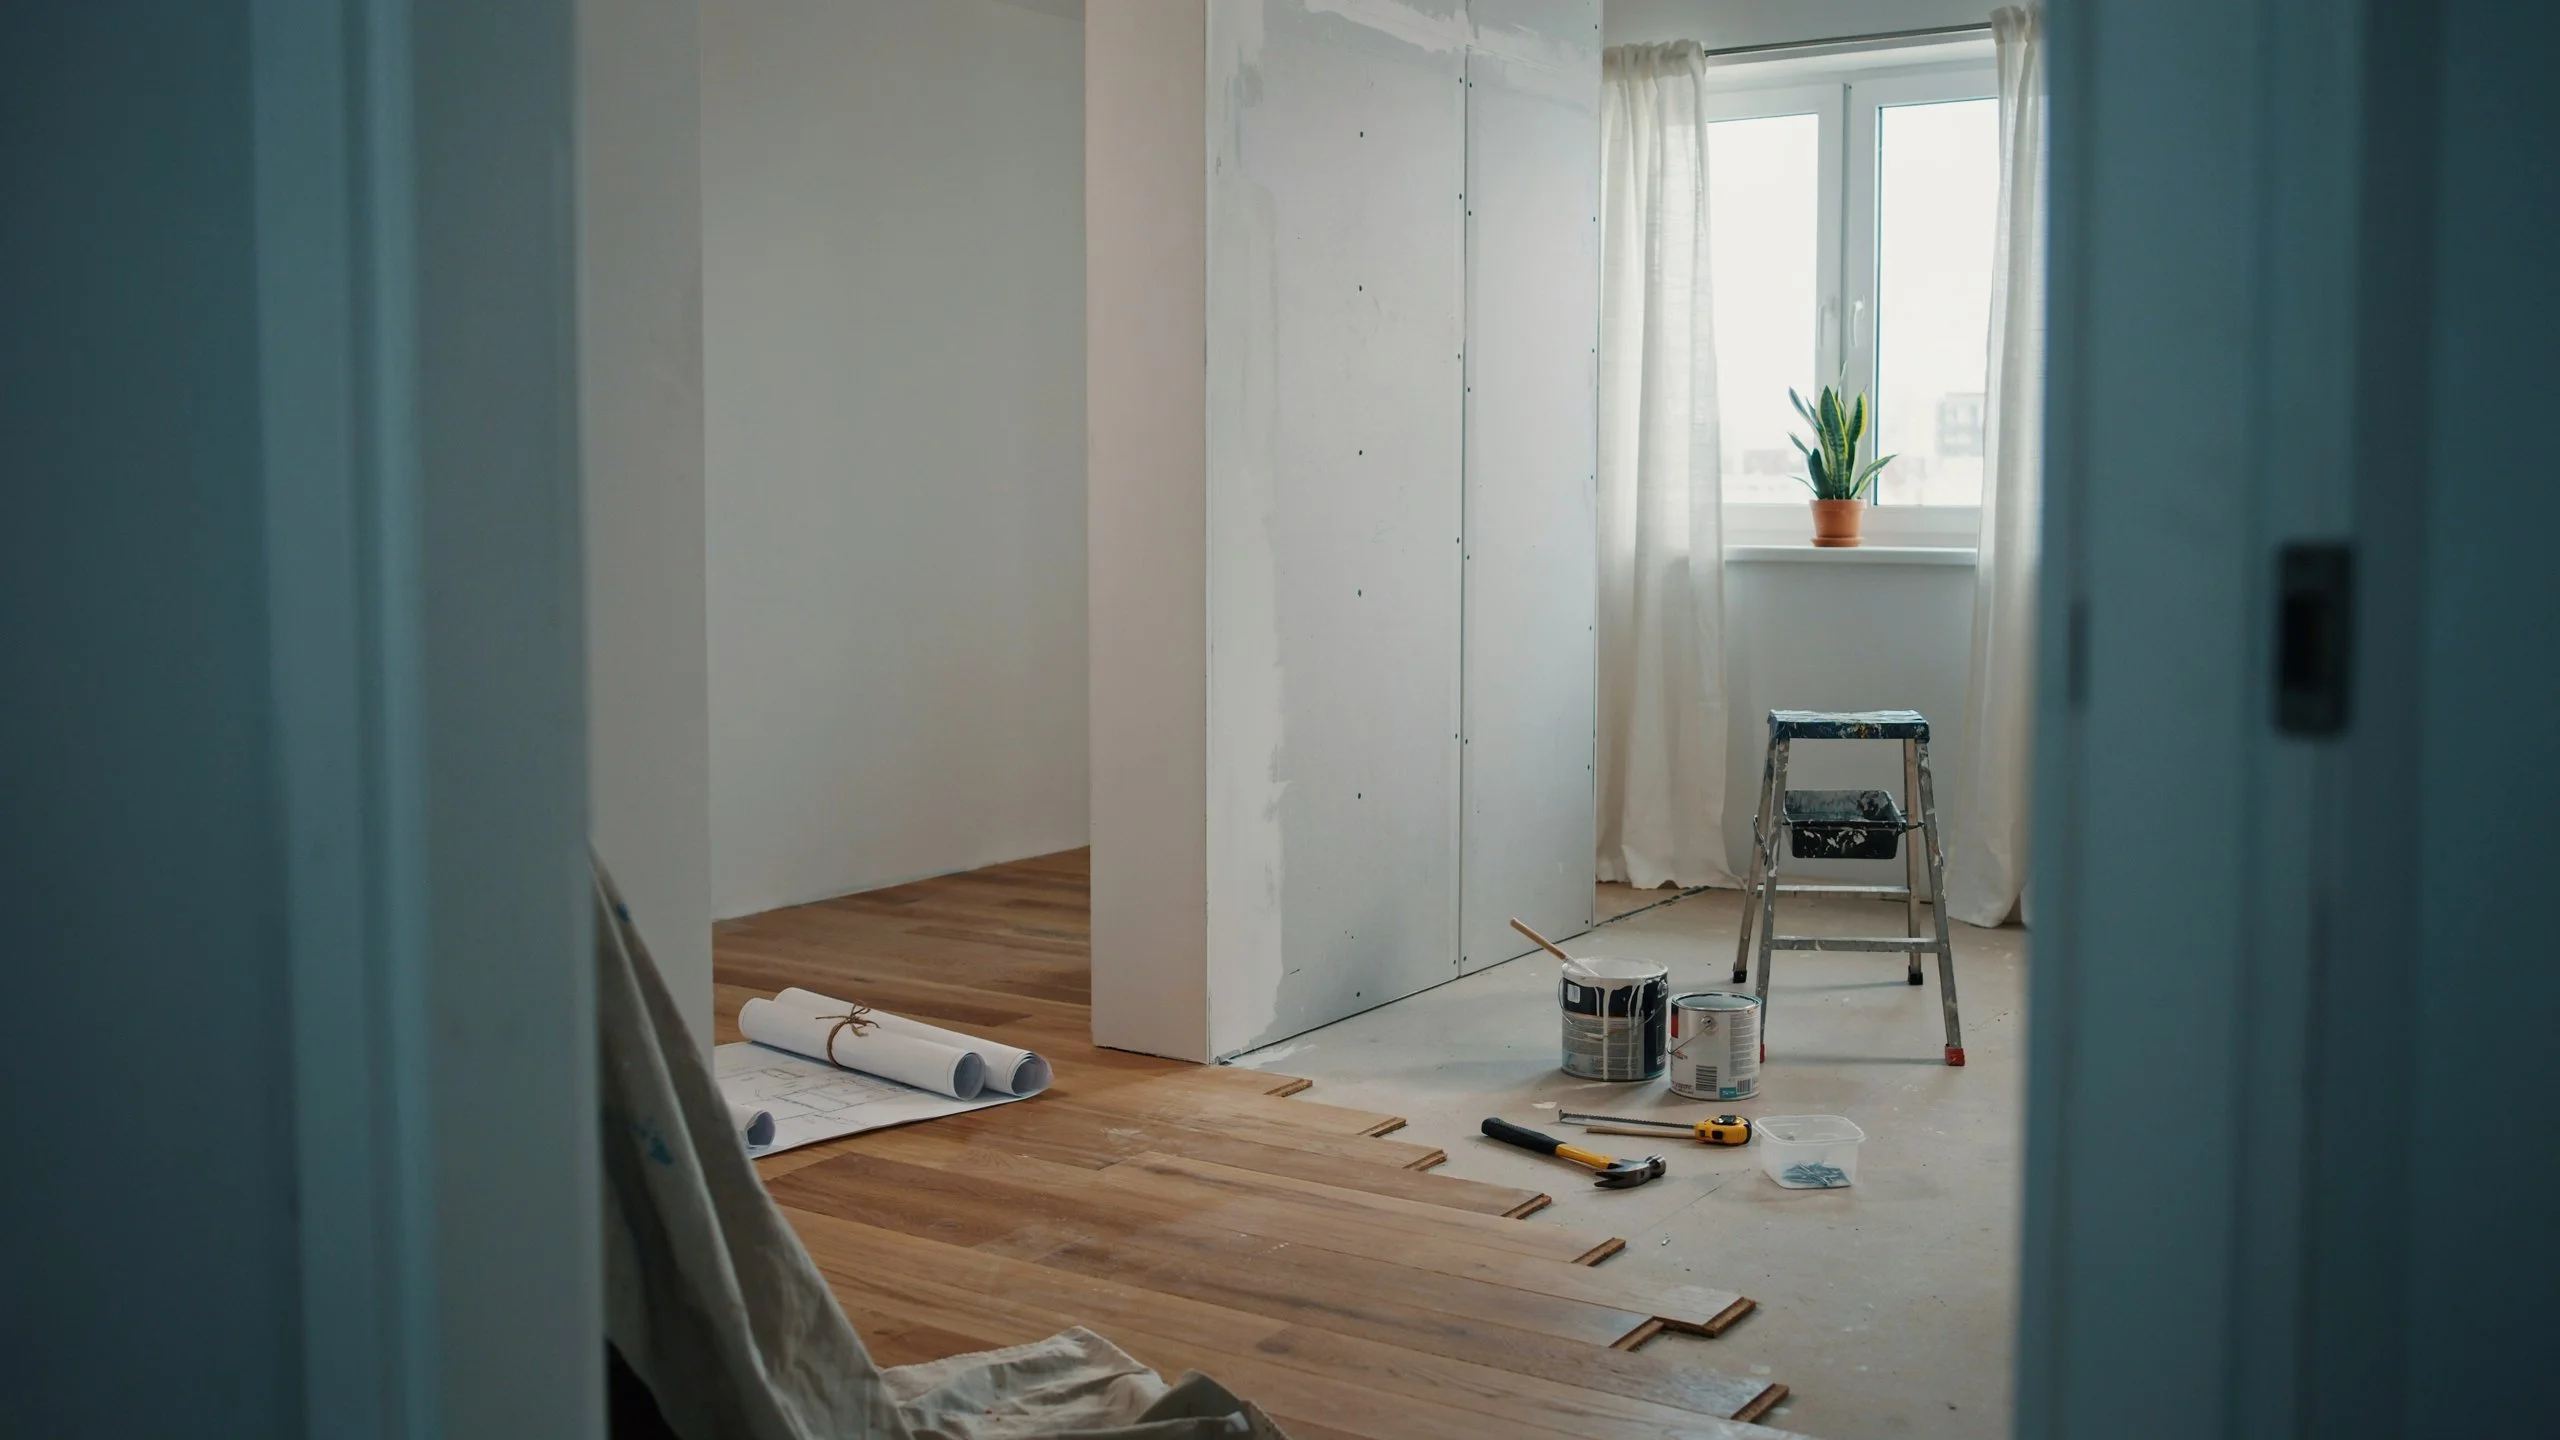
When to Call a Professional
DIY kitchen cabinet toe kick installation is within reach for most homeowners who are comfortable with basic tools. However, a few situations call for professional help.
If your floors are significantly out of level, scribing accurately requires experience and the right tools. If you are working with custom wood cabinets and need a stained finish, matching the color precisely takes skill. And if your kitchen layout includes complex corners, tight angles, or built-in appliances that interrupt the cabinet run, a professional will get it done faster and cleaner.
Our team at San Diego Kitchen Remodeling handles full kitchen renovations where details like the kitchen base cabinets, toe kick, and kitchen cabinet base trim all come together as one finished project. We also love tackling specialty projects, so if you have been thinking about How to Design an Outdoor Kitchen as an extension of your indoor space, that is something we can help with too.
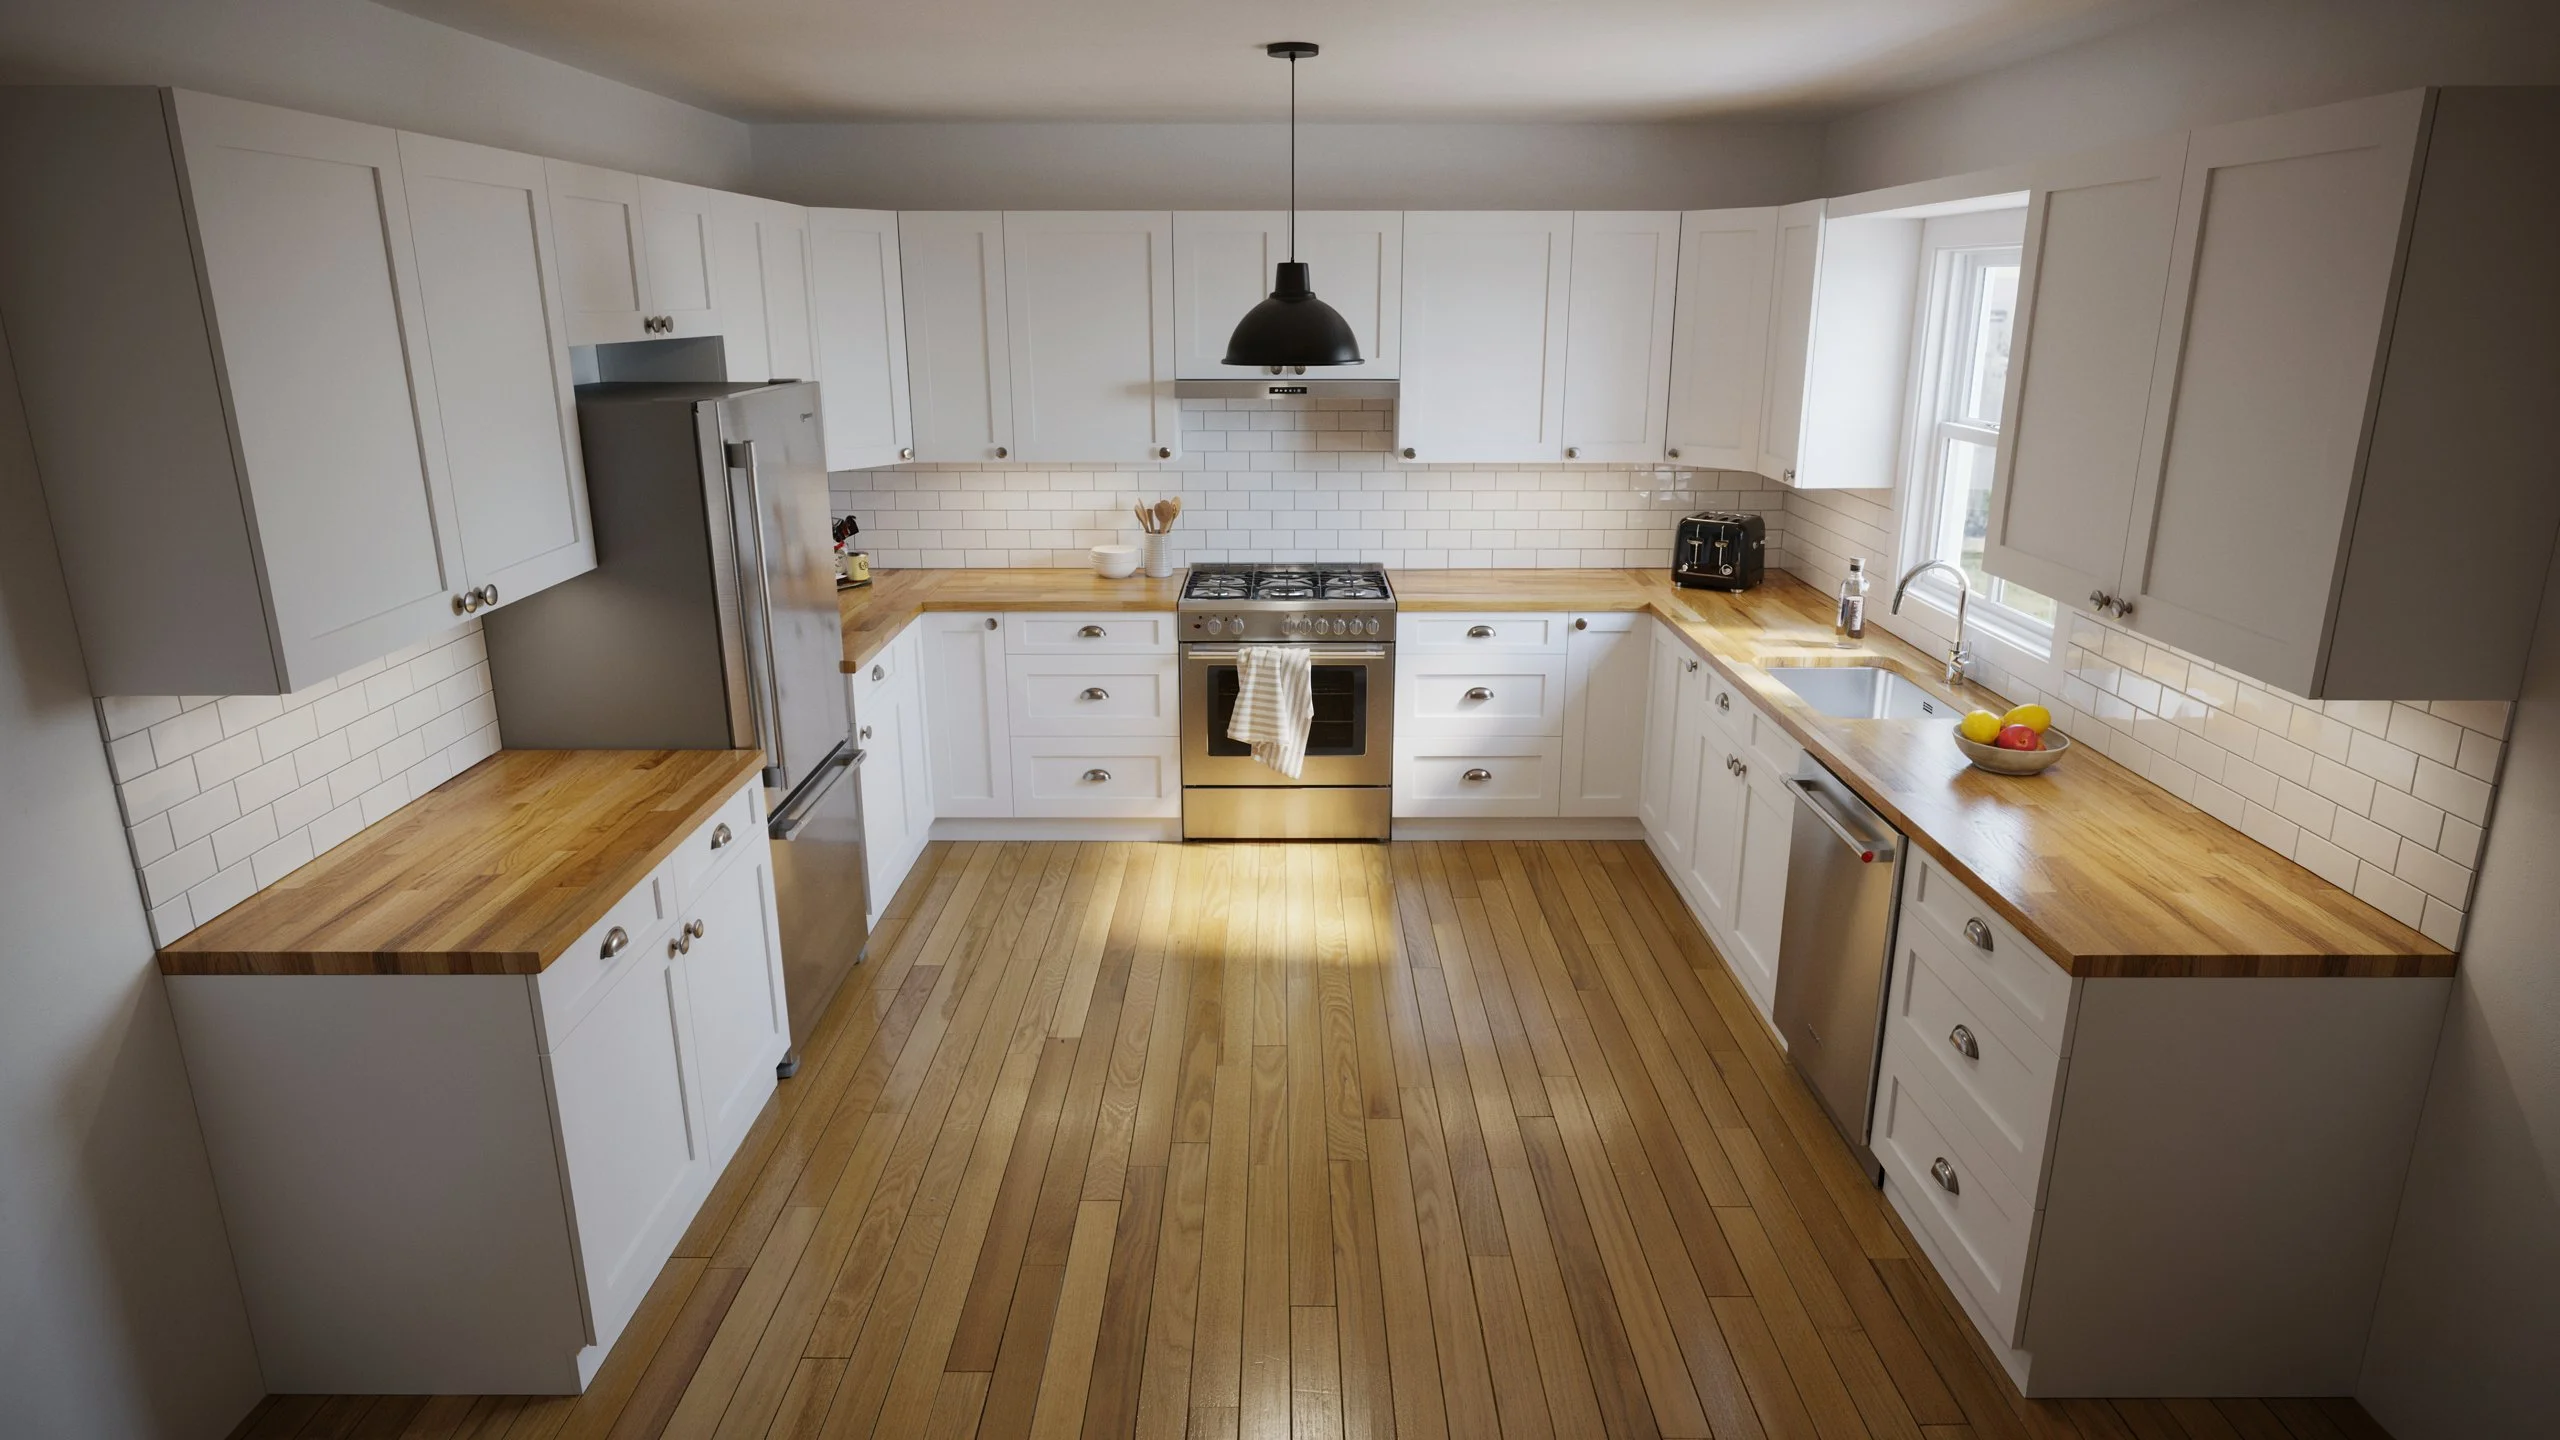
Conclusion
A well-installed toe kick is one of those finishing details that most people never consciously notice, which is exactly the point. When it is done right, the kitchen looks complete and cohesive. When it is done poorly, every visitor who walks in sees the gap or the misaligned panel, even if they cannot name what is wrong.
Take your time with the measurements, pick the right material, and do not skip the scribing step if your floors are uneven. If the project feels bigger than expected once you get started, Contact us now for a consultation. Getting this right the first time is always easier than fixing it later, and your finished kitchen will be worth every careful step.
Frequently Asked Questions
What is the standard height for a kitchen cabinet toe kick?
The standard height is 3.5 to 4 inches, which aligns with the typical recessed cabinet base found in most kitchen designs. Some custom builds go up to 6 inches for a more dramatic furniture look, but anything taller can feel awkward ergonomically.
Can I install a toe kick without a nail gun?
Yes. Construction adhesive alone can hold the toe kick for kitchen cabinets in place if the surface is flat and clean. Apply the adhesive, press the panel firmly, and use painter’s tape or clamps to hold it while it cures. This is a good option when you want to avoid any holes in the panel face.
How do I cut toe kick panels for a corner?
For outside corners where two runs of kitchen base cabinets meet, cut both panels at a 45-degree angle and glue the mitered joint. For inside corners, butt one panel against the wall and notch the second panel to overlap it. Mitered outside corners look cleaner but require precise cuts.
What material is best for toe kick molding in a kitchen?
It depends on your cabinet finish. For painted cabinets, MDF is durable and takes paint well. For stained wood cabinets, use matching solid wood or veneer-faced plywood. For laminate or thermofoil cabinets, use the matching laminate strips that come with the cabinet line. Always seal the bottom edge to protect against moisture from floor cleaning.
Do toe kick panels come with kitchen cabinets?
Most stock and semi-custom kitchen cabinet lines include cabinet toe kick trim strips as part of the package. However, the strips are often cut to standard lengths and may need to be trimmed to fit your specific layout. Custom cabinets may come with pre-fitted panels, but always verify before ordering.