June 4, 2025/
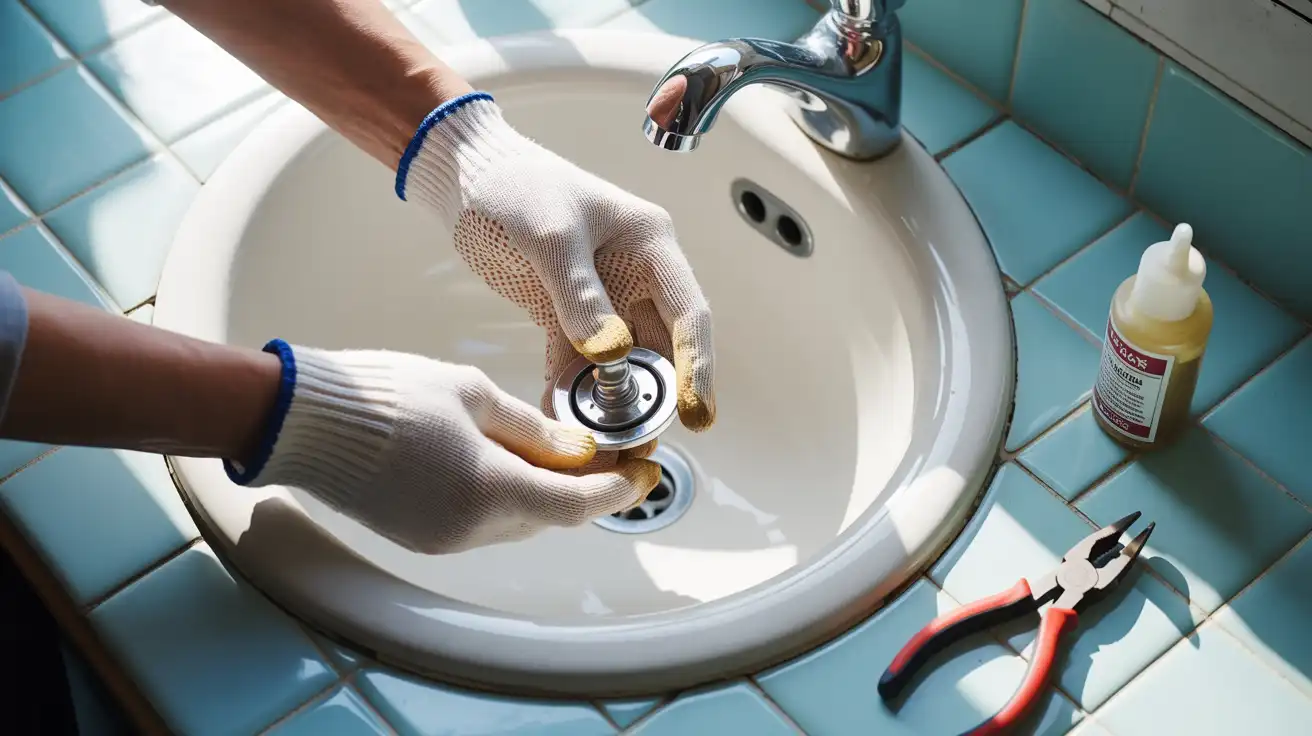
If your bathroom sink is draining slowly or water is pooling at the bottom, the stopper is likely the problem....

If your bathroom sink is draining slowly or water is pooling at the bottom, the stopper is likely the problem....
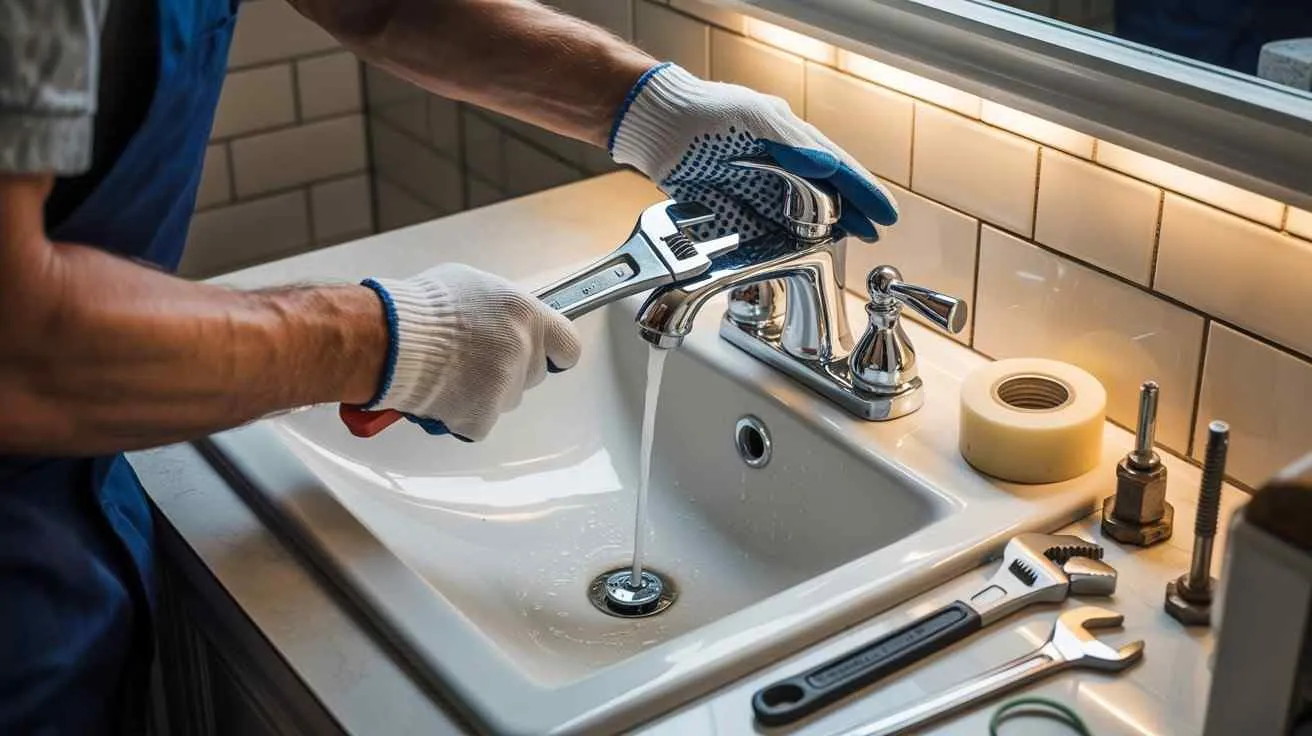
A dripping faucet wastes water and drives up your bill. Learning how to replace a bathroom faucet is one of...
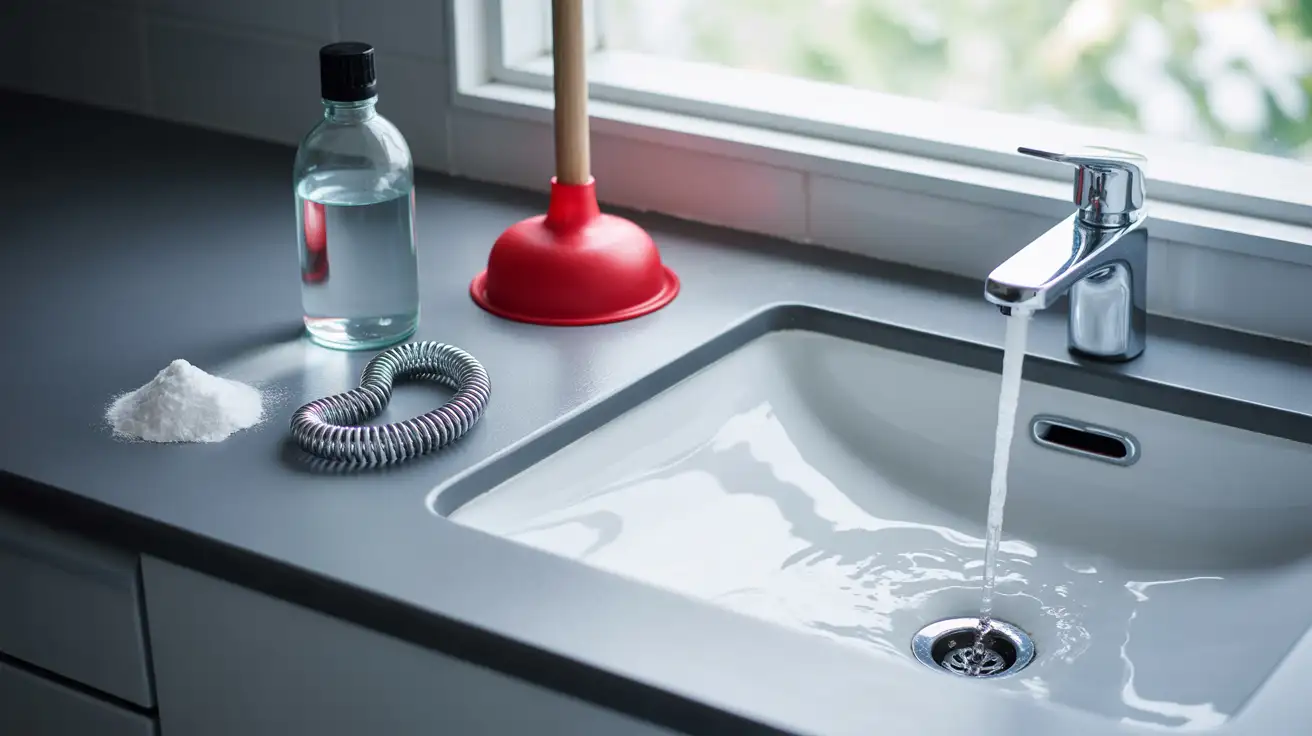
Experiencing a slow drain or a clogged lavatory sink is an annoying, yet common, household problem. That standing water is...
Homeowners across the country ask this question every day. And the honest answer is: it depends. But you deserve more...

Most of the time, when you are picking paint for your wall, colour gets the majority of the attention. But...

Replacing your home’s exterior siding is one of the most important home improvement projects you can take on. It is...

Most homeowners assume a home elevator costs $100,000 or more. That assumption stops many people from ever getting a quote....
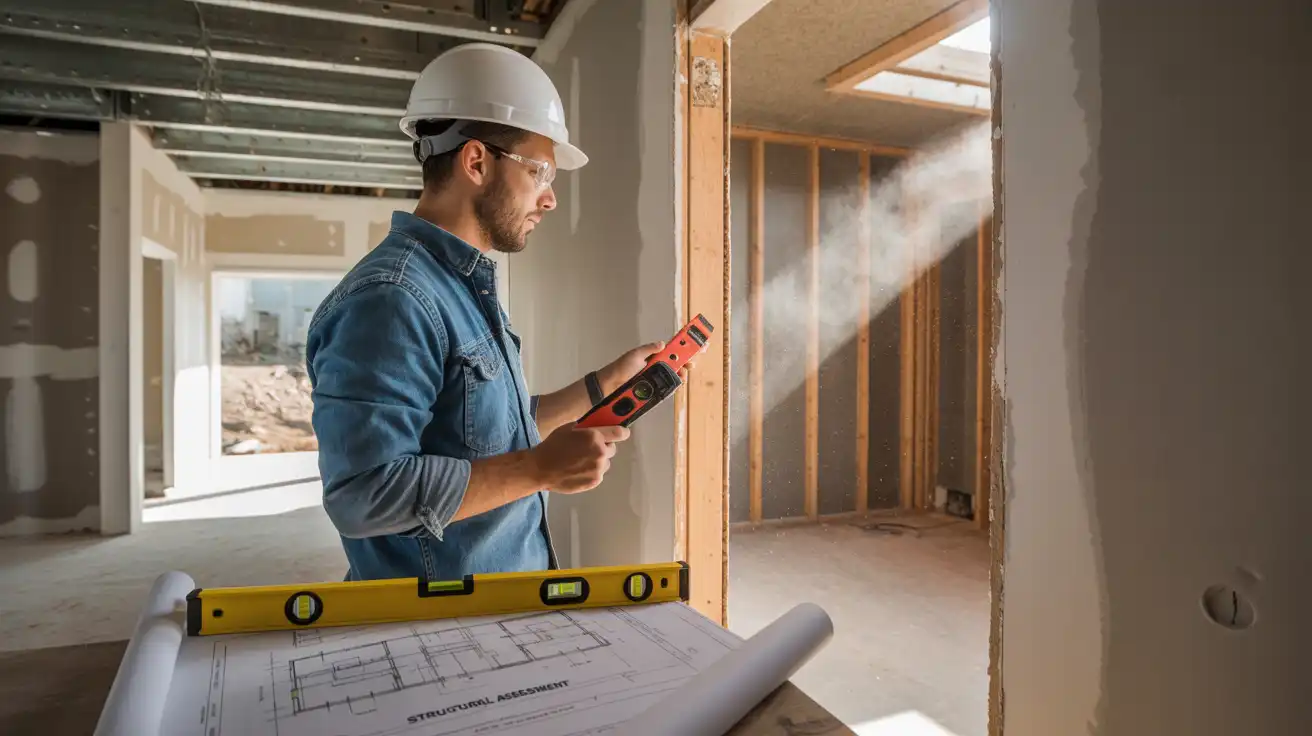
Planning to knock down a wall for that open kitchen you’ve dreamed about? Before you grab a sledgehammer, you need...
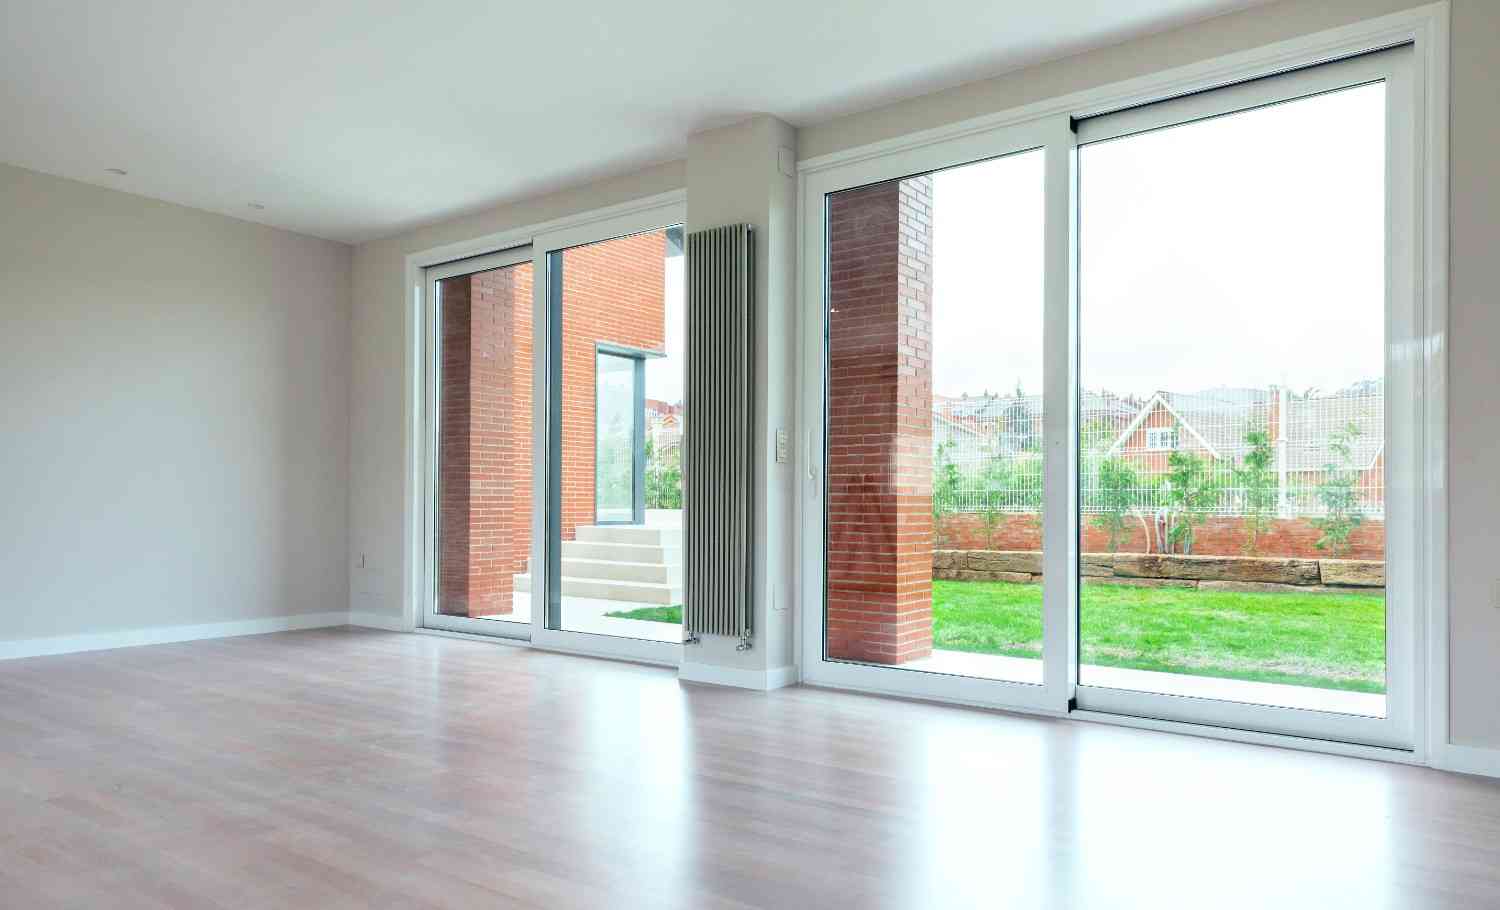
Choosing the right Standard Sliding Glass Door Size saves you time, money, and the headache of returns. Most homeowners guess...

