![How Long Does Spackle Take to Dry? [2025 Guide]](https://sandiegohomeremodeling.com/wp-content/uploads/2025/11/how-long-does-spackle-take-to-dry-image.webp.webp)
November 18, 2025/
Patching small holes in drywall is a fundamental home repair skill. Knowing the answer to how long does spackle take...

Patching small holes in drywall is a fundamental home repair skill. Knowing the answer to how long does spackle take...
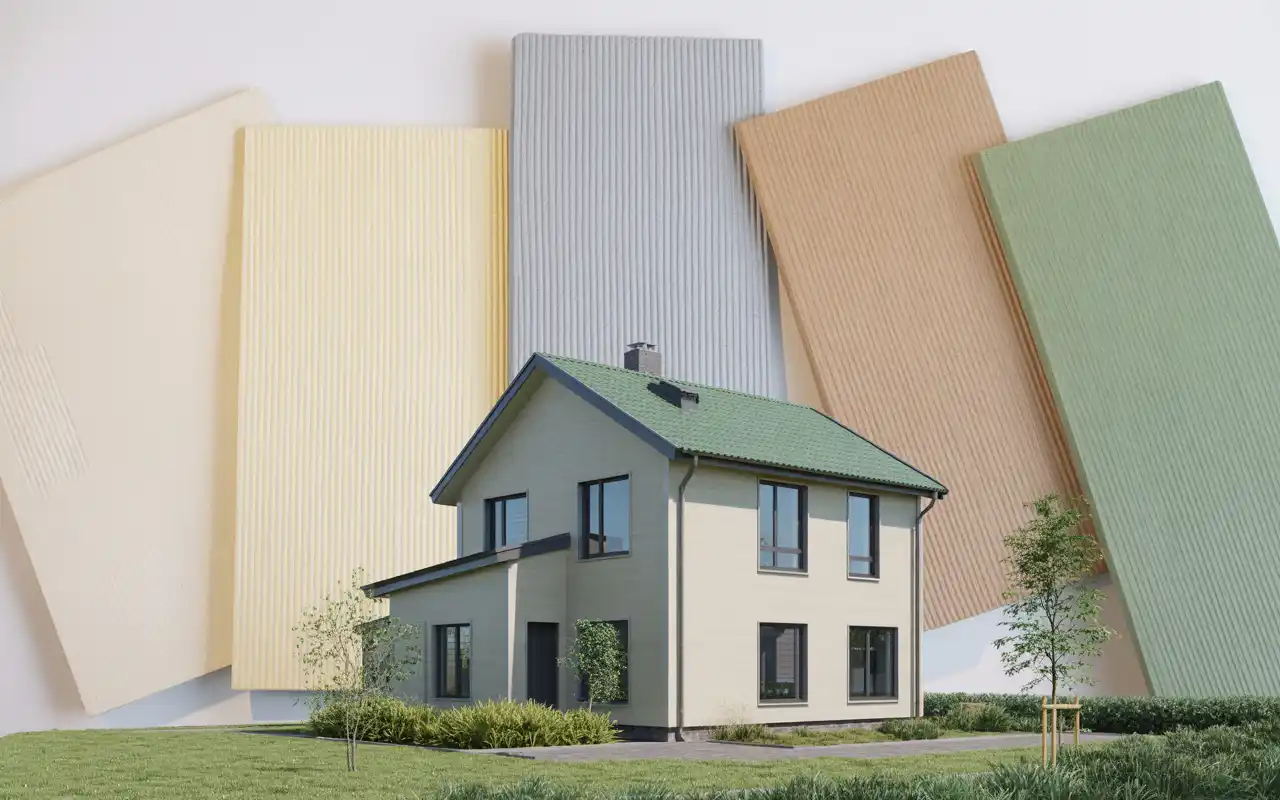
You’ve got a green roof, and now you’re staring at your home’s exterior wondering what paint color will actually look...
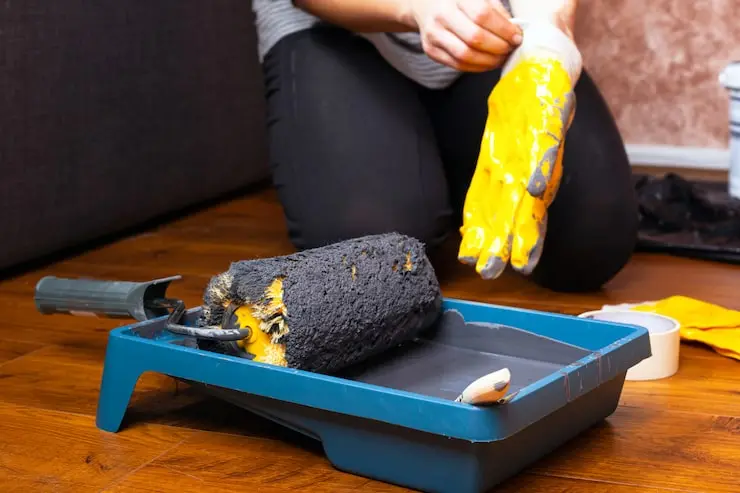
Proper painting technique is important, but a true professional knows the real secret to flawless walls is a clean, well-maintained...
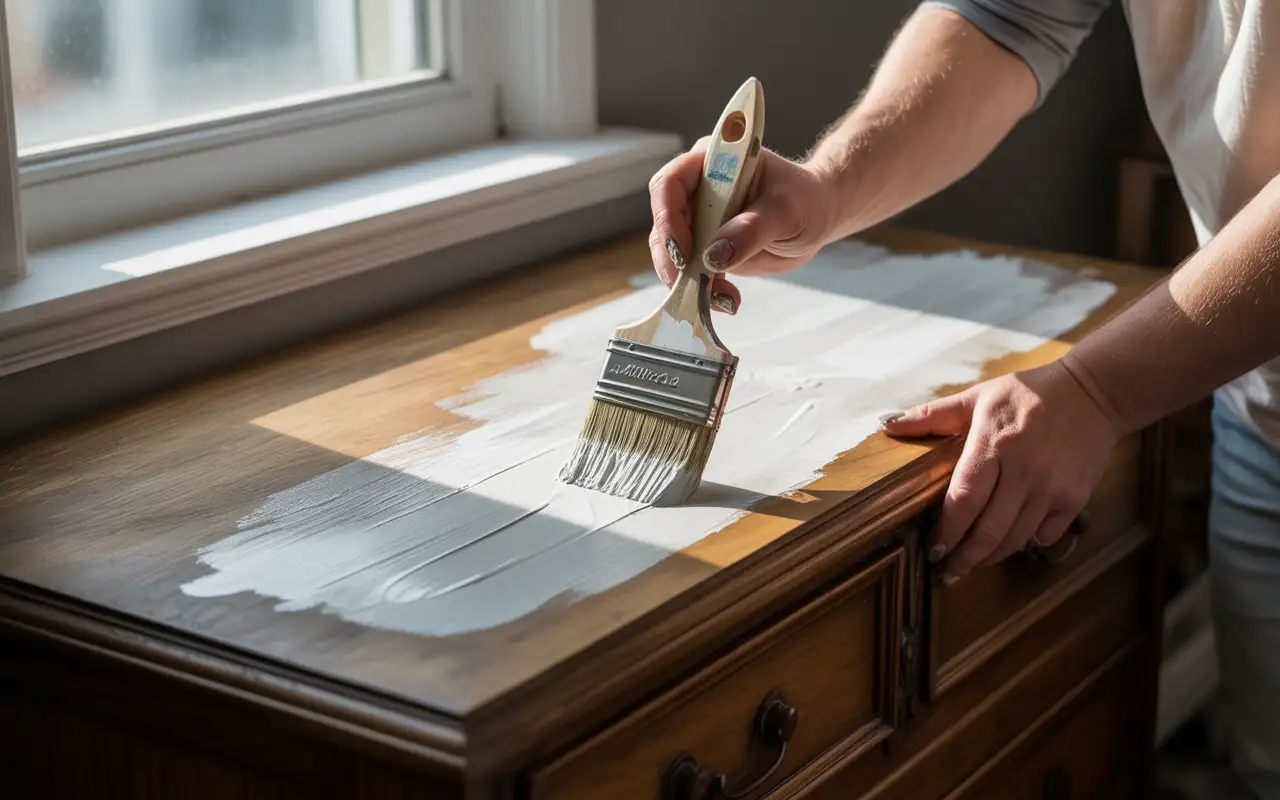
That old varnished dresser in your bedroom might look dated, but it doesn’t have to stay that way. Many homeowners...

Yes, you can fit a freestanding tub in small bathroom spaces. The key is choosing the right size (48-60 inches...

If you have just finished giving your bedroom a fresh coat of paint, you are likely eager to move back...
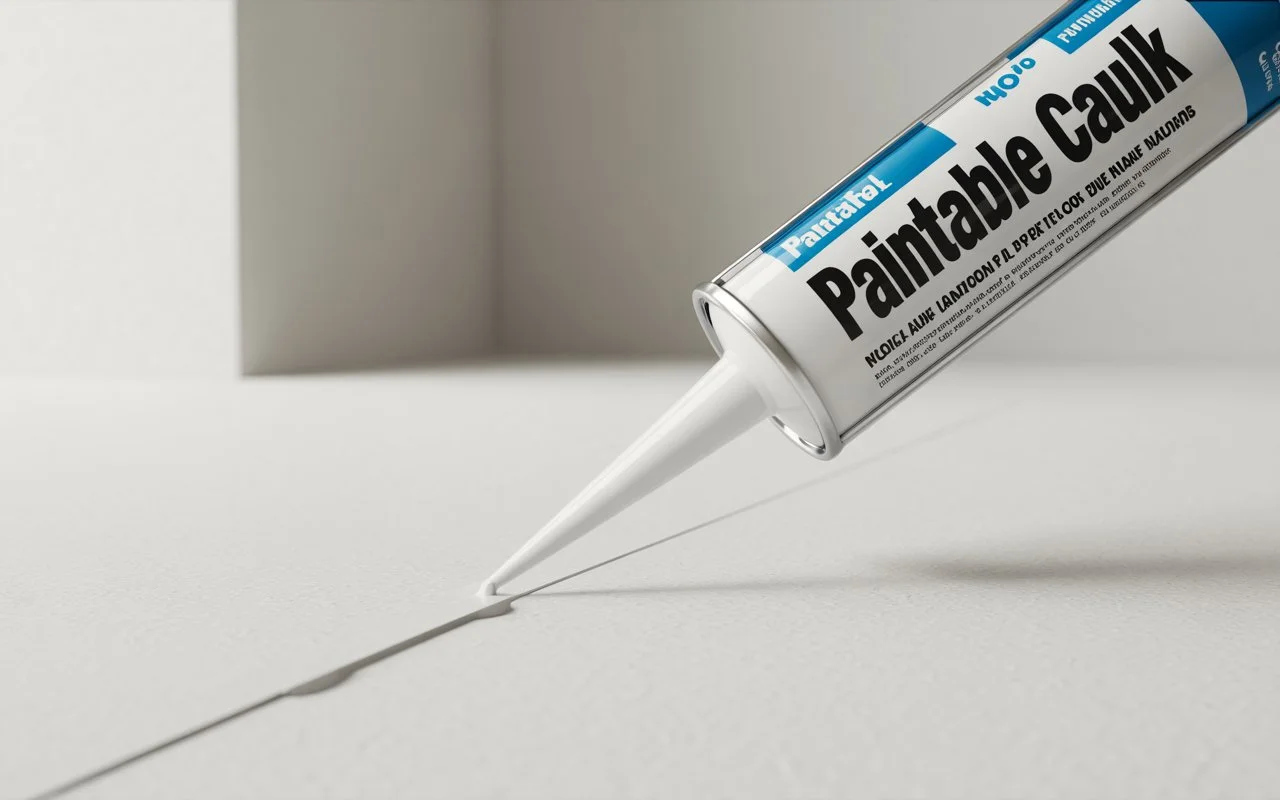
Fill in any holes or cracks before you paint over them with a paintable caulk, a flexible sealer. If you...

Painting stripes on walls transforms any room into a stunning focal point. Wall designs with paint and tape create visual...
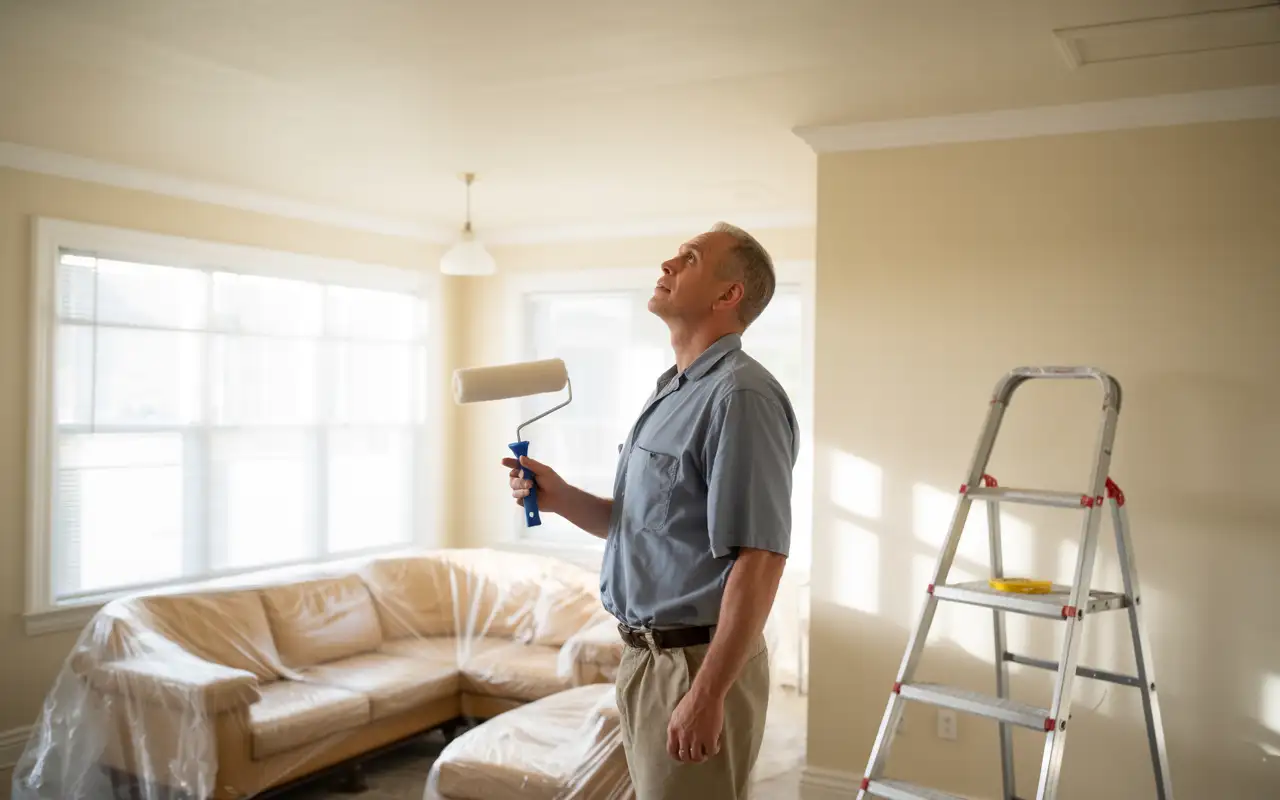
Painting walls feels simple enough, but when it comes to the ceiling, many people pause. Looking up, roller in hand,...

