October 9, 2025/
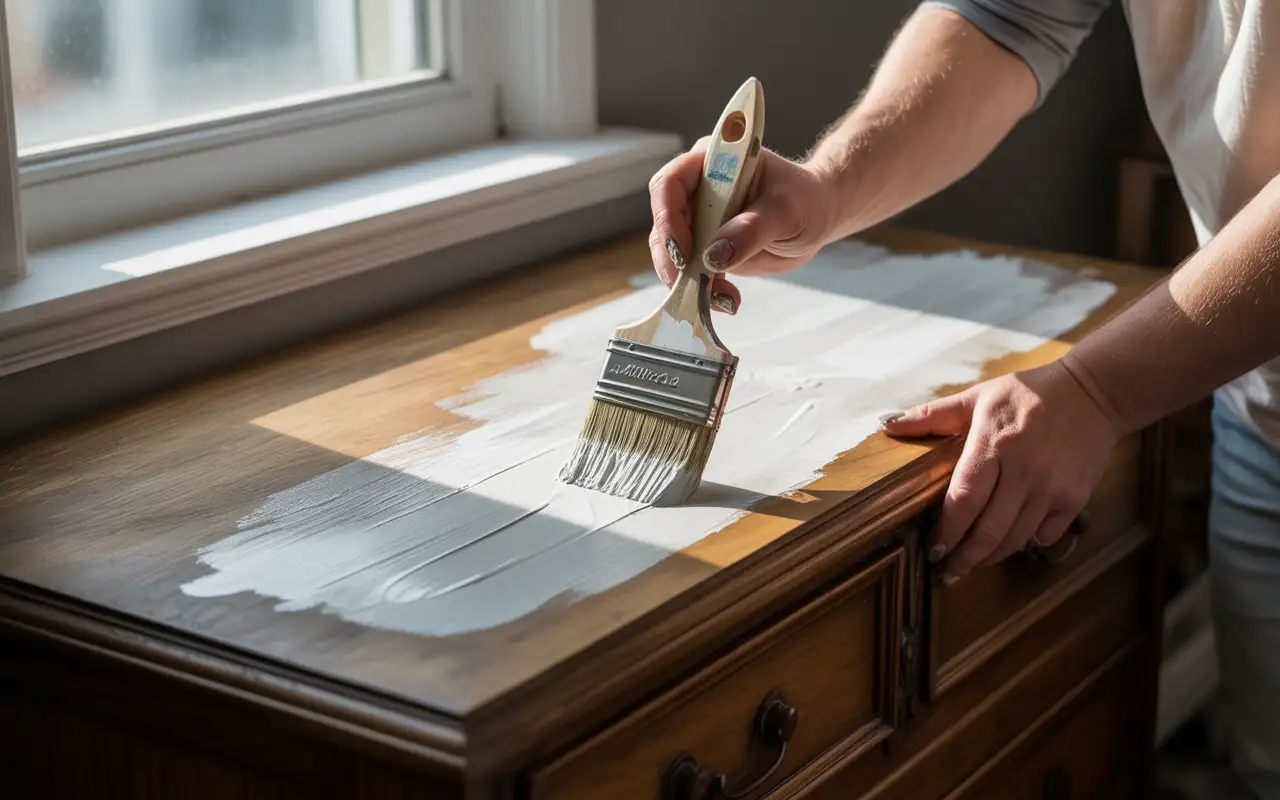
That old varnished dresser in your bedroom might look dated, but it doesn’t have to stay that way. Many homeowners...

That old varnished dresser in your bedroom might look dated, but it doesn’t have to stay that way. Many homeowners...

Yes, you can fit a freestanding tub in small bathroom spaces. The key is choosing the right size (48-60 inches...

If you have just finished giving your bedroom a fresh coat of paint, you are likely eager to move back...
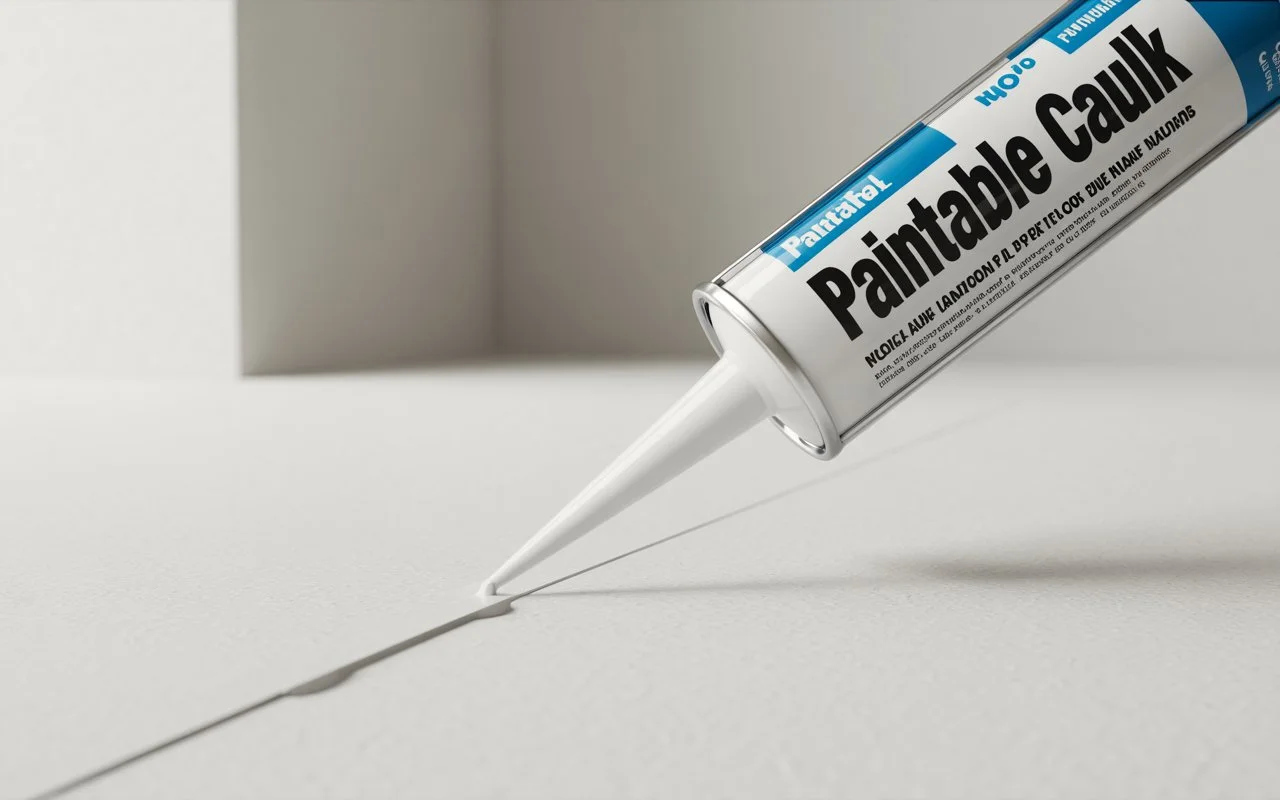
Fill in any holes or cracks before you paint over them with a paintable caulk, a flexible sealer. If you...
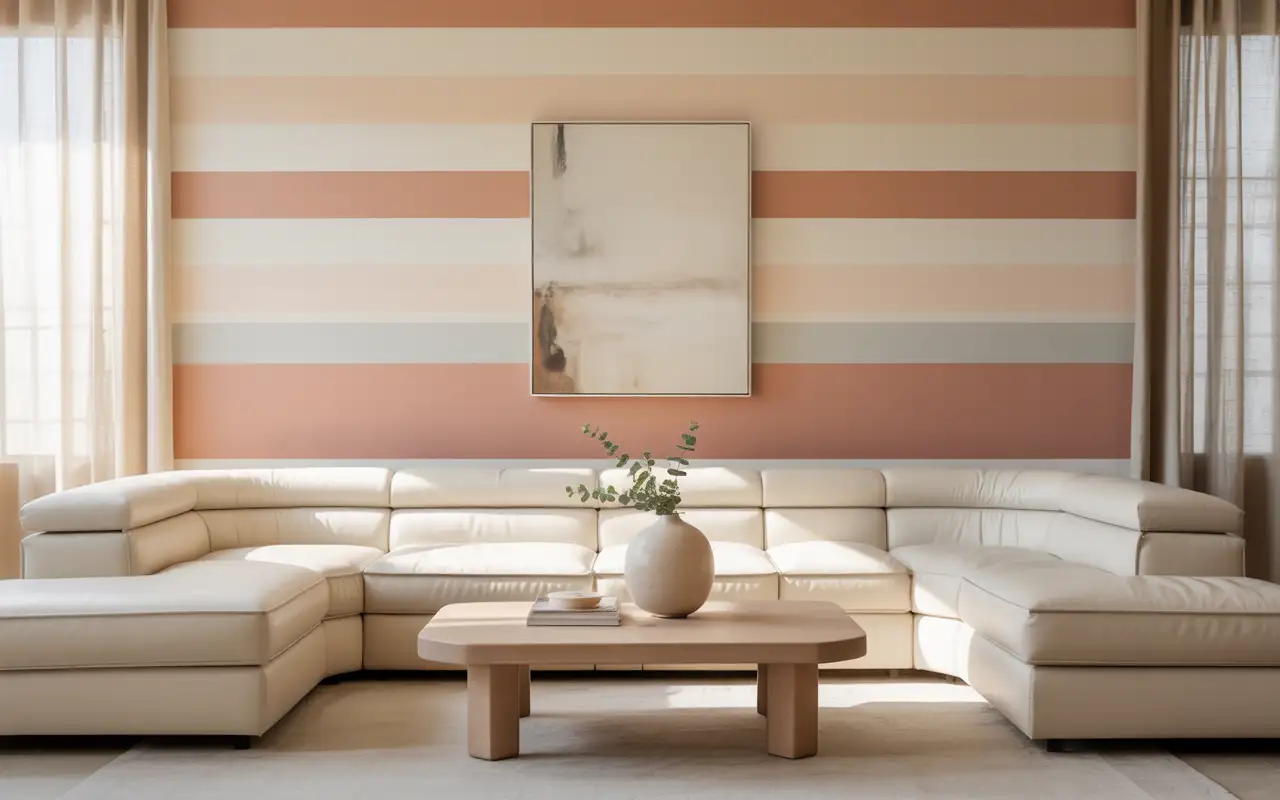
Painting stripes on walls transforms any room into a stunning focal point. Wall designs with paint and tape create visual...

Painting walls feels simple enough, but when it comes to the ceiling, many people pause. Looking up, roller in hand,...
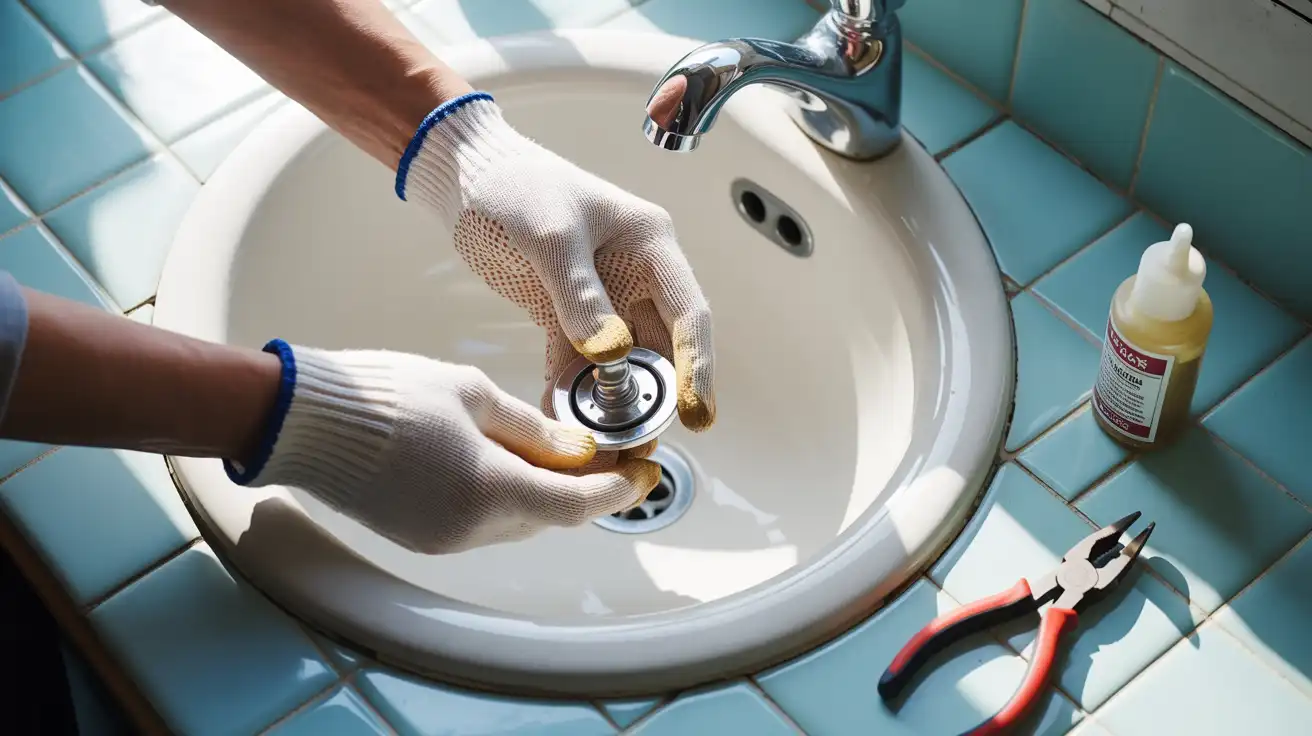
If your sink isn’t draining well, the stopper is often the culprit. The good news? You don’t need to be...
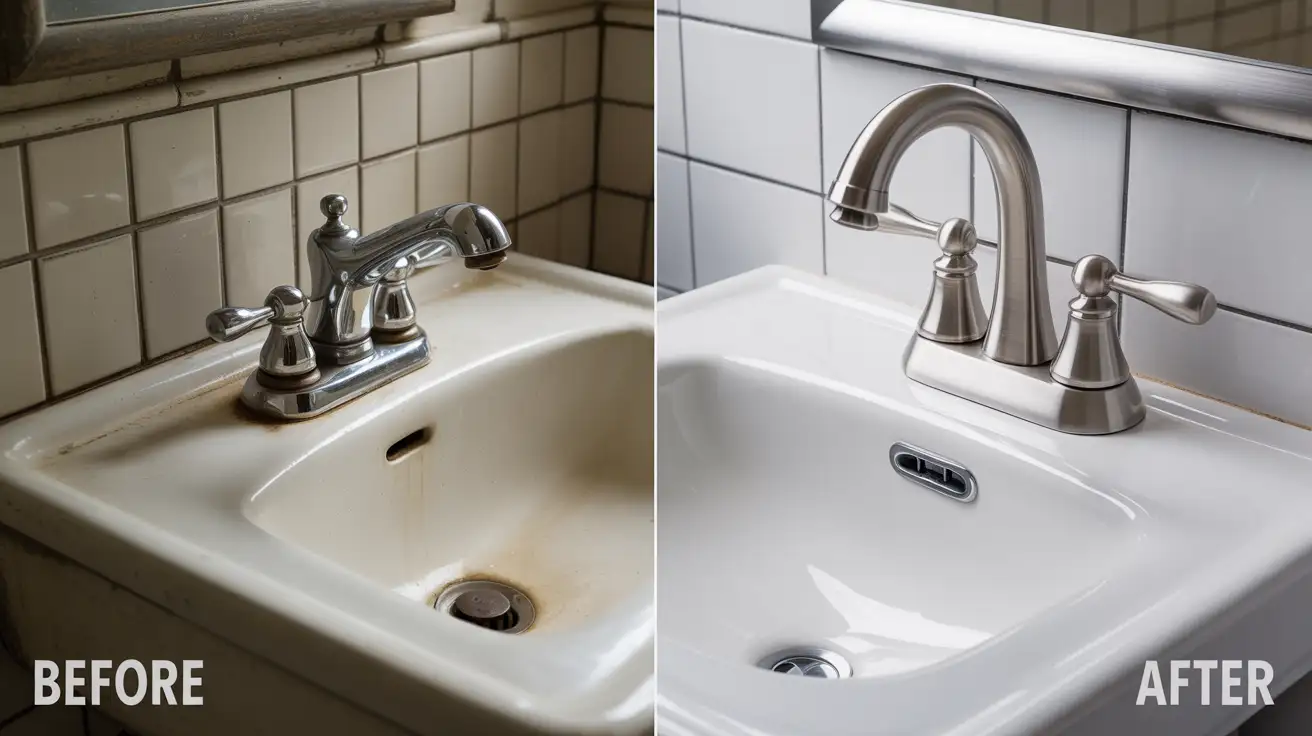
Replacing a bathroom faucet is easier than most homeowners think. With basic tools and about 1-2 hours, you can swap...
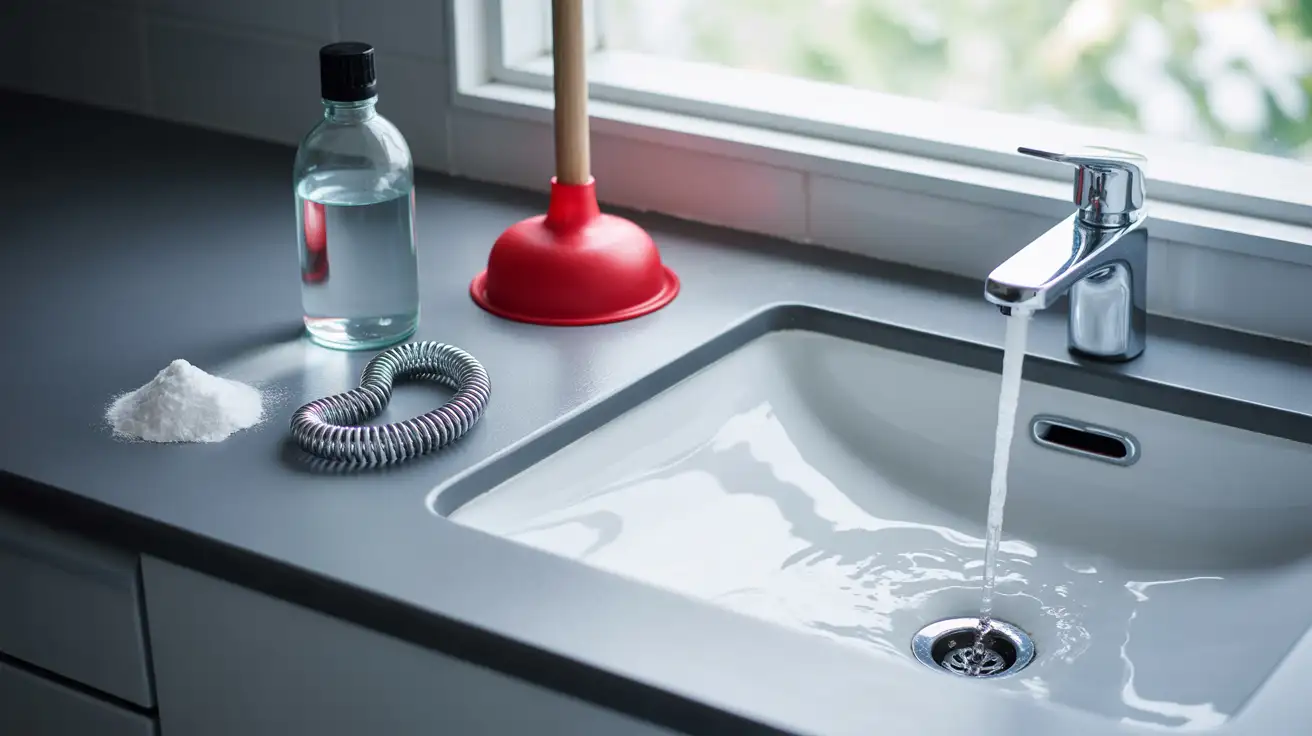
Experiencing a slow drain or a clogged lavatory sink is an annoying, yet common, household problem. That standing water is...

