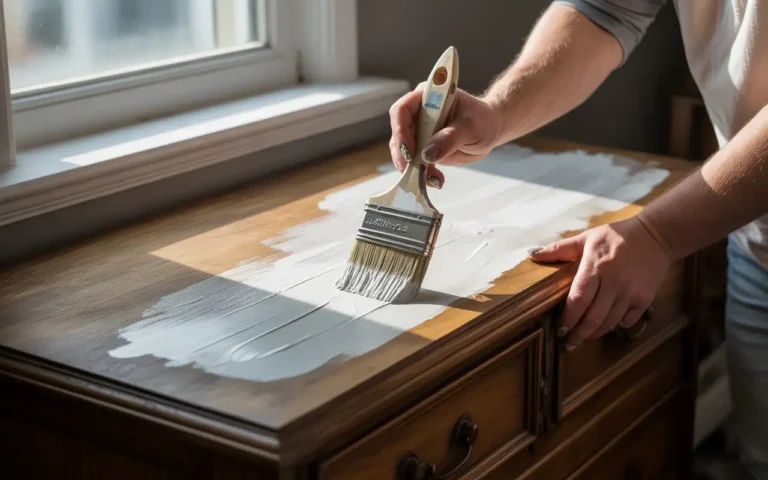
Yes, you can paint over varnished wood, and you don’t need to strip it down to bare timber to get a finish that actually holds up. The real question homeowners should be asking isn’t whether it’s possible, it’s whether the surface has been prepped correctly.
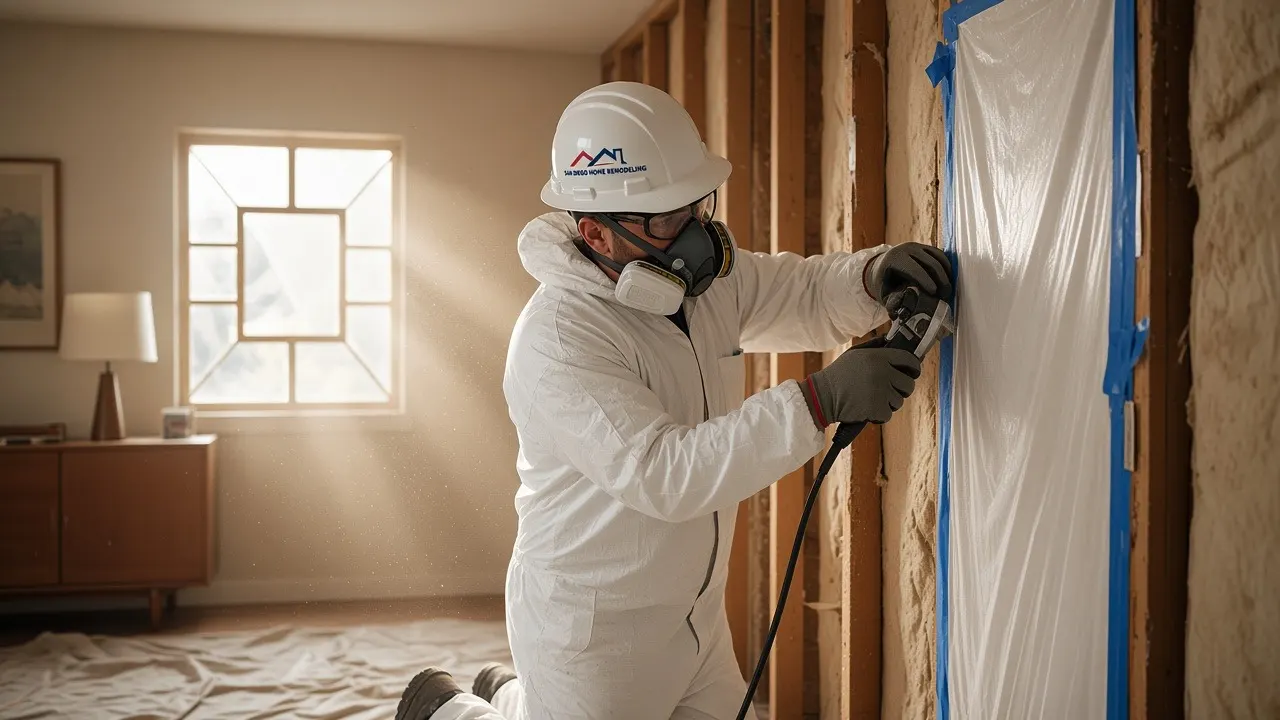
At San Diego Home Remodeling, we’ve walked into more than a few projects where a previous coat of paint was already lifting at the edges within a season, simply because the varnish underneath was never dulled or cleaned properly first. Painting over varnished wood works when you treat the varnish as a barrier that needs to be broken down, not ignored.
What is Varnished Wood?
Varnish is a clear, hard protective coating applied to wood to shield it from moisture, sunlight, and everyday wear. It doesn’t add color like paint does. Instead, it builds a glassy, sealed layer on top of the grain, which is exactly why paint struggles to bond to it without help.
You’ll typically find varnish on older wood doors, staircase banisters, kitchen cabinets from earlier decades, and furniture pieces that were finished to show off the natural wood grain rather than cover it.
Quick Water-Drop Test: How to Tell If Your Finish Is Varnish
Before you buy a single can of primer, run this simple test on your wood surface.
- Place a few drops of water directly on the finish.
- Wait about five to ten minutes.
- Observe how the water behaves.
If the water beads up and sits on the surface without soaking in, you’re dealing with varnish, polyurethane, or another type of sealed wood finish. If it soaks into the wood and darkens the surface, you’re likely working with an oil finish or raw wood, which calls for a different approach. This small test has saved our crews from mismatched prep work more times than we can count, because guessing at the finish type is one of the fastest ways to end up with a paint job that fails early.
Why Varnish Makes Painting Tricky
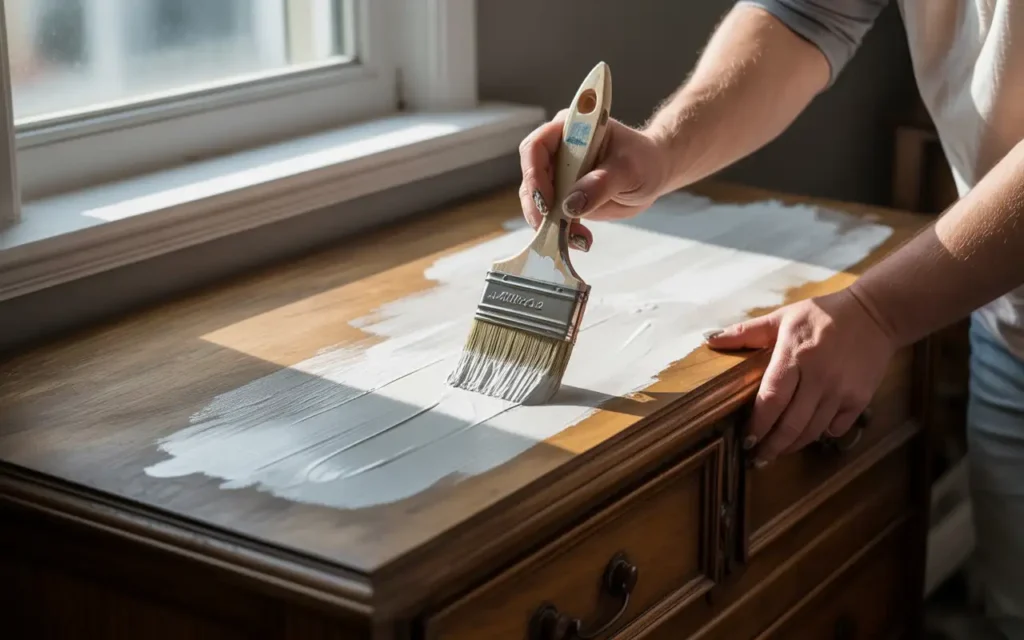
Varnish is designed to repel liquid, which is great for protecting wood from spills but terrible news for paint adhesion. Paint needs a slightly textured, porous surface to grip onto at a microscopic level. A smooth, sealed varnish coat gives it almost nothing to hold onto.
This is the core reason so many DIY painting over varnished wood projects fail within months. The paint sits on top of the varnish rather than bonding with it, and any small bump, scratch, or humidity swing is enough to start peeling it loose. Once you understand that varnish behaves more like a plastic shell than a porous wood surface, the entire prep process starts to make sense.
Do You Need to Sand First? Sanding vs. No-Sanding Debate
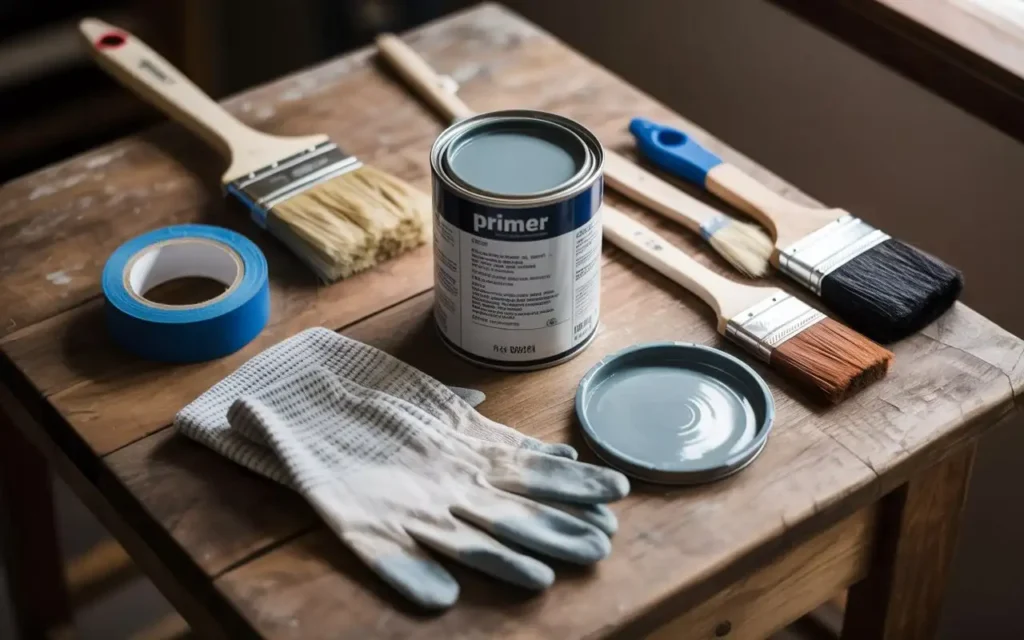
This is one of the most common questions we get on job walkthroughs, and the honest answer depends on how much daily wear the surface will take.
Sanding physically roughens the varnish, cutting thousands of tiny grooves that primer can lock into. It takes more time, but it produces the strongest bond, which matters on cabinet doors, stair railings, and anything touched constantly.
A liquid deglosser softens the shine of the varnish chemically without sanding. It’s faster and less messy, and it can work well on decorative furniture that doesn’t get handled often. On surfaces that see daily contact, though, we still recommend light sanding paired with a bonding primer for the most durable result.
How to Paint Over Varnished Wood: Step-by-Step
Step 1: Check the Wood for Damage
Before touching a sander, inspect the piece for cracks, dents, soft spots, or water damage. Filling gouges with wood filler and letting it cure fully prevents those flaws from telegraphing through your finished paint job later.
Step 2: Clean the Surface Thoroughly
Varnished wood accumulates grease, dust, and old polish over the years, all of which block paint adhesion if left behind. Wash the surface with a degreasing cleaner, rinse well, and let it dry completely before moving on. Skipping this step and sanding over a greasy surface just works the grease deeper into the wood.
Step 3: Sand Away the Gloss
You’re not removing the varnish entirely here, just scuffing it enough to give primer something to grip.
Sanding Stage | Grit | Purpose |
Initial scuff | 120 to 150 | Breaks down the glossy top layer |
Smoothing pass | 180 to 220 | Evens out sanding marks |
Final pass (optional) | 320 | Creates an ultra smooth surface before priming |
Always sand with the grain, and wipe away dust between each grit with a damp cloth.
Step 4: Apply a Quality Primer
Primer is the step that determines whether your paint job lasts two years or ten. When you’re working to paint sealed wood, an oil based or shellac based bonding primer offers the strongest grip and blocks tannins from bleeding through, which matters most with oak and pine.
Primer Type | Best Use Case |
Oil based bonding primer | Cabinets, doors, high traffic surfaces |
Water based bonding primer | Furniture, low odor indoor projects |
Shellac based primer | Heavily stained or tannin rich wood |
Step 5: Apply Your Paint Coats
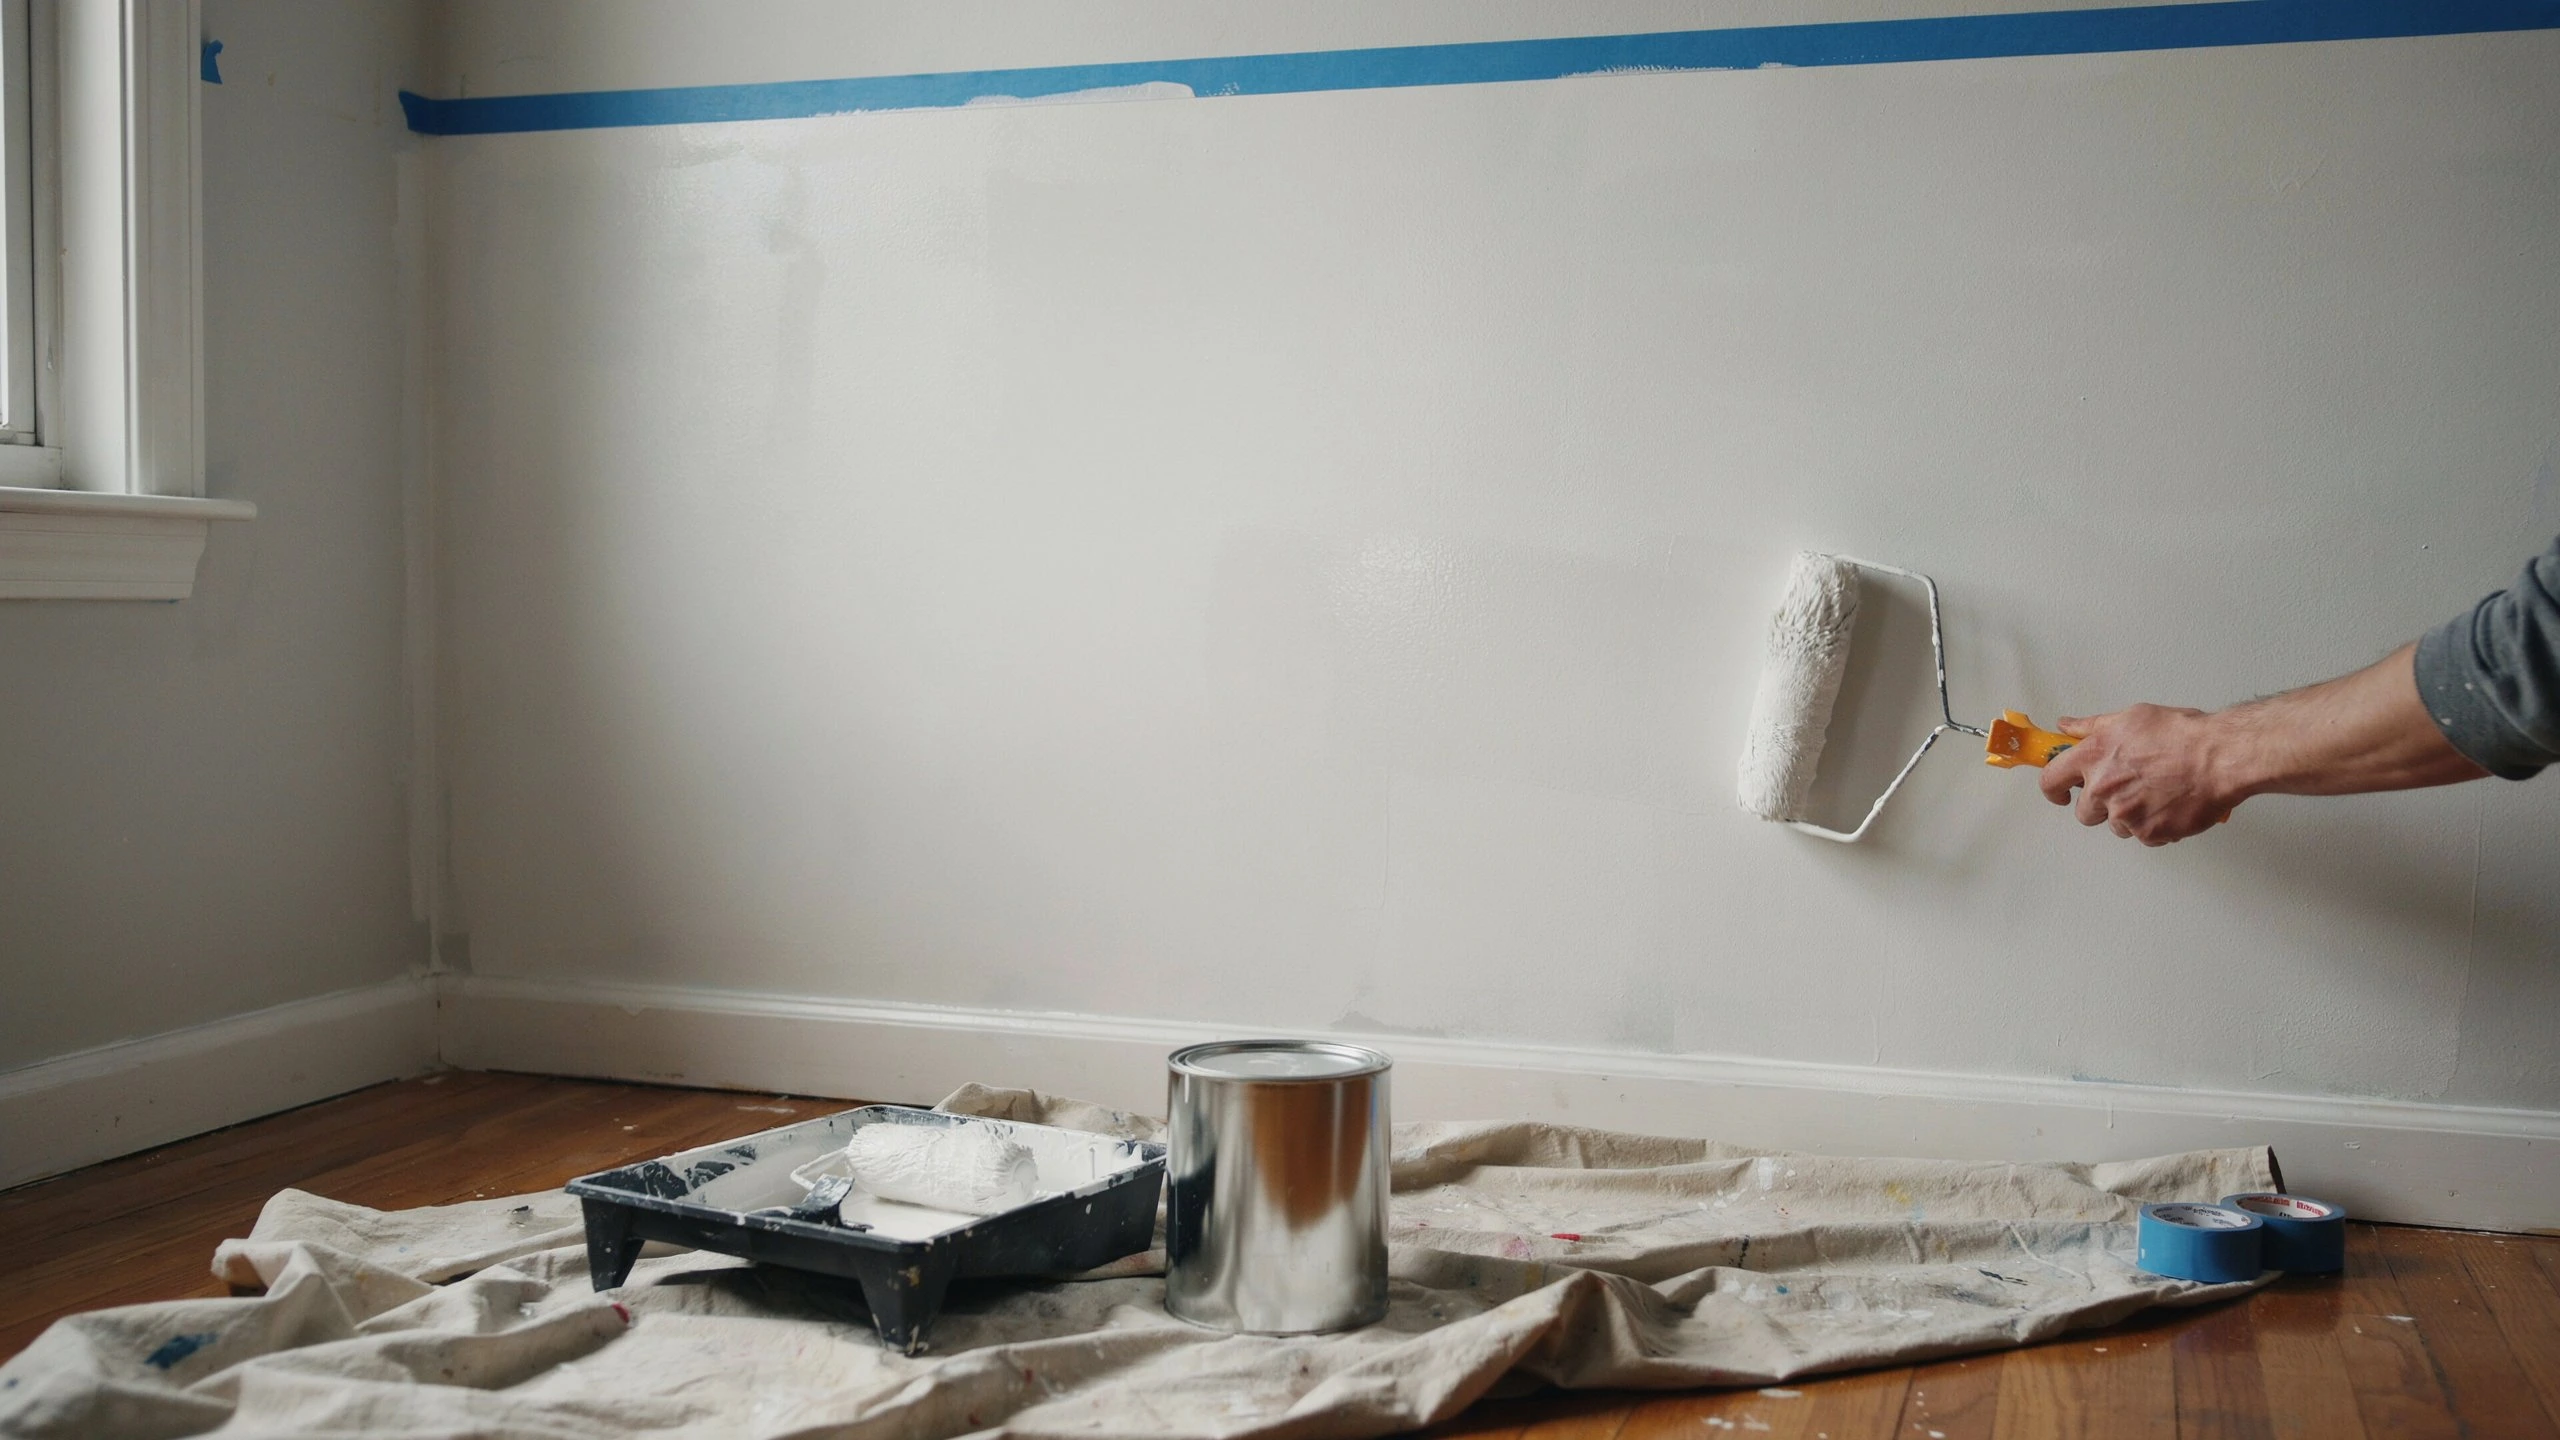
Apply thin, even coats rather than one heavy layer. Two coats usually gives solid coverage, and a light sand with fine grit paper between coats smooths out brush marks for a noticeably cleaner finish.
Step 6: Add a Protective Topcoat (Optional)
For high traffic surfaces like kitchen cabinets or stair rails, a clear polyurethane topcoat adds extra durability and makes future cleaning easier.
What Kind of Paint Should You Use on Varnished Wood?
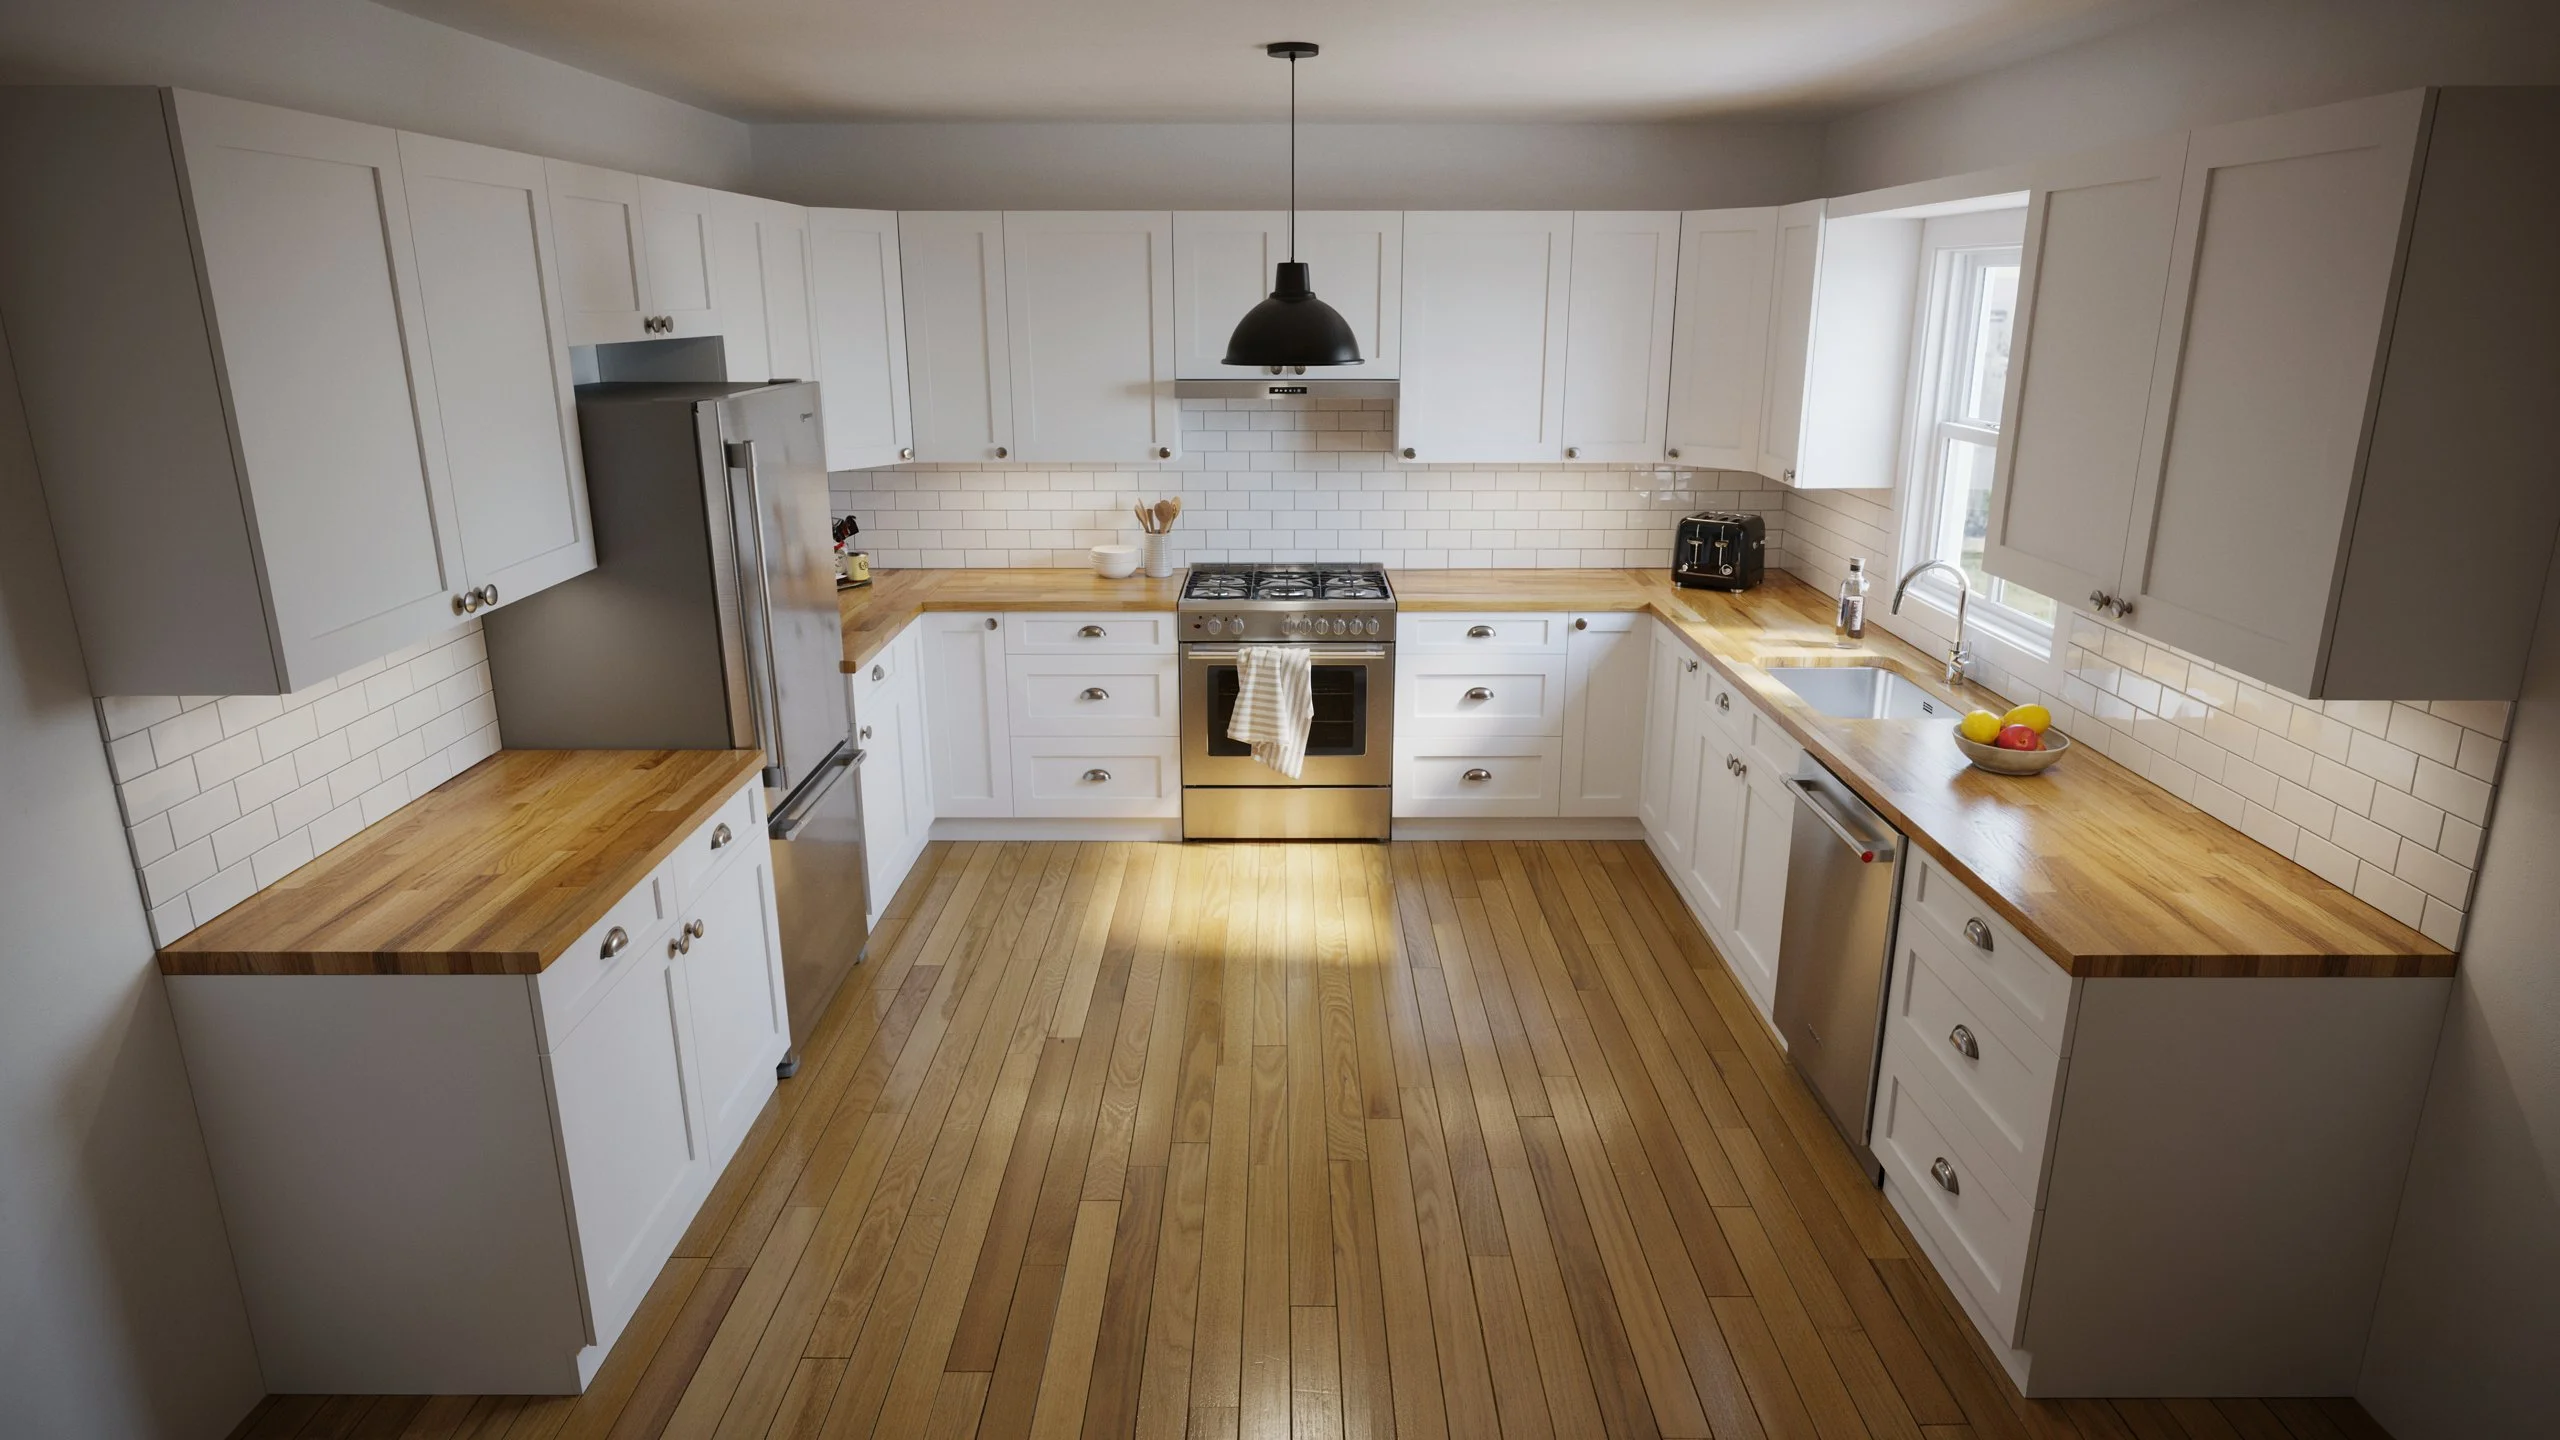
Once the surface is properly primed, most quality wood paints will perform well. Satin and semi gloss finishes strike a good balance between durability and appearance, which is why our crews at San Diego Home Remodeling reach for them on the majority of cabinet and furniture projects. High gloss paint looks striking but shows every surface flaw, so it’s best left to sprayed applications rather than brush work.
If you’re trying to decide between acrylic, latex, or oil based paint to paint sealed wood, the primer underneath matters more than the paint brand on top. A bonding primer designed for glossy surfaces will let almost any quality topcoat perform well, while skipping that primer step will undercut even the most expensive paint on the shelf.
What Happens If You Skip Prep and Paint Directly Over Varnish?
Skipping prep to save a weekend is one of the most expensive shortcuts in home painting. Paint applied directly onto glossy varnish sits on the surface instead of bonding to it. Within a few months, edges start lifting, and any scratch or moisture exposure speeds up the peeling. What looks like a time saver upfront almost always turns into a bigger repaint job later.
Wood Type Considerations
Different wood species respond differently once you start painting over varnished wood.
Oak is naturally high in tannins, which can bleed through paint as yellowish discoloration if you skip a stain blocking primer. Pine shares that same tannin issue and often has knots that leak resin over time. MDF sands smooth easily but swells at the edges if it gets too wet during cleaning, so drying time matters. Plywood needs a lighter touch when sanding, since aggressive sanding can expose the veneer layers underneath.
Indoor vs. Outdoor Projects
Furniture generally sees lighter wear, so a water based primer and paint combination works fine. Cabinets face daily contact, so an oil based bonding primer paired with semi gloss paint holds up better over time. Doors expand and contract with humidity, so both sides need even priming and painting to prevent warping. Outdoor trim and railings require exterior-grade products rated for UV and moisture exposure, since interior formulas won’t survive the elements.
Common Mistakes to Avoid
Skipping the cleaning step is one of the most frequent causes of paint failure, even when sanding was done correctly. Using an interior primer on an exterior surface leads to fast peeling regardless of how well the rest of the project was handled. Applying thick coats to save time actually backfires, since thick paint dries slowly and cracks more easily. And on tannin rich woods like oak and pine, skipping a stain blocking primer almost guarantees discoloration will surface later.
DIY vs. Hiring a Professional: Cost and Time Comparison
Factor | DIY | Professional |
Cost | Lower, materials only | Higher, includes labor and equipment |
Time | A full weekend to a week | Often completed faster with spray equipment |
Finish quality | Good with careful prep | Consistently smooth and even |
Best fit | Furniture and small projects | Cabinets, large surfaces, tight timelines |
If you’re weighing your options for a bigger project, our team offers dedicated Painting Services San Diego homeowners rely on for consistent, long lasting results without the trial and error of a first time DIY attempt.
Pro Tips for a Long-Lasting Finish
Work in a well ventilated space, especially with oil based primers. A paint sprayer gives flat surfaces a smoother, more professional look than brush application. Let every coat cure fully rather than judging it by touch alone, since dry to the touch and fully cured are two different things.
It also helps to label your leftover primer and paint with the room or piece it was used on, along with the date. Down the road, when you need to touch up a scuffed cabinet edge or a scratched door frame, having that information on hand saves you from repainting an entire surface just to blend in one small repair.
Conclusion
Painting over varnished wood is absolutely achievable once you understand that the process is really about breaking down that glossy seal rather than fighting it. Clean the surface, sand or degloss to remove the shine, prime with a product suited to your wood type, and apply thin, even coats of paint for a finish that actually holds up over time.
If you’d rather skip the guesswork and get a professional, lasting result the first time, contact us at San Diego Home Remodeling and our team will walk you through the right approach for your specific project.
Frequently Asked Questions
Can you paint over varnished wood without sanding?
Yes, using a liquid deglosser along with a strong bonding primer can work, especially on low traffic decorative pieces. For surfaces that get daily use, light sanding still produces a longer lasting result.
What is the best primer for painting over varnished wood?
An oil based or shellac based bonding primer offers the strongest adhesion and helps block tannins from bleeding through, particularly on oak and pine. Water based primers work fine for lighter use furniture pieces.
How many coats of paint do you need on sealed wood?
Most projects need two coats for solid, even coverage. Darker colors or uneven surfaces sometimes need a third coat for a clean, uniform look.
Does painting over varnished wood actually last?
Yes, when the surface is cleaned, sanded, and primed correctly, a painted finish over varnish can last just as long as paint on any other properly prepped wood surface. The prep work, not the paint itself, is what determines longevity.
Can you remove varnish completely instead of painting over it?
Yes, chemical strippers or a heat gun can remove varnish down to bare wood, but for most painting projects this level of removal isn’t necessary. Light sanding is usually enough to create the grip paint needs.