Most homeowners do not struggle with picking tile colors or cabinet finishes. They struggle with knowing what to do first. Without a clear plan in place, a remodel that should take eight weeks can stretch to five months and cost thousands more than expected. If you are planning a remodeling project and do not know where to begin, this guide is built for you.
San Diego Home Remodeling has helped hundreds of homeowners work through the exact process outlined here. A solid remodeling project checklist is not just a nice-to-have. It is the difference between a project that runs smoothly and one that derails in week two.
What Should Be Included in a Remodeling Checklist
A complete home remodeling checklist covers far more than materials and paint colors. It starts before a single contractor sets foot in your home and ends well after the last coat of paint dries. Think of it in four phases: planning, permits and prep, construction, and final walkthrough.
Here is a quick overview of what each phase covers:
- Planning: Budget, priorities, design decisions, and timeline
- Permits and prep: Contractor vetting, permit applications, material ordering
- Construction: Demolition, rough work, finishing
- Closeout: Inspections, punch list, cleanup
Working through each phase in order keeps your project on track and prevents the kind of costly backtracking that eats up time and money.
Phase 1: Plan the Project Before Anything Else
Set a Realistic Budget and Build in a Buffer
Before you look at a single design idea, know your number. A clear budget is the foundation of every smart renovation checklist step by step. Start with what you can comfortably spend, then add 15 to 20 percent as a contingency. Unexpected issues like hidden water damage, outdated wiring, or structural surprises are common in older homes. That buffer is not extra spending money. It is your safety net.
When building your budget, break it into categories: labor, materials, permits, and design fees. Labor typically makes up 40 to 50 percent of total project costs. For a kitchen remodel in San Diego, for example, labor alone can run between $15,000 and $35,000 depending on scope. Having a clear cost breakdown from the start helps you prioritize where to spend and where to save.
If you are weighing the bigger picture of your home investment, reading about Whether It Is Cheaper to Buy a New Home or Remodel can help you make a more confident financial decision before committing.
Define the Scope and Set Your Priorities
Not every room needs to be tackled at once. Decide what matters most. Is this a kitchen upgrade, a bathroom refresh, or a full whole-home renovation? Narrowing your focus helps you allocate your budget where it will have the most impact.
Write down your must-haves and your nice-to-haves. Must-haves are non-negotiable items your project cannot succeed without. Nice-to-haves are upgrades you will pursue if the budget allows. This separation keeps decisions clear when money gets tight.
Build a Remodeling Timeline
Every remodeling timeline and budget should include a realistic start date, key milestones, and a target completion date. Talk to your contractor early about lead times for materials. In today’s market, custom cabinets can take 8 to 12 weeks to arrive. If you order them after permits are approved, your project timeline shifts by months.
A working timeline for a mid-size kitchen remodel might look like this:
- Weeks 1 to 3: Design finalization and contractor selection
- Weeks 4 to 6: Permit application and material ordering
- Weeks 7 to 9: Demolition and rough-in work
- Weeks 10 to 14: Installation and finishing
- Weeks 15 to 16: Inspections and final punch list
Phase 2: The Steps Before Starting a Renovation
Hire the Right Contractor
This step alone can make or break your entire project. Before you hire anyone, verify their license, insurance, and references. In California, you can check a contractor’s license status directly through the Contractors State License Board. Ask for a minimum of three recent project references and call them.
Get at least three bids. Do not automatically go with the lowest price. A bid that comes in 30 percent below the others often means corners will be cut or the scope is misunderstood. Look for a contractor who communicates clearly, answers your questions directly, and puts everything in writing.
Key things to confirm before signing any contract:
- Proof of general liability and workers’ compensation insurance
- A detailed written scope of work
- A clear payment schedule tied to project milestones
- A timeline with completion dates
Pull Permits and Understand Local Rules
Skipping permits is one of the most common and costly mistakes homeowners make when planning a remodeling project. In California, permits are required for most structural changes, electrical work, plumbing modifications, and HVAC updates. If you sell your home later and unpermitted work is discovered, you may be required to bring it up to code at your own expense.
Your contractor should handle the permit application process, but you should understand what is being permitted and why. Ask to see copies of all approved permits before work begins.
Order Materials Early
Remodeling materials and permits should be handled in parallel, not in sequence. While your permits are being processed, use that time to finalize your material selections and place orders. Flooring, fixtures, tile, and cabinetry all have lead times. Getting ahead of this step prevents construction delays that cost you money in extended labor hours.
Create a materials list organized by room and trade. Include every item from light fixtures and door hardware to grout and caulk. The more detailed your list, the fewer mid-project runs to the supply house.
Phase 3: The Construction Phase Checklist
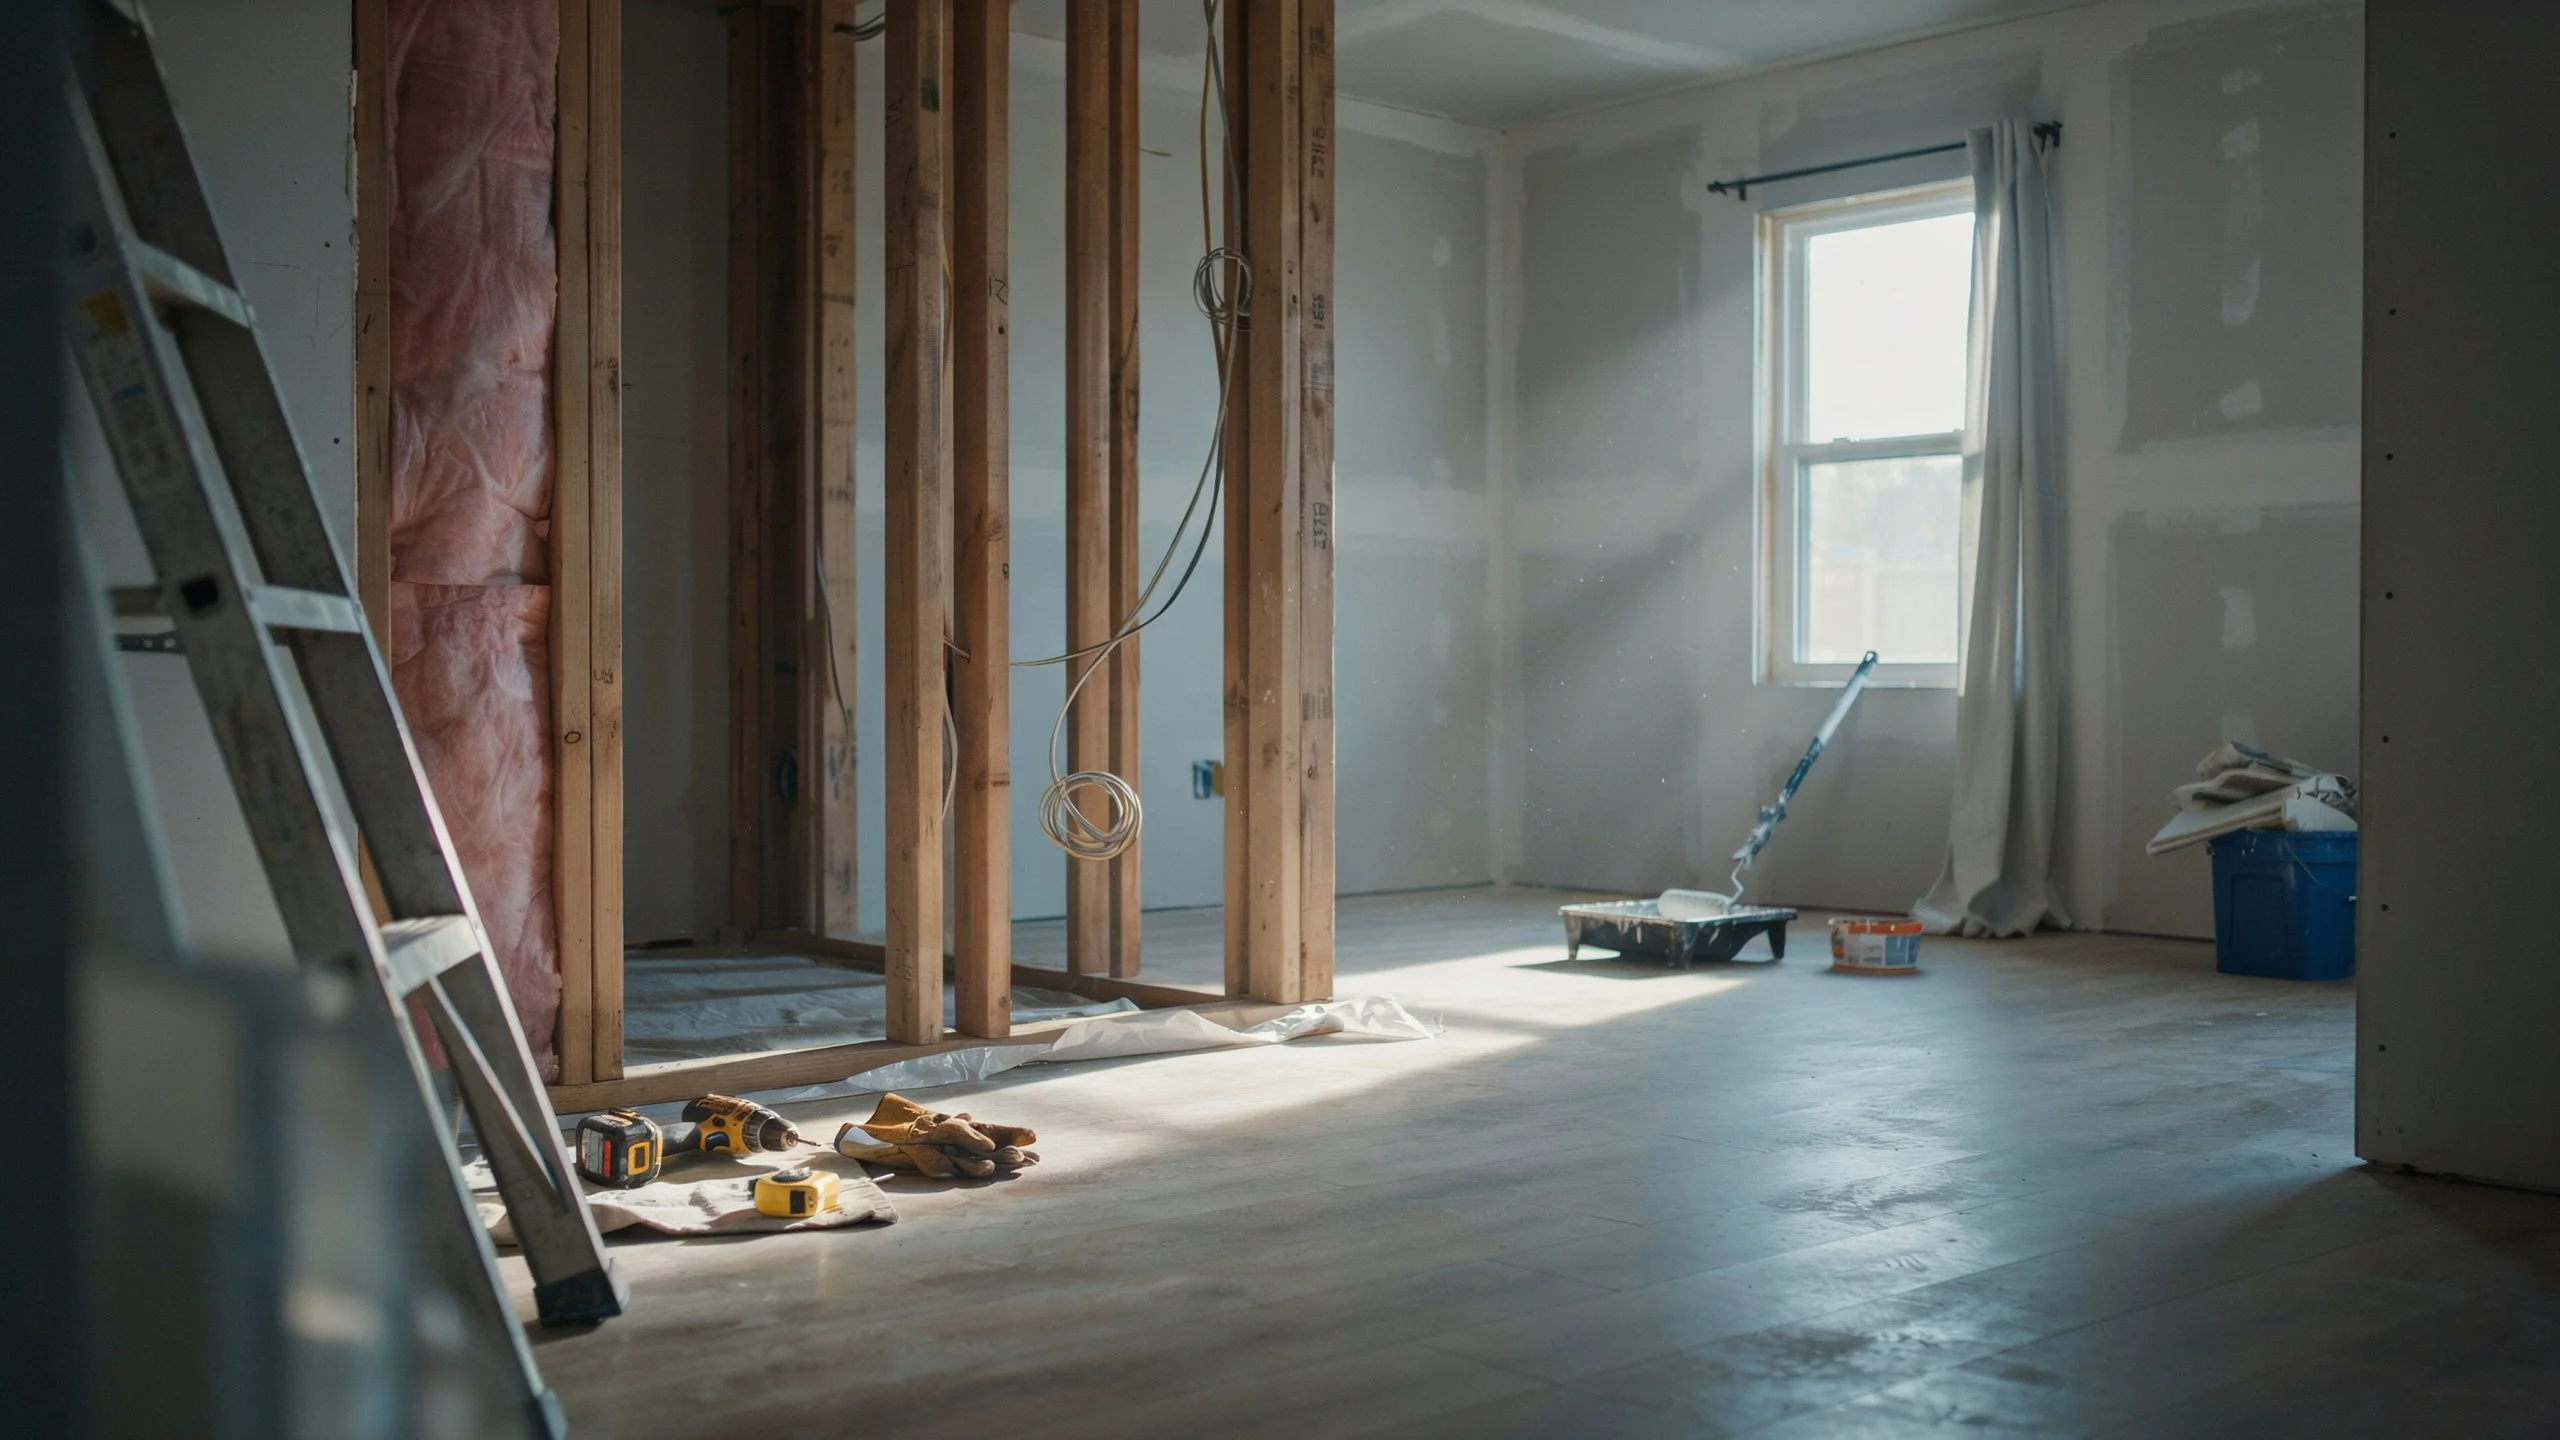
Demolition and Site Prep
Once permits are approved and materials are ordered, construction begins. Before demolition starts, make sure the work area is properly prepared. Remove furniture and valuables from the space. Seal off HVAC vents to prevent dust from spreading through the house. Set up temporary living arrangements if a bathroom or kitchen will be out of service for weeks.
Confirm with your contractor exactly what will be demolished and what will stay. Surprises during the demo, like discovering asbestos in older flooring or mold behind a wall, are not uncommon. This is where that contingency fund in your remodeling project checklist becomes essential.
Rough-In Work: Plumbing, Electrical, and Framing
Rough-in work is everything that happens inside the walls before they close up. This includes new plumbing lines, electrical wiring, framing for new walls or openings, and HVAC duct modifications. This phase requires inspections at specific stages, so coordinate closely with your contractor on scheduling.
Do not rush through rough-ins. Mistakes caught here cost a few hundred dollars to fix. The same mistakes caught after drywall goes up can cost several thousand dollars to repair.
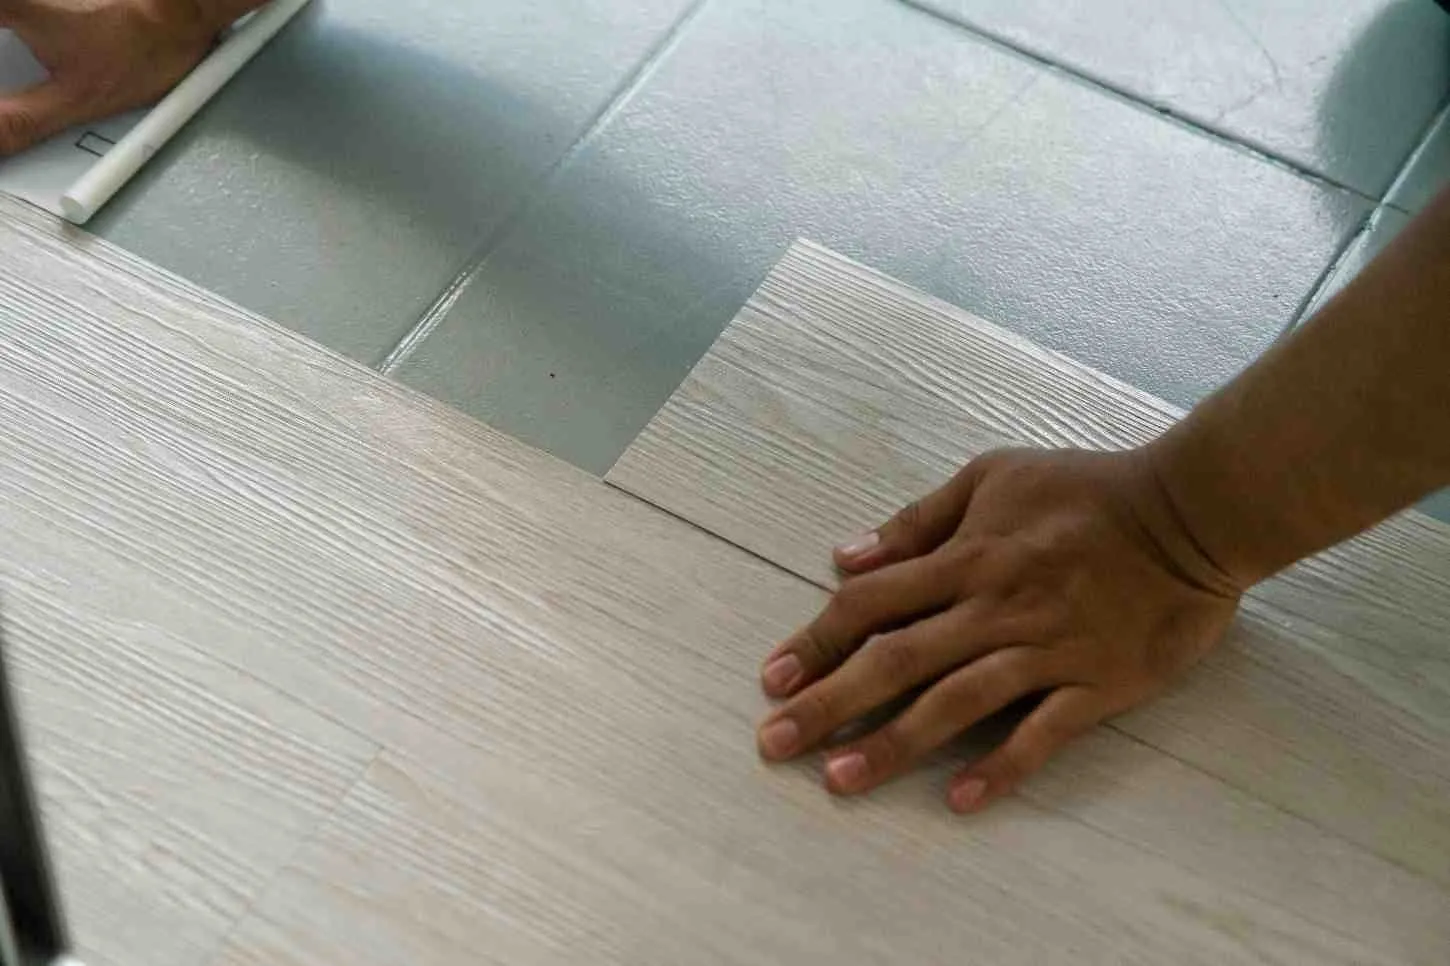
Finishing Work and Final Details
Finishing work is where the transformation becomes visible. Drywall, flooring, painting, cabinetry, fixtures, and trim are all part of this phase. Details like Crown Molding for Your Home and trim work add a polished, finished look that elevates the entire space. These finishing touches are often what separates a professionally done remodel from a DIY-looking one.
This phase is also when you should review your original design plan against what is being installed. Catch discrepancies early. Do not wait until the final walkthrough to notice that the wrong tile was laid or a fixture was installed in the wrong location.
For exterior updates, knowing What’s the Cost for Exterior Home Painting can help you budget that phase accurately alongside interior finishing work.
Phase 4: Final Inspection and Project Closeout
Schedule All Required Inspections
Before your contractor closes out the project, all required inspections must be completed and passed. In California, final inspections cover electrical, plumbing, framing, and overall building code compliance. Do not make final payment until all inspections are passed and documented.
Ask your contractor for a complete permit history and final inspection sign-off for your records. This documentation matters when you sell the home.
Walk Through With a Punch List
A punch list is your written record of every item that needs to be corrected, completed, or touched up before the project is officially done. Walk through the space with your contractor room by room. Note anything that does not meet your expectations or the agreed-upon scope.
Common punch list items include:
- Paint touch-ups near trim and corners
- Caulking gaps around fixtures and transitions
- Cabinet doors or drawers that need adjustment
- Grout lines that need cleaning or resealing
Do not skip this step. A good contractor will complete punch list items promptly. It is a professional obligation, not a favor.
Using a Remodeling Checklist Template
A remodeling checklist template gives you a printed or digital framework you can use across multiple projects or rooms. Organize it by phase, trade, and room. Include columns for the task, responsible party, due date, and status. This structure keeps everyone accountable and prevents tasks from falling through the cracks.
A house renovation checklist pdf that you can print and post on-site is also useful for daily reference during the construction phase. Your contractor’s crew, subcontractors, and project manager should all be working from the same checklist.
For projects that involve accessibility needs or multi-story upgrades, looking into Home Elevator Cost as part of your long-term home improvement planning is worth including in your broader renovation roadmap.
Our San Diego Whole Home Remodeling service covers every phase of the process outlined above, from design and permits through final inspection and cleanup.
Conclusion
Planning a remodel without a clear checklist is like building without a blueprint. You might get through it, but the odds of costly mistakes, delays, and frustration go up significantly. This remodeling project checklist gives you the framework to move through every phase with confidence, whether you are updating a single bathroom or tackling a full home renovation.
If you are ready to take the next step, San Diego Home Remodeling is here to help you build a plan that fits your home, your budget, and your timeline. Contact us today to speak with a remodeling specialist who can walk you through the process from start to finish.
Frequently Asked Questions
What should be included in a remodeling checklist?
A complete remodeling project checklist should cover budget planning, contractor selection, permit applications, material ordering, construction phases, and final inspections. Each phase builds on the last, so working through them in order helps prevent mistakes and delays.
How do I start planning a home remodeling project?
Start with your budget and priorities before anything else. Decide which spaces need the most attention, set a realistic spending limit with a 15 to 20 percent buffer, and consult with a licensed contractor early to understand scope and timelines.
Do I need permits for a home renovation in California?
Yes. Most structural, electrical, plumbing, and HVAC work requires permits in California. Skipping permits can result in fines, required corrections, and complications when selling your home. Your contractor should manage the permit process, but always ask for copies of approved permits before work begins.
How long does a typical home remodeling project take?
It depends on the scope. A bathroom remodel can take four to eight weeks. A full kitchen renovation often runs ten to sixteen weeks. Whole-home remodels can take six months or more. Lead times for materials and permit approval timelines are the most common causes of delays, which is why early planning matters.
How do I avoid going over budget on a renovation?
Build a detailed renovation checklist step by step with costs assigned to each task. Set aside 15 to 20 percent as a contingency fund. Lock in your scope before construction starts, and avoid making significant changes mid-project. Change orders are one of the biggest drivers of budget overruns on renovation projects.