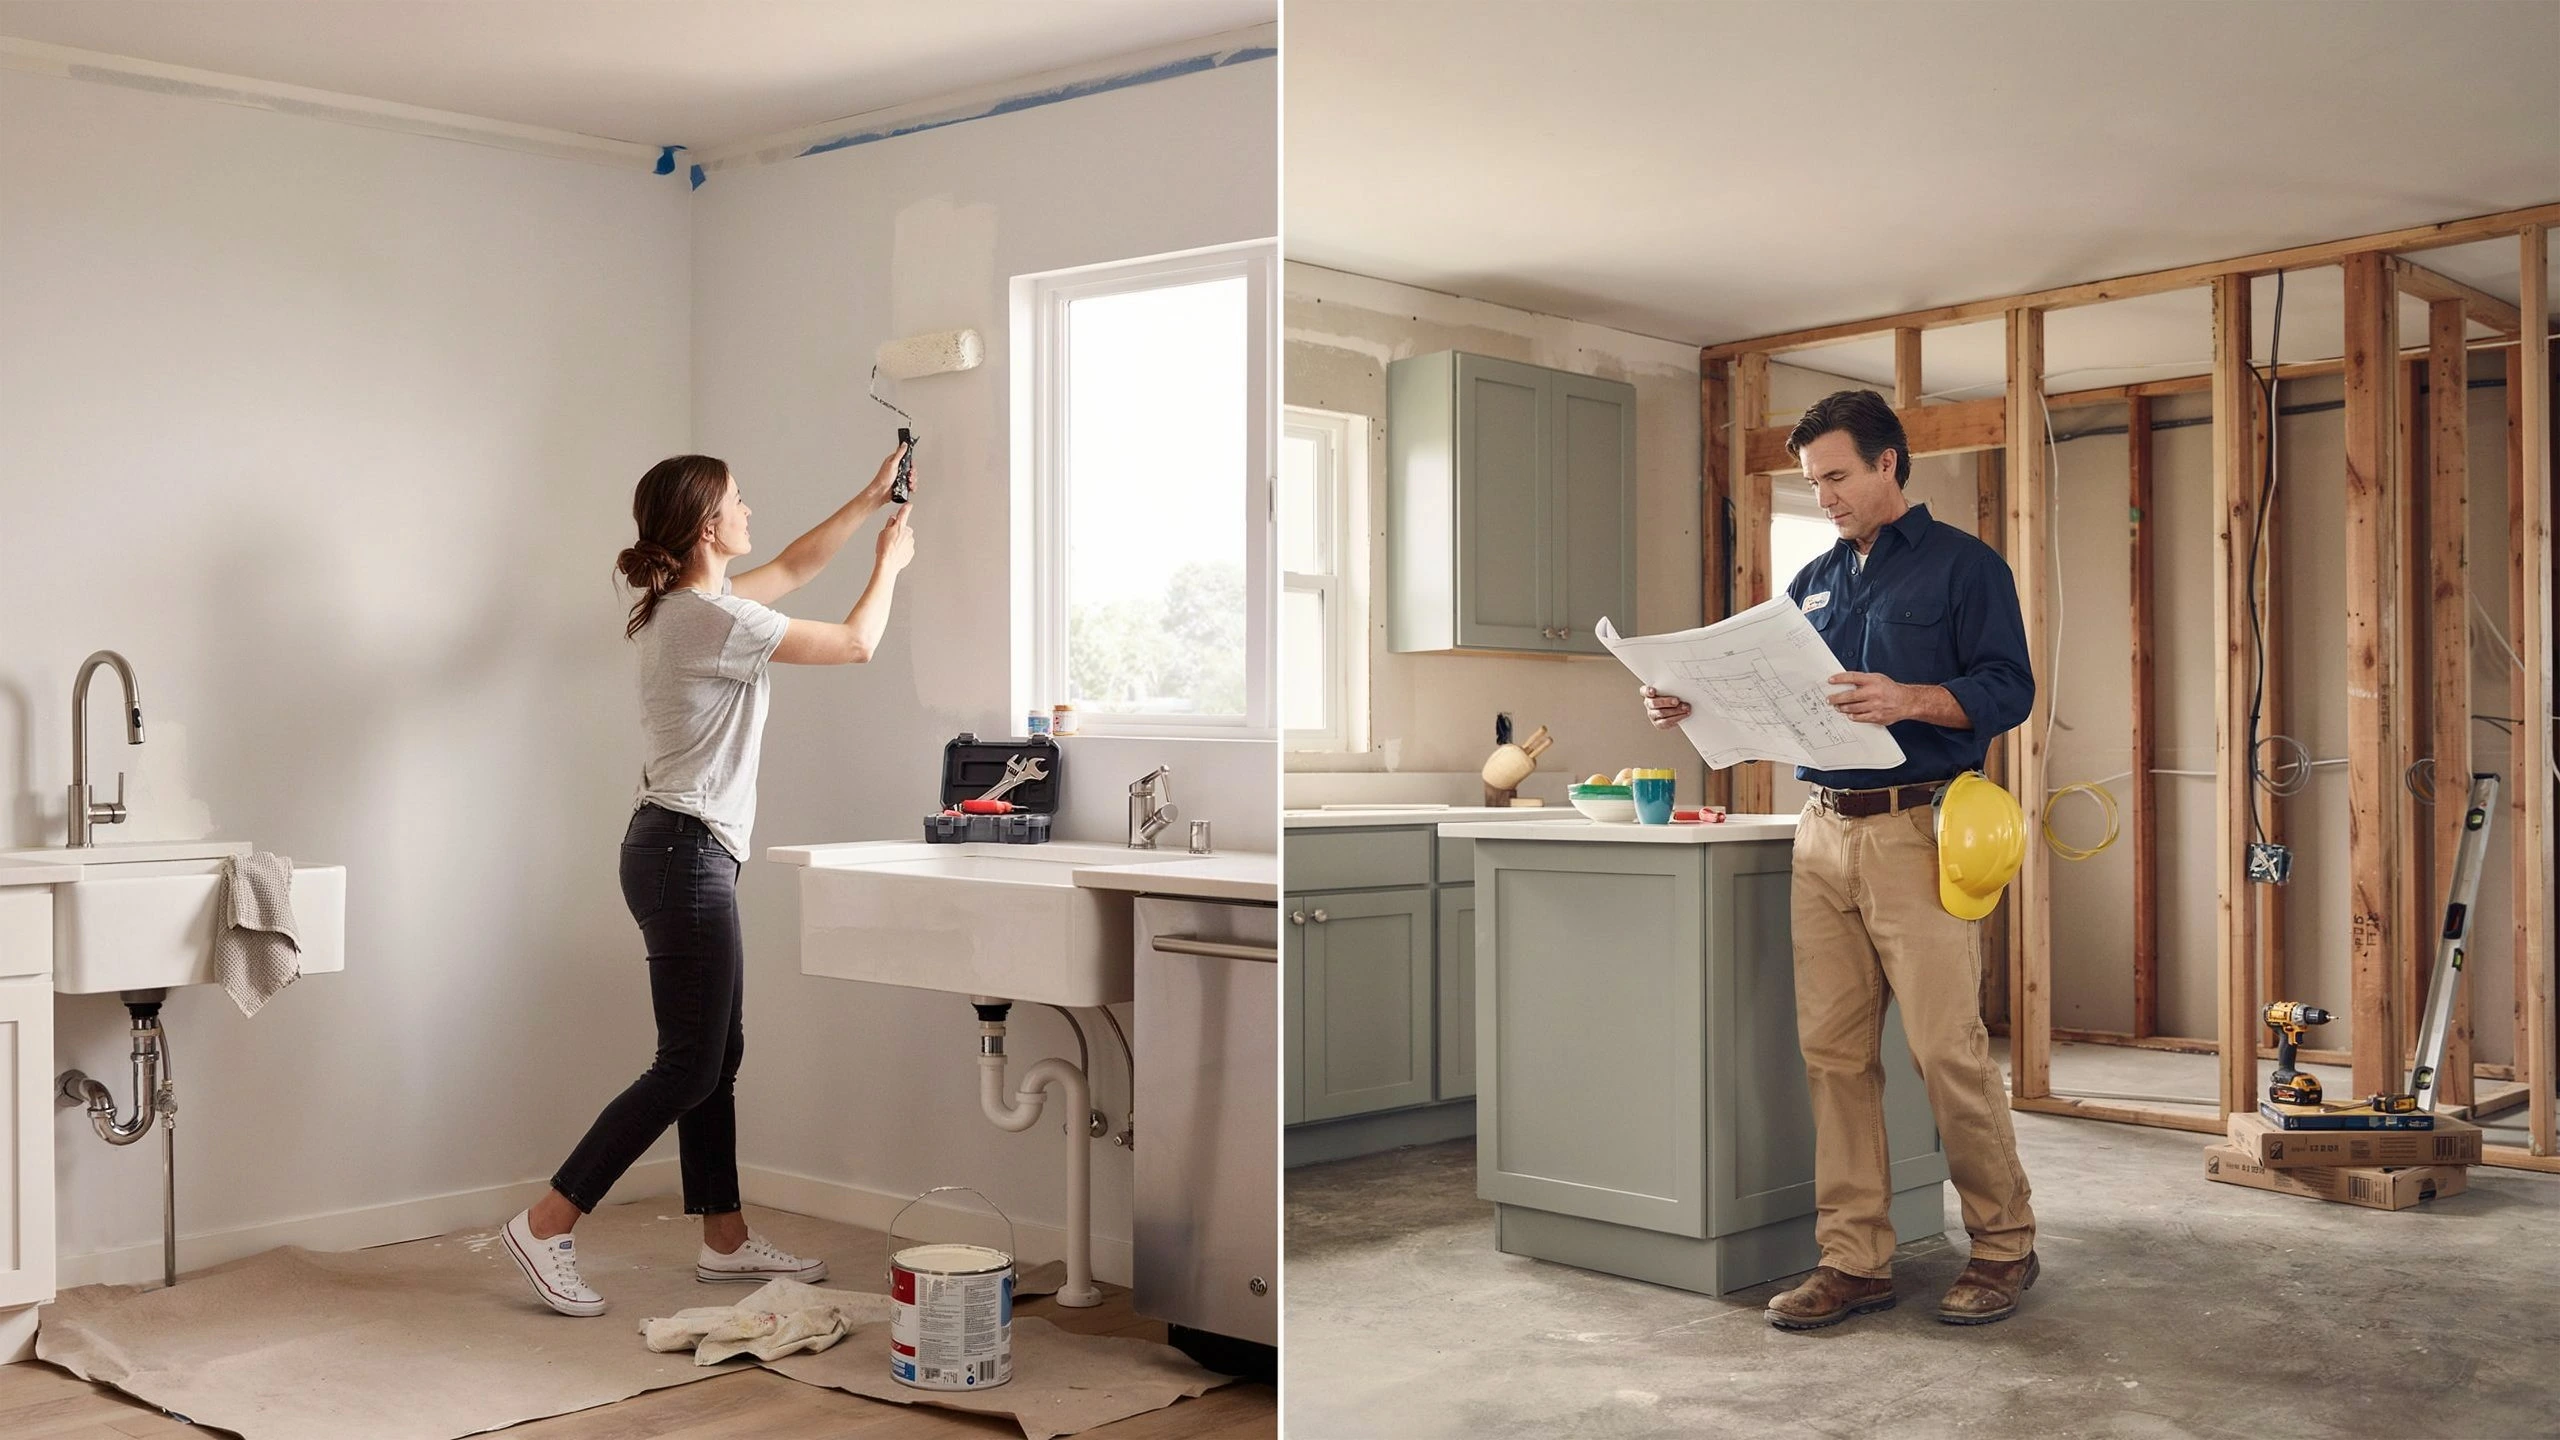
If you have ever watched a contractor install a door frame, hang kitchen cabinets, or level a window, you may have noticed them sliding small wedge-shaped pieces into tight gaps. Those tiny pieces are called shims, and they quietly do some of the most important work on any job site. Understanding what is a shim and how to use it correctly can save you hours of frustration on your next home project.
Shims are used in virtually every type of construction and renovation work, from the smallest DIY fix to full-scale remodels. Whether you are hanging a door, leveling a cabinet, or stabilizing a toilet, shims are the unsung heroes that make the finished result look and perform perfectly. At San Diego Whole Home Remodeling, our crews rely on shims daily to ensure every installation meets the highest standards of accuracy and craftsmanship.
This guide explains everything a homeowner or first-time DIYer needs to know, from what shims are and the different types available, to how to use them step by step and the most common mistakes to avoid.
Table of Contents
What Is a Shim? (Simple Definition)

A shim is a thin, tapered piece of material, typically wood, plastic, metal, or composite, that is inserted into a gap to level, align, or support an object. Think of it like placing a folded piece of cardboard under a wobbly restaurant table, except in construction, shims are purpose-built, precise, and permanent.
In shim construction, the goal is always accuracy. Buildings are rarely perfectly flat or plumb. Walls lean slightly, floors slope, and rough openings are seldom square. A shim fills that imperfect space so the installed piece, whether a door, window, or cabinet, sits exactly where it should.
The shim space refers to the small gap deliberately left between a structural element and an installed fixture. This space is where the shim does its job. Without it, installers would have no room to make file adjustments.
Why Shims Are Used in Construction Work
When people ask what are shims used for, the short answer is: to make imperfect conditions work perfectly. Here are the most practical reasons shims appear on nearly every job site:
- Fix uneven or sloping surfaces so objects can sit level
- Align doors, windows, and cabinets within their rough openings
- Fill small gaps between materials where a precise fit is needed
- Prevent wobbling, rocking, or structural misalignment over time
- Distribute load evenly across a surface, improving structural stability
Even in a high-quality San Diego Kitchen Remodeling Services project, the floor beneath the cabinets may not be perfectly flat. Shims bridge that gap between what exists and what a professional installation demands.
Types of Shims You Should Know
Choosing the right type of shim depends on where you are using it and what conditions it will face. Here is a breakdown of the four main categories:
Wooden Shims
Wooden shims are the most common type found on residential job sites. They are usually made from kiln-dried cedar or pine, which makes them easy to cut, snap, and adjust on the fly. They work well for door frames, window installations, and baseboards. However, they should not be used in areas where moisture is present, since wood can swell, rot, or compress over time.
Plastic Shims
Plastic shims are water-resistant and dimensionally stable, meaning they do not expand or contract with humidity changes. These are the go-to choice for bathroom installations, exterior window trim, outdoor decking, and any application near water. They are slightly more expensive than wood but far more durable in wet environments.
Metal Shims
Metal shims, typically made from steel or aluminum, are used in high-precision and heavy-load applications. You will find them in machine alignment, automotive work, structural steel installations, and industrial equipment. They offer exact thickness tolerances that wood and plastic cannot match, making them essential where measurement accuracy is critical.
Composite Shims
Composite shims are manufactured from recycled materials and fiberglass mixtures. They are exceptionally strong, moisture-resistant, and long-lasting. Many modern construction projects, especially those targeting green building certifications, favor composite shims for their durability and sustainability. They are also non-compressible, which makes them ideal for load-bearing applications.
How a Shim Works: Step-by-Step
Using a shim is straightforward once you understand the basic process. Here is how professionals approach it on any job:
- Identify the uneven gap. Before touching a shim, use a level tool to locate exactly where the surface or frame is high, low, or out of plumb.
- Insert the shim into the shim space. Slide the tapered end into the gap. The thin tip goes in first, allowing you to control how much material fills the space.
- Adjust until level. Push the shim in further to raise the surface or pull it back slightly to lower it. Check with your level after each small adjustment.
- Secure in place. Once the object is perfectly aligned, fasten it with screws or nails through the shim. Some installers also use construction adhesive for added permanence.
- Trim excess material. Use a utility knife or oscillating tool to score and snap off any portion of the shim that extends beyond the frame or surface.
This same sequence applies whether you are working on Types of Crown Molding installations, window frames, or leveling subfloor sections during a Ranch Style Home Remodel.
Common Uses of Shims in Real Projects
Door Installation
This is where most homeowners first encounter what are shims. Rough door openings are almost never perfectly square, so shims are placed at the hinge points and latch side of the frame to bring it into alignment. Without them, doors drag, fail to latch, or leave uneven gaps around the perimeter.
Cabinet Installation
Kitchen and bathroom cabinets must sit perfectly level for drawers and doors to open and close properly. Shims placed beneath base cabinets compensate for uneven floors. This is a standard part of any professional kitchen remodel. If you are searching for guidance on a kitchen overhaul, resources like a dedicated kitchen remodel page can show you exactly how professionals handle leveling during full cabinet installations.
Window Frames
Windows installed without proper shimming may rack over time, causing seals to fail, drafts to develop, and frames to warp. Shims keep the window unit square within the rough opening, which is especially important in Top Exterior Home Remodeling Ideas projects where energy efficiency and weatherproofing are priorities.
Flooring Work
Shims are used beneath flooring underlayment or subfloor panels to eliminate soft spots and low points. In hardwood and tile installations especially, any movement underfoot signals an improperly supported subfloor. Shim construction at the floor level prevents squeaking, cracking, and tile grout failures.
Plumbing and Fixtures
Toilets and pedestal sinks often wobble on uneven tile floors. Rather than cracking the tile or re-floating the floor, a plastic shim placed under the base provides a stable, water-resistant solution. This quick fix is far cheaper than tearing up a bathroom floor.
Why Shims Are Important in Construction Quality
It is easy to overlook a piece of material that costs only a few cents, but a shim placed correctly is the difference between a job that lasts twenty years and one that fails in two. Here is why they matter so much in terms of overall build quality:
- They prevent future cracking in drywall, plaster, and tile caused by settled or uneven framing
- They eliminate stress concentrations on fasteners, which can cause screws and nails to loosen over time
- They contribute to a polished, professional finish, because a level surface looks intentional, not sloppy
- They reduce callbacks and repair costs, as properly installed fixtures simply do not fail
The same attention to detail that goes into a thorough Cost for Exterior Home Painting project, where proper surface prep determines how long the paint holds, applies to shimming. Preparation and precision upfront prevent expensive fixes later.
Common Mistakes People Make When Using Shims
Even experienced DIYers make these errors. Avoiding them will save you time, money, and a lot of re-work:
- Using the wrong material for the environment. Wood shims in a wet bathroom will absorb moisture, swell, and push the fixture out of alignment.
- Over-tightening fasteners through the shim. Driving screws too hard can crack wood shims or compress soft materials, undoing all your leveling work.
- Stacking too many thin shims. A single shim used correctly is far more stable than a wobbly tower of five pieces. Use a thicker shim or a different approach if the gap is large.
- Not checking level at multiple points. A frame can appear level at one end but still be twisted. Always check both horizontal and vertical alignment before fastening.
- Leaving excess shim exposed. Protruding shim material traps moisture, looks unprofessional, and can interfere with trim and finishes.
Pro Tips for Using Shims Like a Professional
Here is what experienced contractors do differently when it comes to shimming:
- Always use a quality level tool, not guesswork. A torpedo level or a digital level ensures consistent accuracy.
- Use two opposing shims (one from each side of the gap) so you can make micro-adjustments in both directions without removing and reinserting.
- Match shim material to the environment: wood for dry interior work, plastic for wet zones, composite for high-load applications.
- Fasten through the shim and the frame together with a single nail or screw so both are locked in place simultaneously.
- Trim shims only after confirming everything is secure and level. Trimming too early can shift your alignment.
Shim vs Spacer: What Is the Difference?
These two terms are sometimes used interchangeably, but they serve different functions in shim construction:
| Shim | Spacer |
Purpose | Adjusts alignment and level | Maintains a fixed, consistent distance |
Shape | Tapered (wedge) | Uniform thickness |
Adjustability | Highly adjustable | Fixed / predetermined |
Common use | Door frames, cabinets, windows | Tile grout lines, deck boards, hardware |
Material | Wood, plastic, metal, composite | Plastic, rubber, metal |
Understanding this distinction helps you order the right materials before a job starts, reducing trips to the hardware store and keeping your project on schedule.
Conclusion
Now you know what is a shim and how it helps fix uneven surfaces in simple construction work. From doors to cabinets and even full home upgrades, shims make sure everything stays level and stable.
In short, shims may be small, but they play a big role in giving your home a clean, professional finish that lasts.
If you are planning your next project, from small fixes to full remodeling, contact us at San Diego Whole Home Remodeling.
FAQs
What is a shim used for in everyday construction?
A shim is primarily used to fill small gaps and correct misalignment during installation. In shim construction, it ensures doors open smoothly, cabinets sit level, windows seal properly, and fixtures stay stable on uneven floors. Virtually any installation that requires precise alignment will involve at least a few shims.
Can I reuse shims after removing them?
Plastic and metal shims can typically be reused if they have not been compressed, bent, or damaged. Wooden shims, however, are inexpensive enough that it is generally better to use fresh ones each time. A shim that has been nailed through or subjected to heavy load may no longer be accurately tapered, which defeats its purpose.
Are plastic shims better than wooden shims?
Neither is universally better; the right choice depends on the application. Plastic shims outperform wood in wet or humid environments because they do not swell, rot, or compress over time. Wooden shims are easier to trim with basic hand tools and work perfectly well in dry interior settings. Choose based on moisture exposure and the level of precision your project requires.
Do professionals still use shims in modern construction?
Absolutely. Despite advances in precision manufacturing and pre-fabricated building components, no structure is built on a perfectly flat, plumb, and square substrate. Shims remain a fundamental part of every professional installer’s toolkit because they solve a problem that engineering tolerances cannot eliminate: real-world imperfection.
How thick is a standard shim?
Standard wooden shims typically taper from about 3/8 inch at the thick end down to a very thin point, roughly 1/16 inch or less. The overall length is usually around 8 inches. Plastic and composite shims come in a much wider range of thicknesses to accommodate specific shim space requirements across different applications.