Most bathroom projects go wrong before construction even starts. You fall in love with a tile, buy a vanity that doesn’t fit the wall, then find out moving the toilet doubles your budget. If you’ve been putting off a renovation because it feels overwhelming, that’s completely normal. The good news is that knowing how to plan a bathroom remodel the right way, before you touch a single thing, makes the entire process manageable and far less expensive.
This guide gives you a clear, step-by-step path from first idea to finished bathroom. You’ll get real cost numbers for San Diego, the correct order to make decisions, tips that most homeowners only learn after a project goes sideways, and exactly what to ask a contractor before you sign anything.
Key Takeaways
- Set your budget before you shop for materials.
- Keeping plumbing in place saves $2,000 to $5,000 or more.
- Order all tiles at once with 10 to 15% overage.
- A 15% contingency fund covers what hides behind walls.
- Pull permits. Skipping them creates problems when you sell.

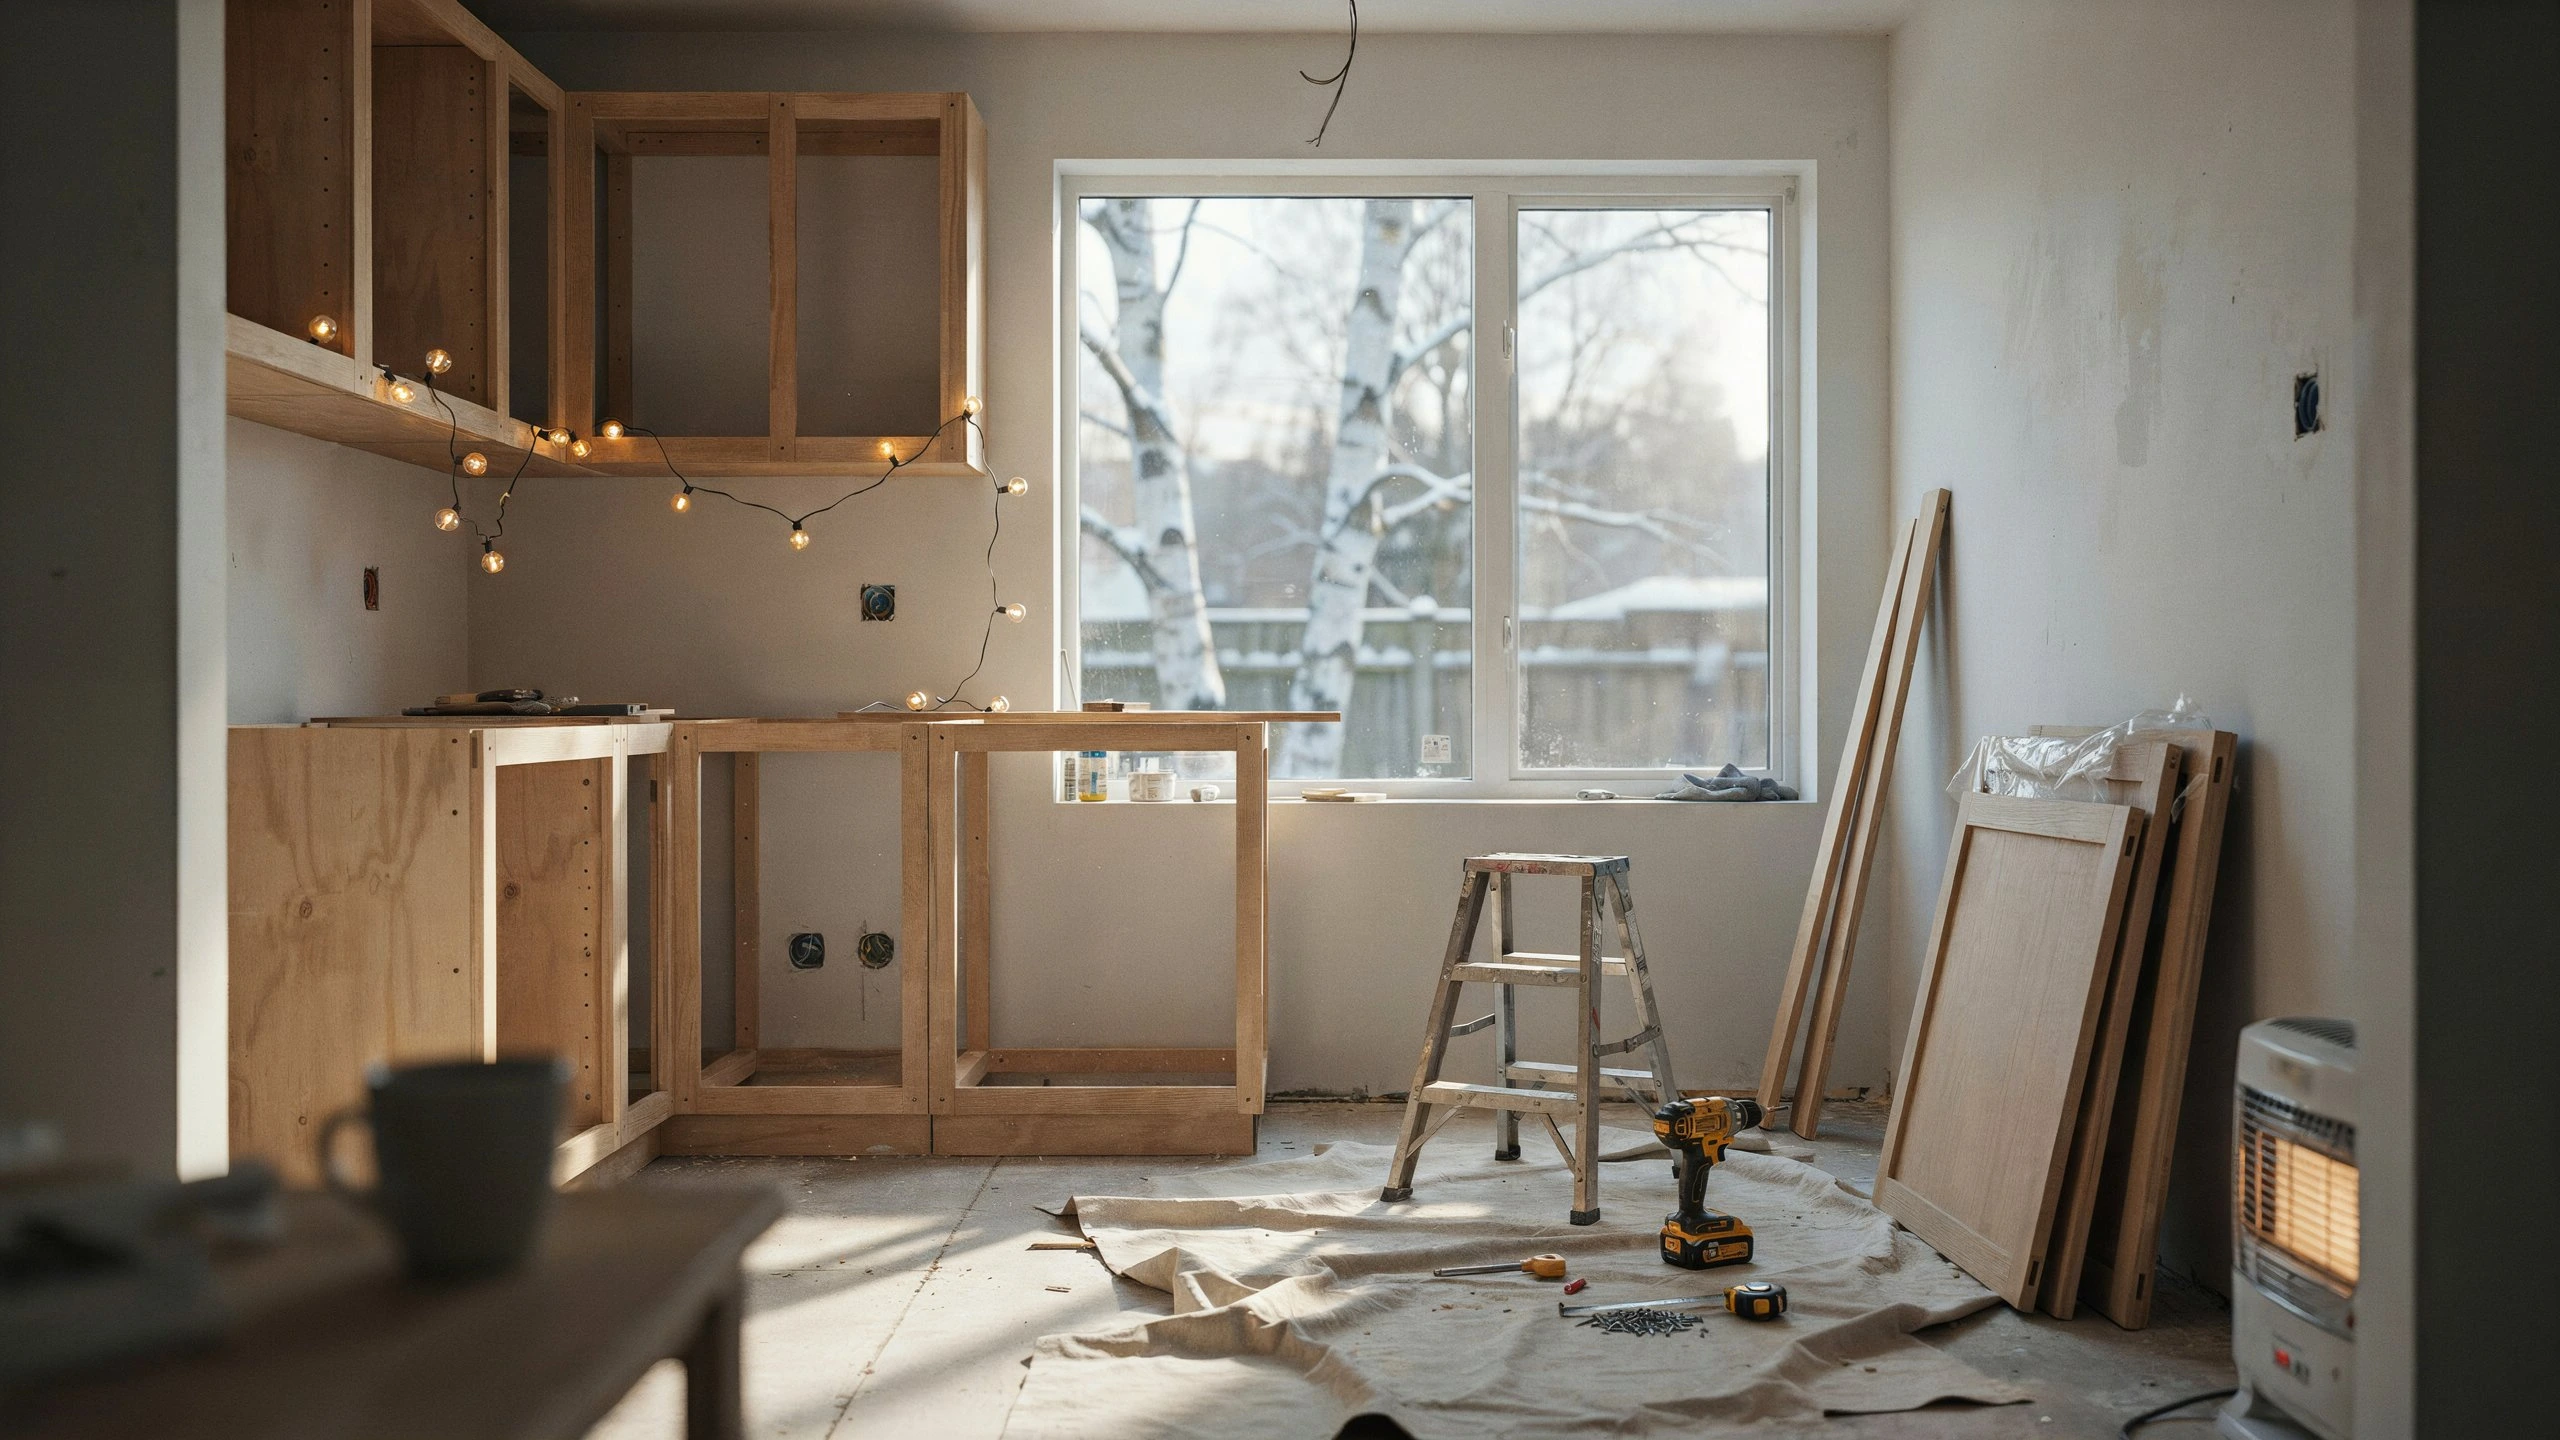
What to Expect With a Bathroom Project
A bathroom renovation is a major project that disrupts your daily routine. Even for a small bathroom remodel, the space will be completely unusable for weeks. You will hear loud noises from demolition, see dust in the air, and have workers walking through your home.
Before work begins, you must locate your main water shutoff valve. At times, the crew will shut off the house water and power. Plan to use a secondary guest bath or powder room, and move your personal items out of the work area. If you have pets or young children, you might want to arrange a separate space for them to stay safe and quiet during the loudest parts of the job.
Know What's Included in a Bathroom Project
Every project has specific bathroom renovation stages. Knowing what you are paying for helps you stay on track. A standard bathroom renovation checklist includes these phases:
- Planning and Design: Choosing a layout, drawing up a floor plan, and picking out products.
- Demolition and Inspection: Tearing out old fixtures and checking the hidden pipes and wires.
- Structural and Rough-In Work: Fixing a plumbing stack, moving a load-bearing wall, or adding framing.
- Waterproofing and Drywall: Hanging mold-resistant paint-ready drywall (greenboard) and applying a waterproof membrane.
- Finishing Work: Laying floor tile, painting walls, installing the vanity, and hooking up plumbing fixtures.
Average bathroom remodel cost in San Diego:
- Basic refresh: $8,000 to $15,000
- Mid-range remodel: $18,000 to $35,000
- Full renovation with custom finishes: $45,000 to $70,000+
Always set a contingency budget of at least 15% and treat it as untouchable unless something unexpected turns up.
You may also want to read this: Bathroom Remodel Cost
Steps to Remodel a Bathroom: In the Right Order
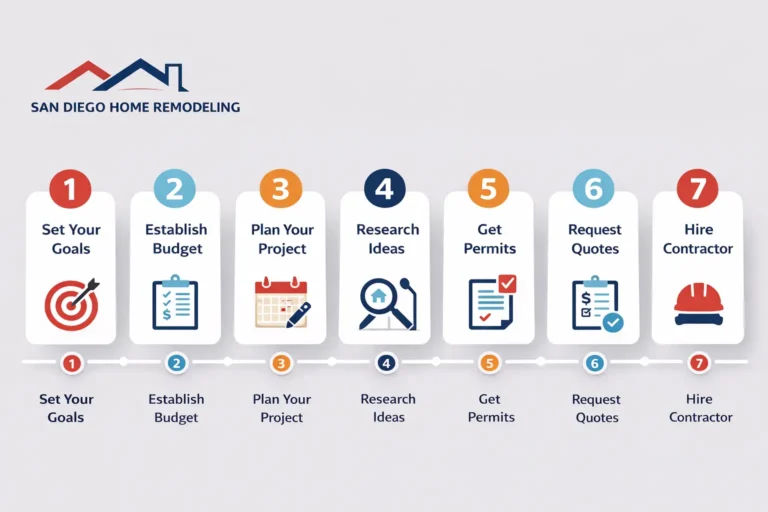
Getting the sequence right is what separates a smooth project from a costly one.
Step 1: Define your goal
Are you redesigning a bathroom to sell or to stay? Resale projects call for neutral bathroom design, timeless tile choices, and durable finishes. Long-term projects give you more freedom for double vanities, smart toilets, bidets, and heated floors.
Step 2: Set your budget
Know your number before you walk into any showroom. Attach your 15% contingency fund and don’t dip into it unless you find a real problem.
Step 3: Evaluate the floor plan
Look at your current drain location and plumbing stack. If you can keep the toilet, sink, and shower where they are, do it. Standard clearance requirements: toilets need 15 inches from centerline to wall on each side. A walk-in shower needs at least 36 x 36 inches, though 42 x 42 feels much more comfortable.
Step 4: Select materials in order
Start with floor tile. It sets everything else. Then choose a shower wall tile. Then your vanity. Then plumbing fixtures and shower heads. Hardware, vanity light, and lighting fixtures come last.
Step 5: Order materials early
Purchase all floor tile and shower wall tile at once with 10 to 15% tile overage. Tile batch matching is a real problem. Two orders from the same product can look different in color and veining. This applies to large-format tile and porcelain tile especially.
Step 6: Pull permits
Any plumbing, electrical, or structural work in a San Diego bathroom typically requires a permit. A licensed contractor handles this for you. Skipping permits creates serious problems when you sell the home.
Step 7: Hire a contractor who earns trust before starting
Verify through the CSLB license lookup tool online. Ask for a written scope of work and an itemized estimate with no vague line items. Never pay more than one-third of the total cost upfront.
20 Bathroom Remodeling Tips Before You Begin
These practical bathroom remodeling tips will help you make smart choices and protect your home value.
1. Choose Practical Floor Tile
Bathroom floors get incredibly wet and slippery. Pick a mosaic tile or a small porcelain tile for the floor. Small tiles mean more grout lines, which naturally gives your feet better traction. Save the large-format tile for your walls.
2. Layer Your Lighting
A single overhead bulb creates harsh shadows. Instead, use layered lighting. Combine a bright vanity light near the mirror for getting ready, ambient overhead lights, and wet-rated lights in the shower enclosure. Put them on dimmers to adjust the brightness.
3. Use a Recessed Exhaust Light
A noisy, bulky exhaust fan looks dated. Look for a modern recessed exhaust light. This is a high-quality exhaust fan hidden inside a sleek ceiling light fixture. It moves air fast and keeps the room looking clean.
4. Buy a Readymade Vanity
You do not need to pay for custom cabinetry. A readymade vanity saves thousands of dollars. You can find beautiful options online that include a solid stone top and a pre-installed sink. If you have the space, a double vanity adds great resale value to bathroom appeal.
5. Install a Towel Warmer
A wall-mounted towel warmer brings a high-end feel to a master bathroom. It dries towels fast, keeps them smelling fresh, and adds gentle heat to the room.
6. Map Out Cabinet Storage Organization
Do not rely on deep, messy drawers. Plan out your cabinet storage organization early. Look for vanities with built-in dividers, or add a dedicated linen tower to keep towels and toiletries out of sight.
7. Consider Skipping the Bathtub
Is a bathtub necessary? Not always. If you already have a tub in another part of the house, you can skip it in your master bathroom. Swapping a bulky tub for a large walk-in shower with a frameless shower door makes small bathrooms look twice as big.
8. Integrate a Recessed Niche
Never use plastic hanging baskets for your shampoo bottles. Have your builder frame a recessed niche into the shower wall tile. A built-in shower niche keeps your soaps neat and matches the surrounding tile.
9. Use Tile Baseboards
Wood baseboards rot quickly when water splashes out of a tub or shower. Run your waterproof membrane a few inches up the wall and install tile baseboards instead. They are completely waterproof and easy to wipe clean.
10. Stick to a Timeless Bathroom Style
Trendy colors date a home quickly. Choose a timeless bathroom style with neutral bathroom design elements. White subway tile in a classic herringbone tile pattern or a clean stacked tile pattern will look fresh for decades.
11. Match Your Tile Batches
When buying porcelain or ceramic tile, check the tile batch matching codes on the boxes. Tiles made in different batches can have slight color variations. Buy all your tile at once and add a 10% to 15% tile overage to cover cuts and mistakes.
12. Smart Outlet Placement Bathroom Rules
Think about your daily routine when mapping out outlet placement bathroom layouts. Add GFCI outlets next to the mirror, and consider installing in-vanity outlets to keep electric toothbrushes and hair dryers plugged in out of sight. You may also need an outlet near the toilet for a smart toilet or bidet.
13. Pick the Right Grout Color
Avoid bright white grout on the bathroom floor. It stains quickly and requires constant scrubbing. Choose a darker, neutral grout color like gray or beige to hide dirt and keep your floor looking clean.
14. Look Into Bathtub Reglazing
If your old cast-iron tub is structurally sound but looks ugly, do not rip it out. Ripping out a tub damages surrounding walls. Instead, look into bathtub reglazing or bathtub refinishing. This process coats your old tub to look brand new for a fraction of the cost.
15. Buy Mold-Resistant Paint
Bathrooms hold deep moisture. Regular wall paint will peel and grow mildew. Always buy a premium mold-resistant paint with a satin or semi-gloss bathroom paint sheen. These finishes repel water drops easily.
16. Plan for Acoustics Privacy
Bathrooms should feel private. Hollow-core doors let sound travel straight through the house. Install a solid core door instead. Adding thick wall insulation during the demo phase also improves acoustics privacy.
17. Invest in Heated Floors
If you dislike cold mornings, underfloor heating is worth the cost. Laying a radiant heat mat under your floor tile keeps the surface warm to the touch. It uses very little energy and adds great luxury appeal.
18. Never Use a Dip Tube Incorrectly
If your shower water takes too long to get hot, ask your plumber to check the water heater dip tube or install a dedicated recirculation line. This ensures hot water is ready the moment you turn on the shower control.
19. Buy a Wool Bathroom Rug
Skip cheap synthetic bath mats that stay soggy and collect odors. A wool bathroom rug naturally wicks away moisture, resists mold growth, and lasts much longer.
20. Install Extra Towel Hooks
You can never have too many hooks. Place them right outside the shower door, behind the main door, and next to the vanity. They take up less space than towel bars and allow towels to dry faster.
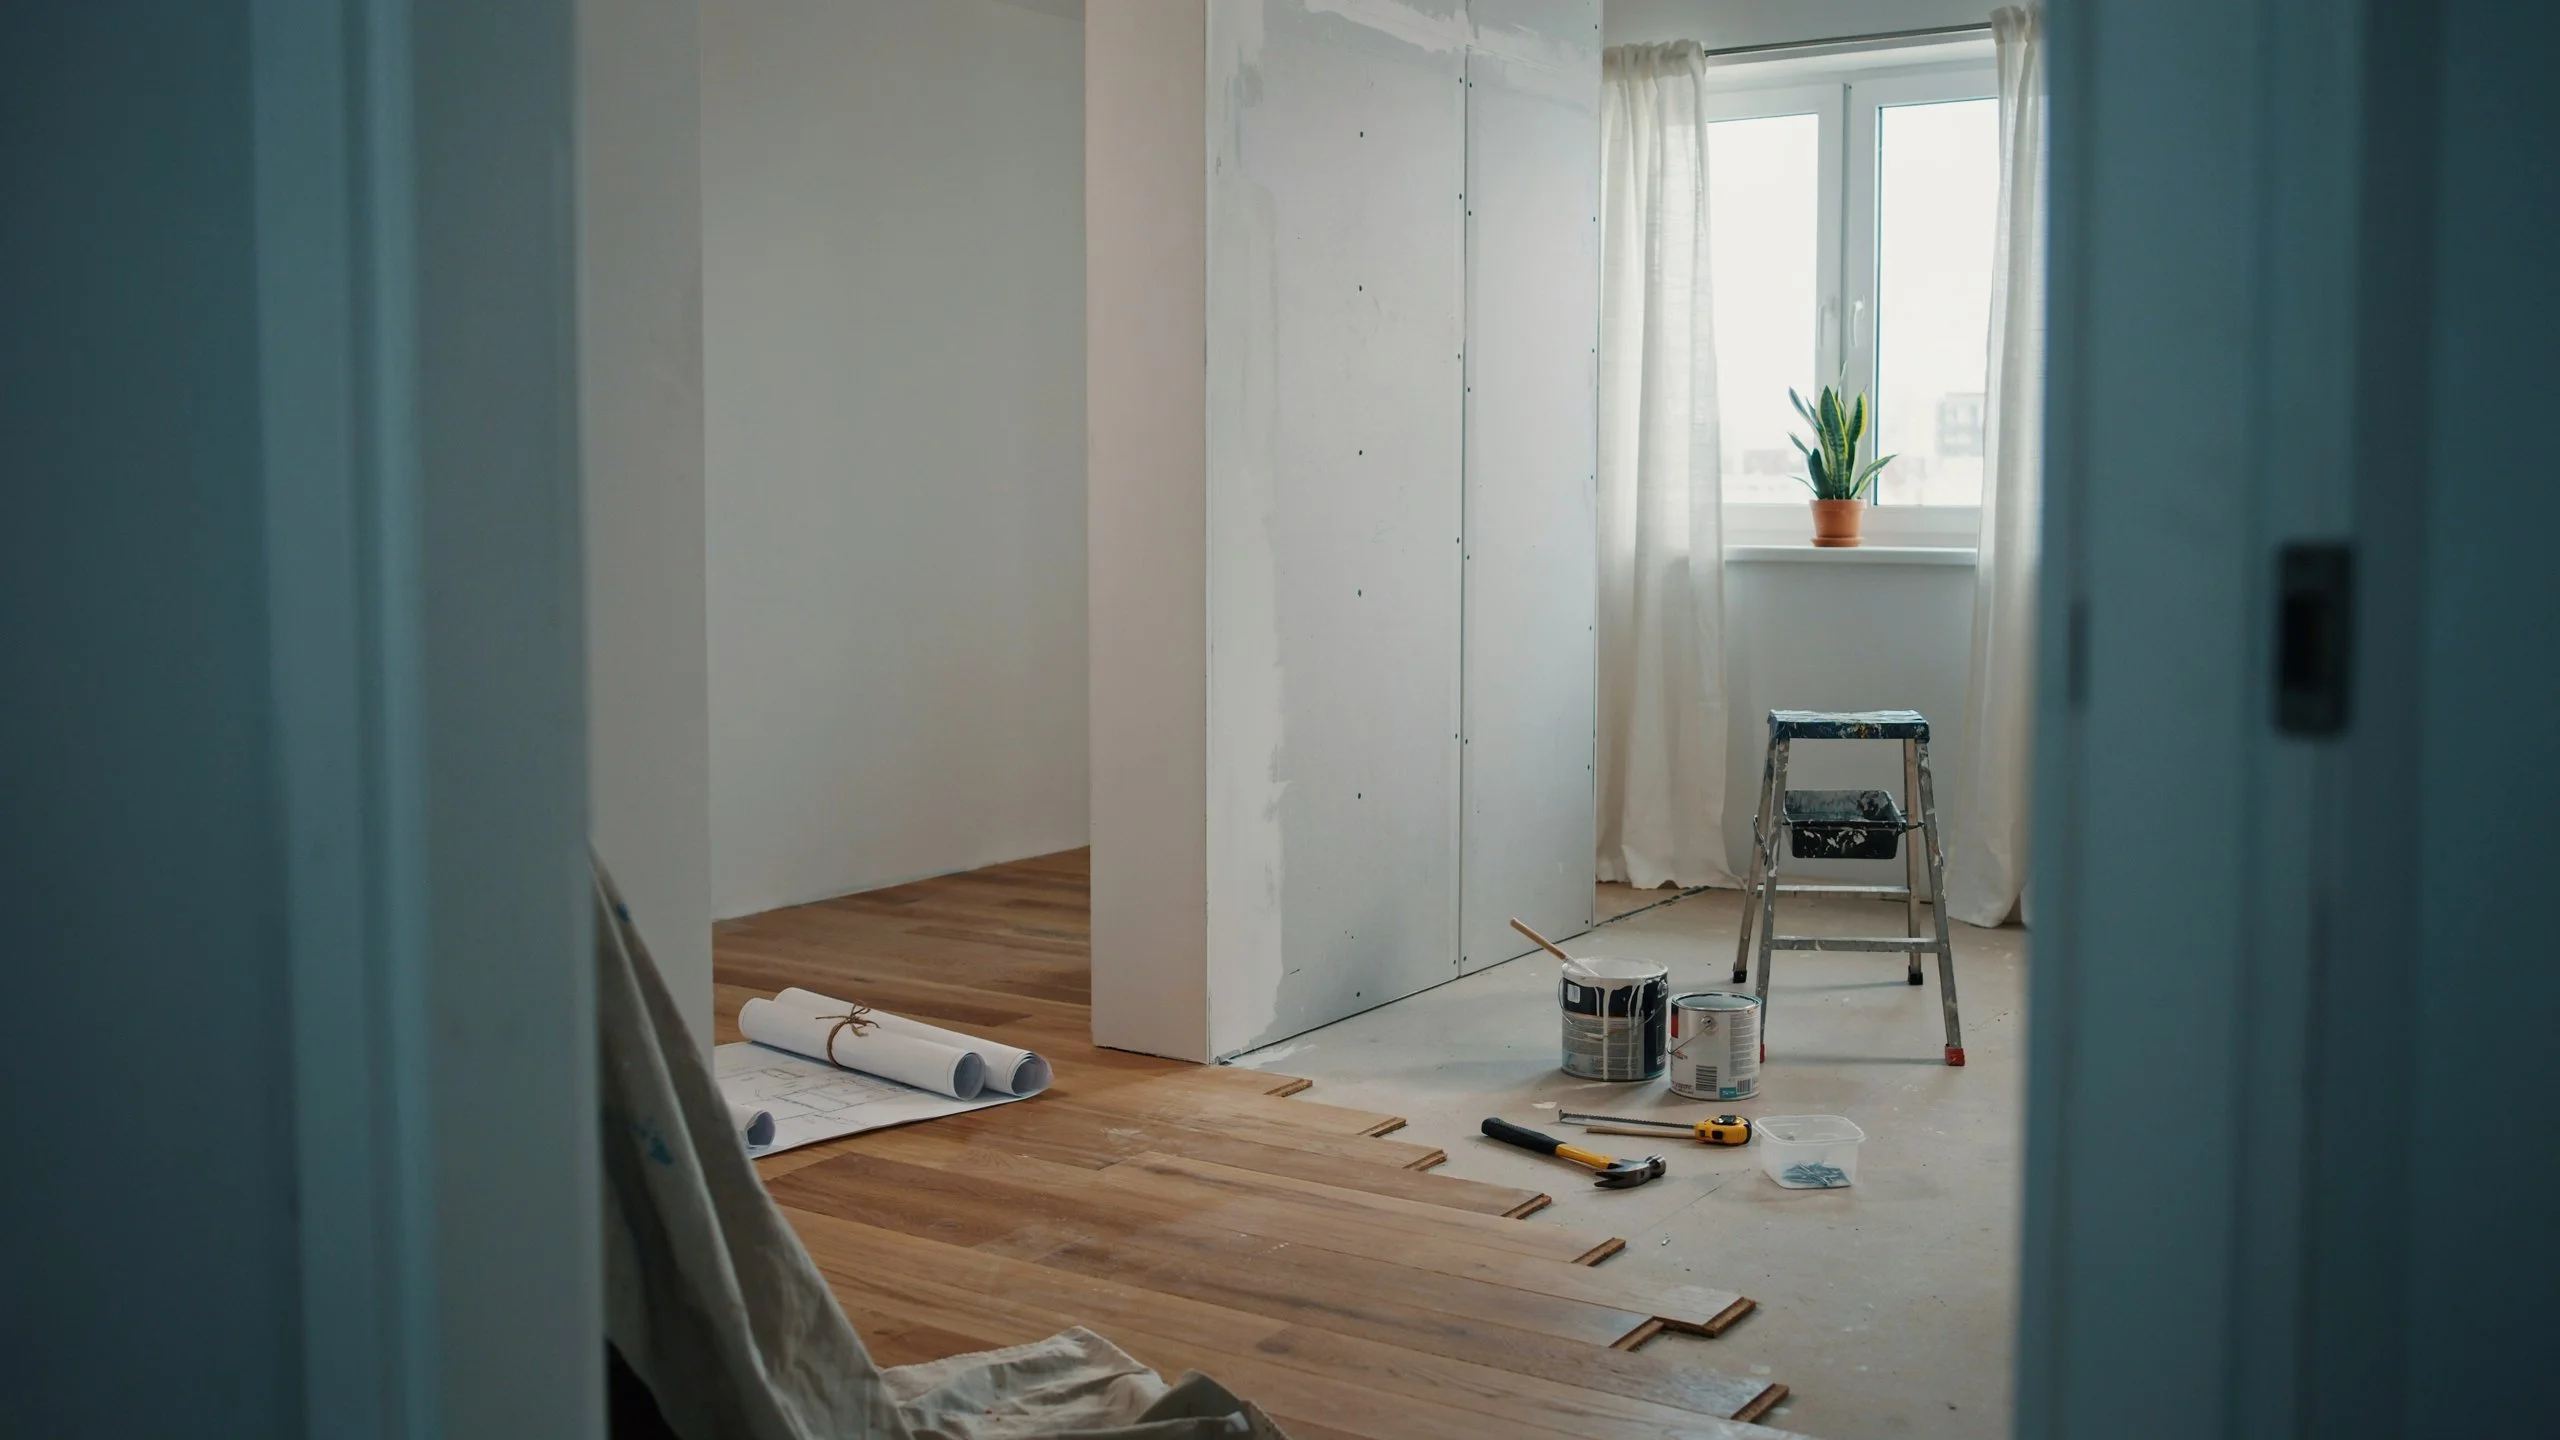
The Master Step-by-Step Remodeling Timeline
When figuring out what order to remodel a bathroom, following a strict sequence prevents you from ruining new work. Here is the correct order of operations for a bathroom remodeling how to guide:
1. Demolition and Structural Inspection: Days 1–3
Tear out old fixtures, drywall, and flooring. Inspect the exposed wood studs for water damage or old rot. Check for code compliance issues.
2. Plumbing and Electrical Rough-Ins: Days 4–7
A licensed plumber and a licensed electrician run new lines. They set the drain location, rough-in the shower control, install the exhaust fan, and run wires for outlets.
3. Framing and Insulation: Days 8–9
Build out new framing for the readymade vanity or recessed niche. Add soundproofing insulation inside the walls.
4. Waterproofing and Drywall: Days 10–12
Install mold-resistant greenboard on the walls. Apply a thick waterproof membrane across the entire shower wet area to stop leaks.
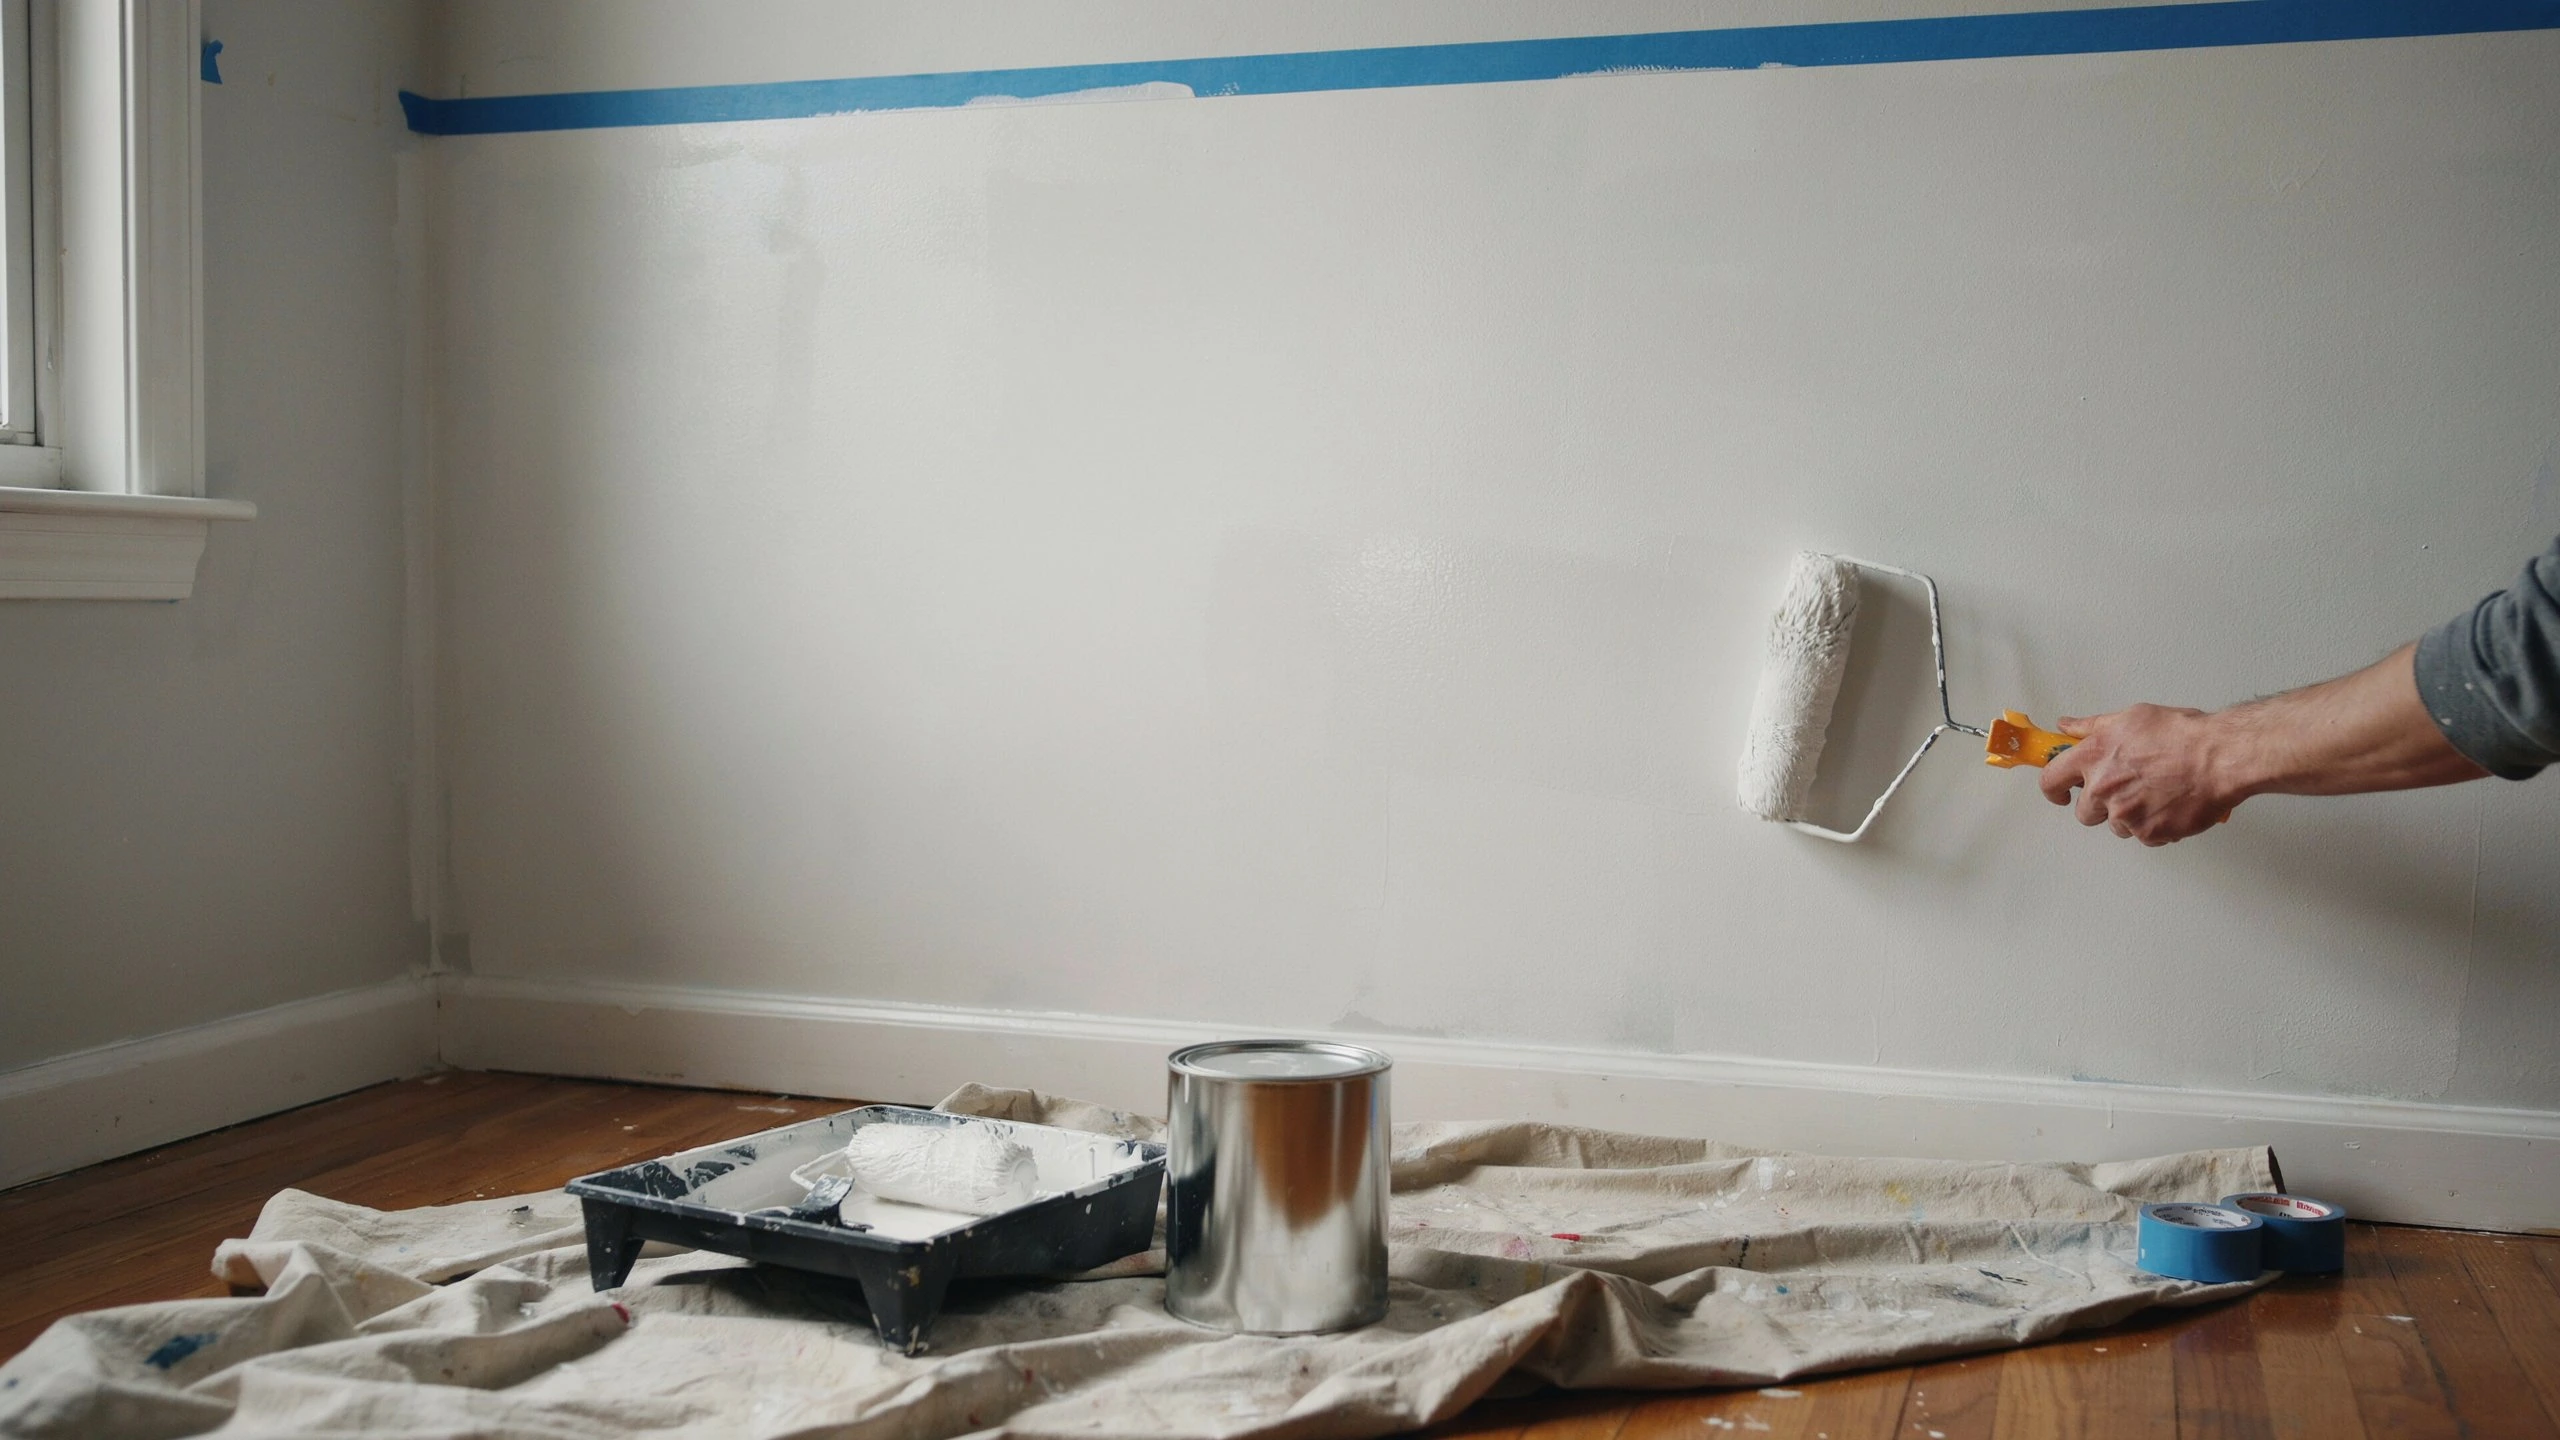
5. Wall Painting: Days 13–14
Paint the upper walls and ceiling before installing new tile or vanities. This saves time because you do not have to worry about spilling paint on expensive new fixtures.
6. Tile and Flooring Installation: Days 15–20
Lay the floor tile first, then start on the shower wall tile. Apply grout, seal the lines, and install your tile baseboards.
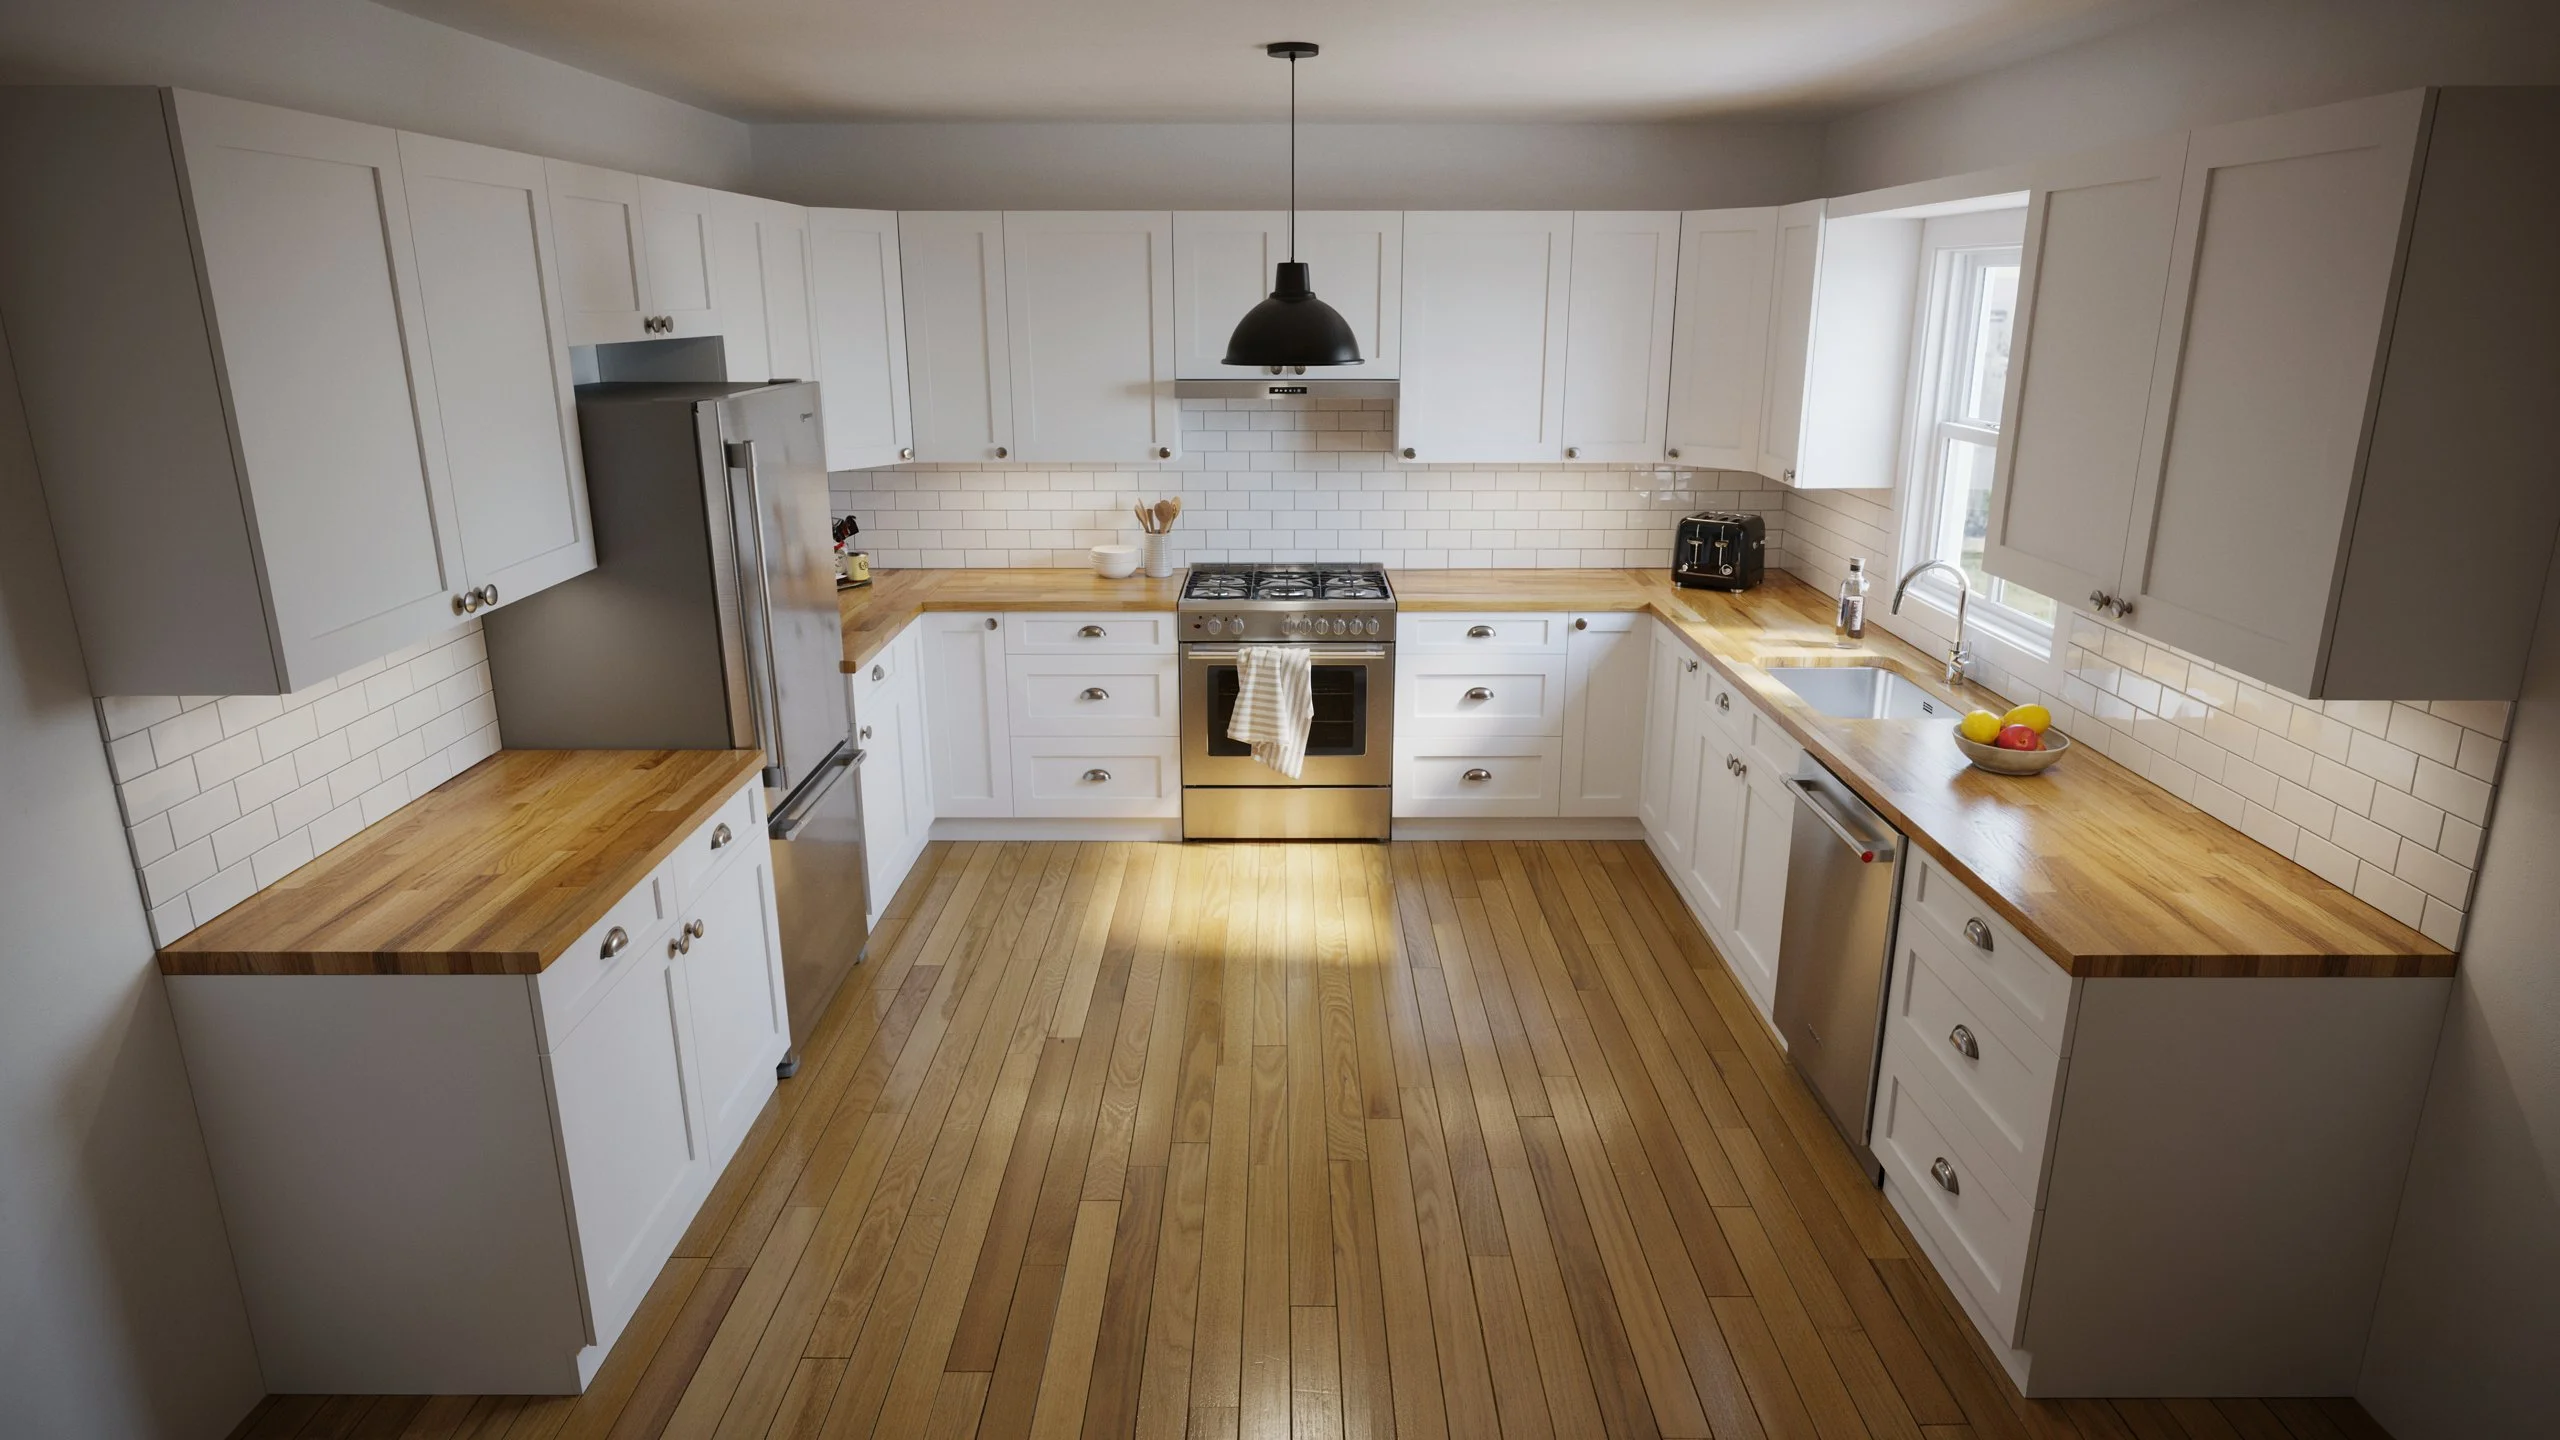
7. Fixtures and Finish Hardware: Days 21–25
Set the vanity, secure the toilet or bidet, hang the frameless shower door, and connect the final plumbing fixtures and light switches.
Steps After the Bathroom Remodel
Once construction finishes, a few final steps remain.
Walk through the finished space with your contractor. Test all plumbing fixtures. Check that grout is sealed and no tiles sound hollow when tapped. If permits were pulled, schedule the final inspection before the project is officially closed out.
Keep records of all materials: tile batch numbers, paint sheen formula, fixture model numbers, and grout color codes. You’ll need them for repairs down the line.
Work With a Team That Plans It Right
Planning is only as good as the team that carries it out. San Diego Home Remodeling has helped hundreds of homeowners across La Jolla, Carlsbad, Chula Vista, Encinitas, and the wider San Diego area plan and complete renovations of every size and scope.
Every project starts with a written scope of work, a clear itemized estimate, and a timeline that holds. No vague bids and no surprises that weren’t discussed first.
Ready to start? Contact San Diego Home Remodeling today for a free estimate and a straightforward conversation about what your bathroom renovation actually needs.
Final Thoughts: How to Plan a Bathroom Remodel
The best bathroom projects don’t start with tile selection. They start with a clear goal, a realistic budget, and a plan built before anyone picks up a hammer.
Set your number. Lock your floor plan. Choose materials in the right order. Hire someone with a license, a real written bid, and references you can actually call. And keep that 15% contingency until you need it.
Most bathroom renovation regrets trace back to one thing: decisions made too fast without enough information. Now you have the information.
FAQs About Planning a Bathroom Remodel
How long does a bathroom remodel take?
A basic refresh takes 1 to 2 weeks. A mid-range remodel with new tile and fixtures takes 3 to 6 weeks. A full gut renovation runs 6 to 10 weeks depending on material lead times and permit turnaround.
Do I need a permit to remodel a bathroom in San Diego?
Yes, in most cases. Plumbing changes, electrical updates, and structural modifications all require permits in San Diego. A licensed contractor pulls them for you. Skipping this step creates legal and financial issues when you sell.
What is the most expensive part of a bathroom remodel?
Labor costs and plumbing changes drive the highest cost. Keeping your drain location in place is the single best way to stay within budget.
How do I choose the right grout color?
Pick a grout color two shades darker than your tile. Avoid white or near-white grout in any wet area. It stains quickly and is nearly impossible to restore.
Are heated floors worth the cost?
Yes, particularly when the floor is already open. A radiant heat mat installed during a remodel is one of the lowest-cost, highest-satisfaction upgrades you can add.
Can I reglaze my old bathtub instead of replacing it?
Yes. Bathtub reglazing and bathtub refinishing work well on tubs that are structurally sound. Results last 10 to 15 years with proper care. The cost is a fraction of full replacement.
How much tile overage should I order?
Order 10 to 15% more than your measured square footage. This accounts for cuts, breakage, and future repairs. Always order from the same batch to avoid color variation between lots.