
Most remodels don’t fail because of bad design choices. They fail because nobody plans properly for time and money. A homeowner picks the perfect tile, layout, and fixtures, then the project runs eight weeks past the deadline and twenty percent over budget because no real plan existed before the sledgehammers came out. That’s exactly what your complete remodeling project checklist is meant to prevent.
Built from real project patterns across dozens of San Diego homes, this homeowners remodeling checklist gives you a structure so nothing gets missed and your timeline stays intact. At San Diego home remodeling, we’ve watched these same mistakes repeat. This checklist exists so you don’t have to learn them the hard way.
What Should Be Included in a Remodeling Checklist
A solid remodeling checklist covers five phases, and skipping any one of them is usually where projects go sideways.
- Planning: Goals, budget, timeline, and permits get locked in before anything else happens.
- Design and hiring: Materials get chosen and the right contractor gets vetted and contracted.
- Pre-construction prep: Materials get ordered, the home gets protected, and living arrangements get sorted.
- Construction: Demo, rough-in work, and finishing happen in sequence, with active communication throughout.
- Closeout: Inspections pass, the punch list gets cleared, and paperwork gets filed away.
Each phase depends on the one before it. Rushing planning to “get to the fun part” is the single most common reason projects blow past budget.
Why a Remodeling Checklist Matters
Cost overruns rarely come from one big mistake. They come from a string of small decisions made without enough information. A homeowner picks a contractor without checking references, the contractor underbids to win the job, and three months in, change orders start piling up because the original scope was never clearly defined.
Timeline slippage works the same way. On a typical mid-size kitchen remodel, material lead times alone can eat four to eight weeks if cabinets or custom countertops aren’t ordered early. Add a permit delay from the city, and a project quoted at ten weeks can stretch to sixteen before a single cabinet gets hung.
Then there’s decision fatigue. Somewhere around week three of living with dust and tarps, homeowners start making rushed choices just to move things forward. That’s when budgets get blown on last-minute upgrades or downgrades that don’t actually reflect what they wanted. A written checklist removes a lot of that pressure because the big decisions are already made before construction starts, not during it.
Phase 1: Planning the Project
Define Your Goals and Priorities
Before anything else, separate your “must-haves” from your “nice-to-haves.” A family remodeling a kitchen for better flow needs a different plan than one remodeling purely for resale value. Write down the actual problem you’re solving, not just the finishes you like on a mood board.
Set a Realistic Budget with a Contingency Buffer
Set your total number first, then build in a contingency buffer of 10 to 20 percent for unexpected issues. Older homes, especially many found throughout San Diego’s coastal and inland neighborhoods, often reveal outdated wiring, plumbing, or structural surprises once walls open up. That buffer isn’t optional padding. It’s the difference between finishing on budget and finishing with regret.
Build a Realistic Timeline
Work backward from your target move-in or completion date, then add buffer weeks for permitting, inspections, and material delays. A realistic timeline accounts for the fact that construction rarely moves in a straight line.
Research Permits and Local Regulations
Permit requirements vary significantly depending on the scope of work and the jurisdiction. Structural changes, electrical panel upgrades, and additions almost always require permits, while simple cosmetic updates usually don’t. Skipping this step can lead to stop-work orders mid-project, which is far more costly than the permit fee itself.
Phase 2: Design, Materials, and Hiring
After any major planning decision, it helps to have a partner who’s done this before. Our team at San Diego home remodeling walks clients through this exact process daily, which is why so many of these steps come from firsthand project experience rather than general advice.
Create a Design Plan or Mood Board
Nail down your design direction before requesting quotes. Contractors price jobs more accurately when they know exactly what materials and finishes you’re working toward, which prevents costly scope changes later.
Choosing Durable Materials Over Trendy Ones
Trends fade, but poor material choices show wear within a year or two. Quartz countertops, for example, consistently outperform trendier options like polished concrete in high-use kitchens because they resist staining and chipping under daily use.
Getting Multiple Quotes and Comparing Estimates
Get at least three detailed quotes, and compare them line by line, not just by total price. A lower bid that excludes permit costs or demo debris removal often ends up more expensive once those items get added back in.
How to Hire the Right Contractor
Check active licensing, verify current insurance, and call references from projects completed in the last twelve months, not just older ones. Ask specifically how the contractor handles unexpected issues found during the demo, since that answer reveals more about their process than any portfolio photo.
Signing a Clear Contract
Your contract should spell out the full scope of work, a payment schedule tied to completed milestones, and a clear change order process. Vague contracts are where disputes start.
Phase 3: Pre-Construction Prep
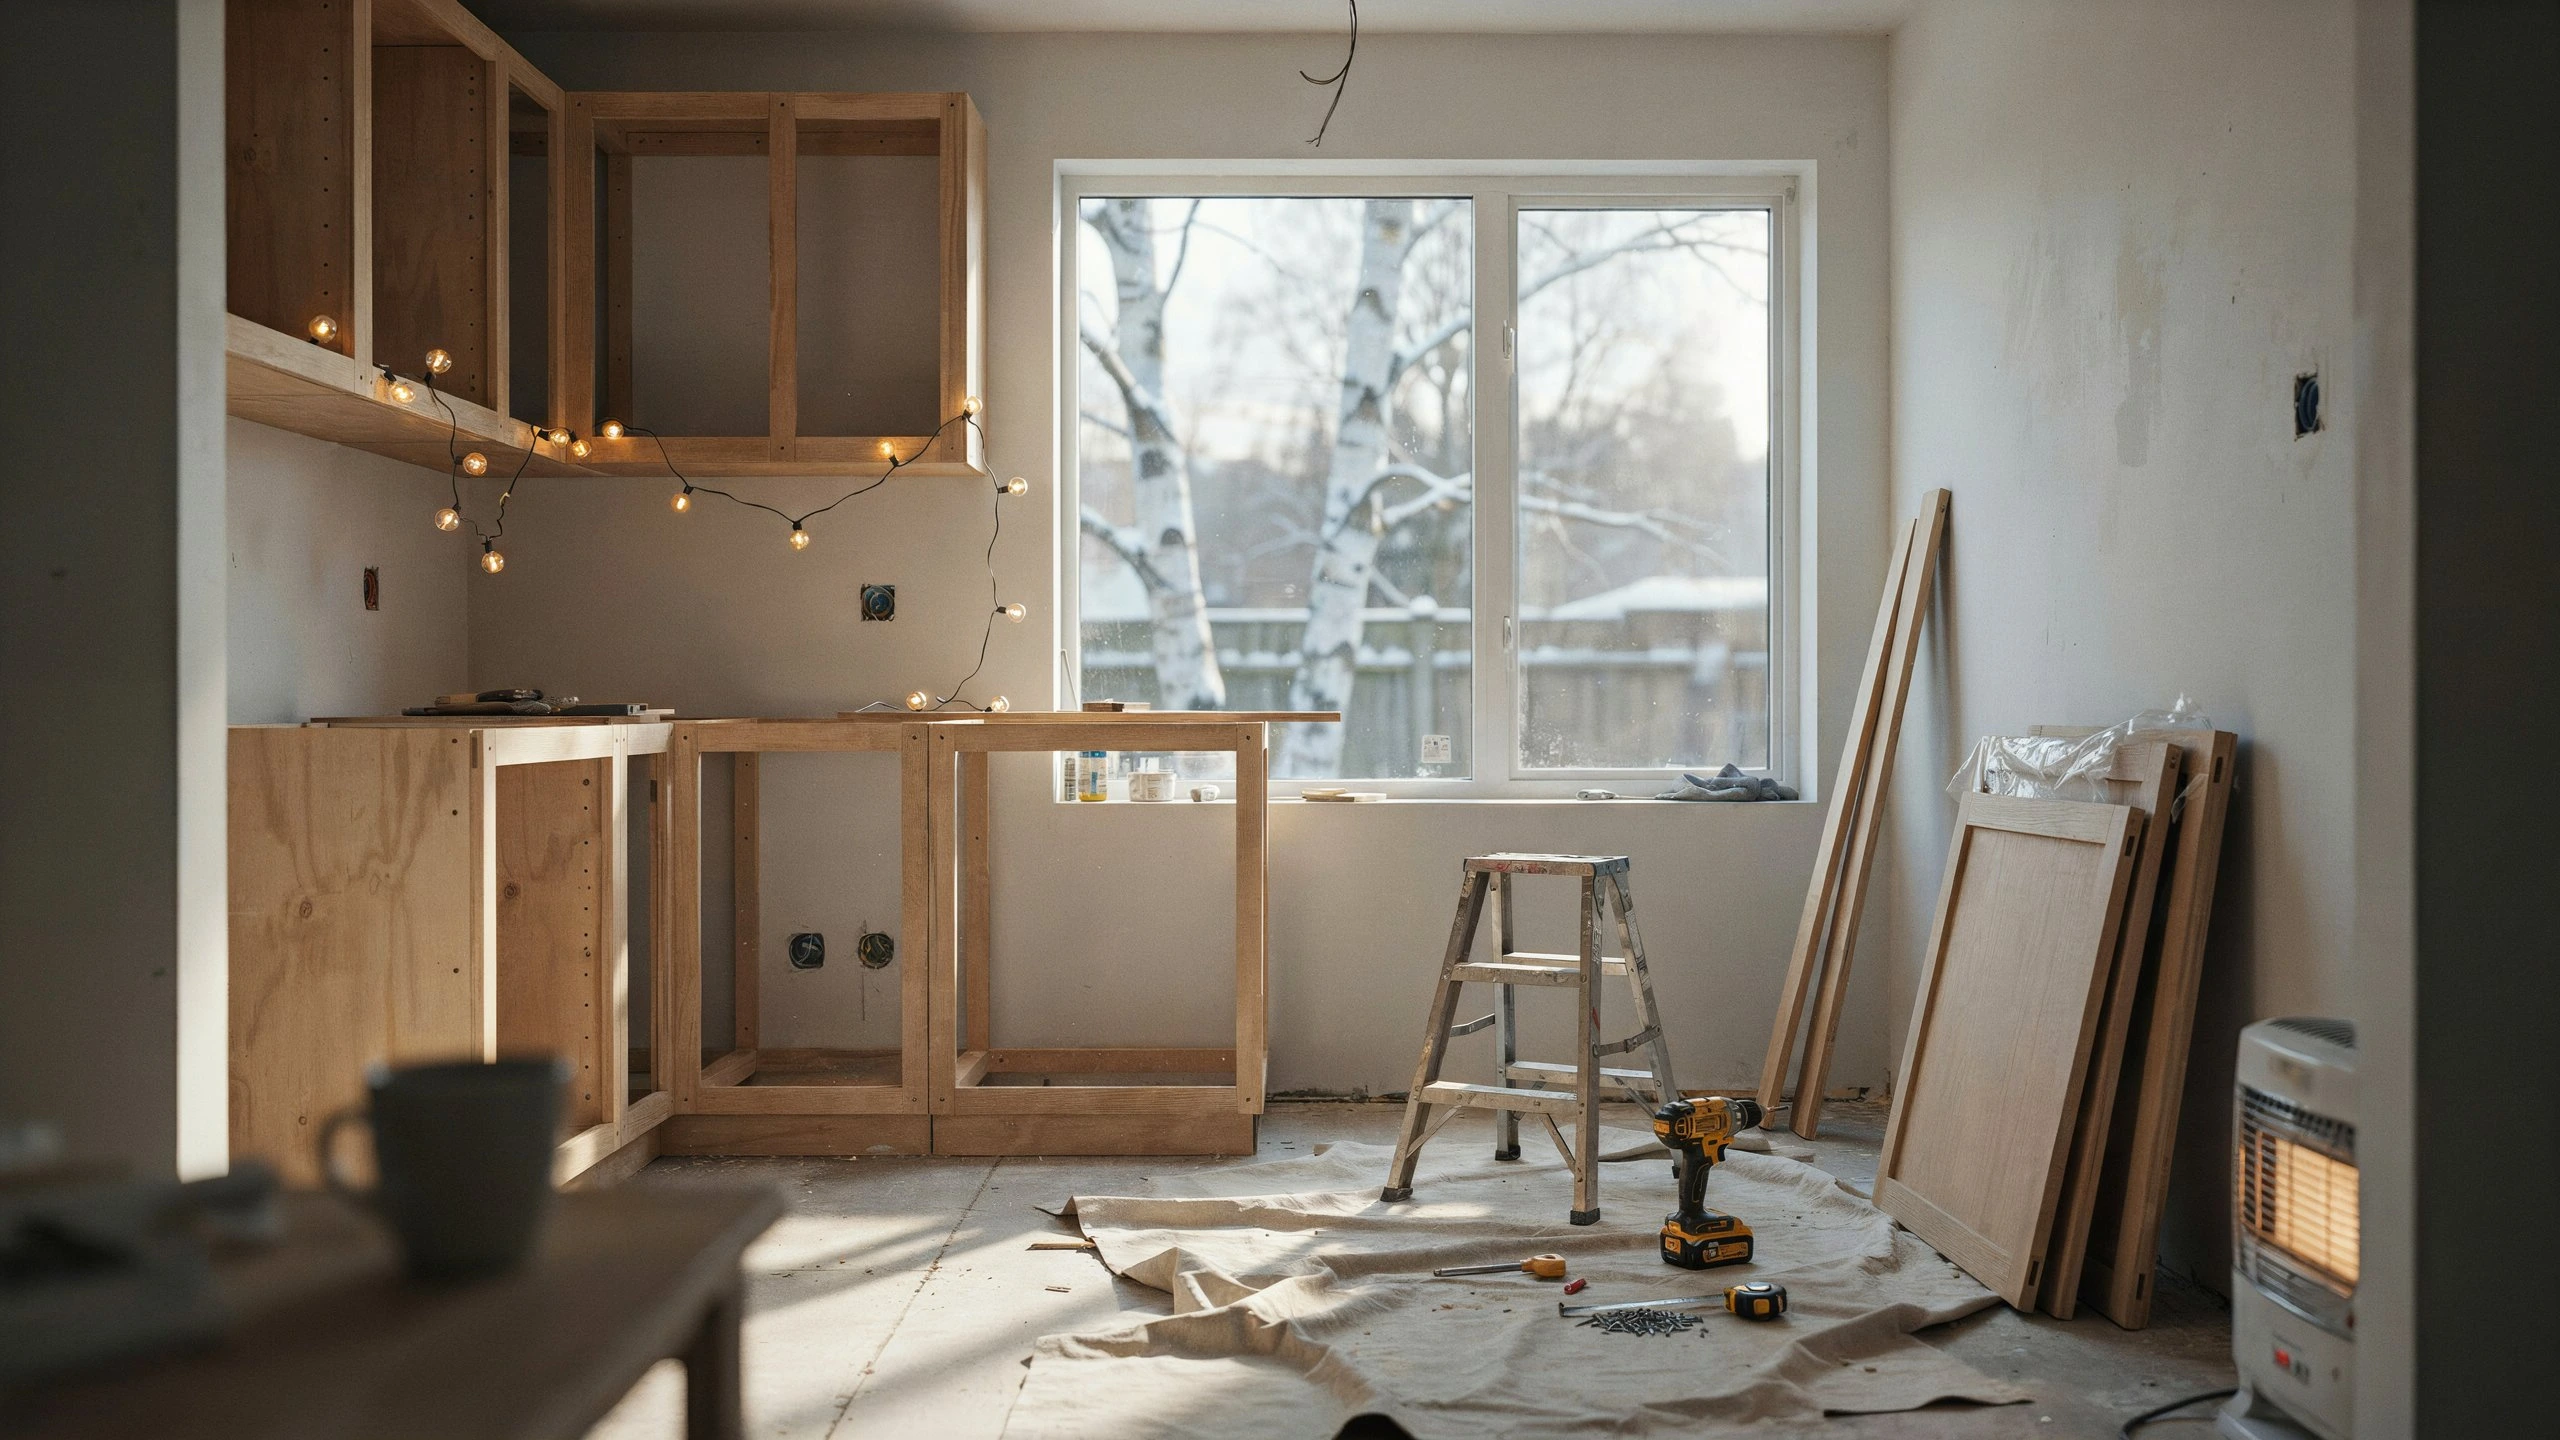
Ordering Materials Early
Custom cabinetry, specialty tile, and imported fixtures can have lead times of six to twelve weeks. Ordering these items the moment your design is finalized, rather than waiting until demo starts, keeps your project moving instead of stalling out mid-construction.
Protecting Your Home and Setting Living Arrangements
Decide early whether you’ll live in the home during construction or relocate temporarily. For whole-home projects, staying on-site during rough-in work often isn’t practical due to dust, noise, and lack of running water in affected areas.
Final Checks Before Demo Day
Confirm permits are in hand, materials are on order or delivered, and utilities are shut off or rerouted as needed before the crew arrives. This final check prevents a delayed demo start, which throws off every phase after it.
Phase 4: The Construction Phase
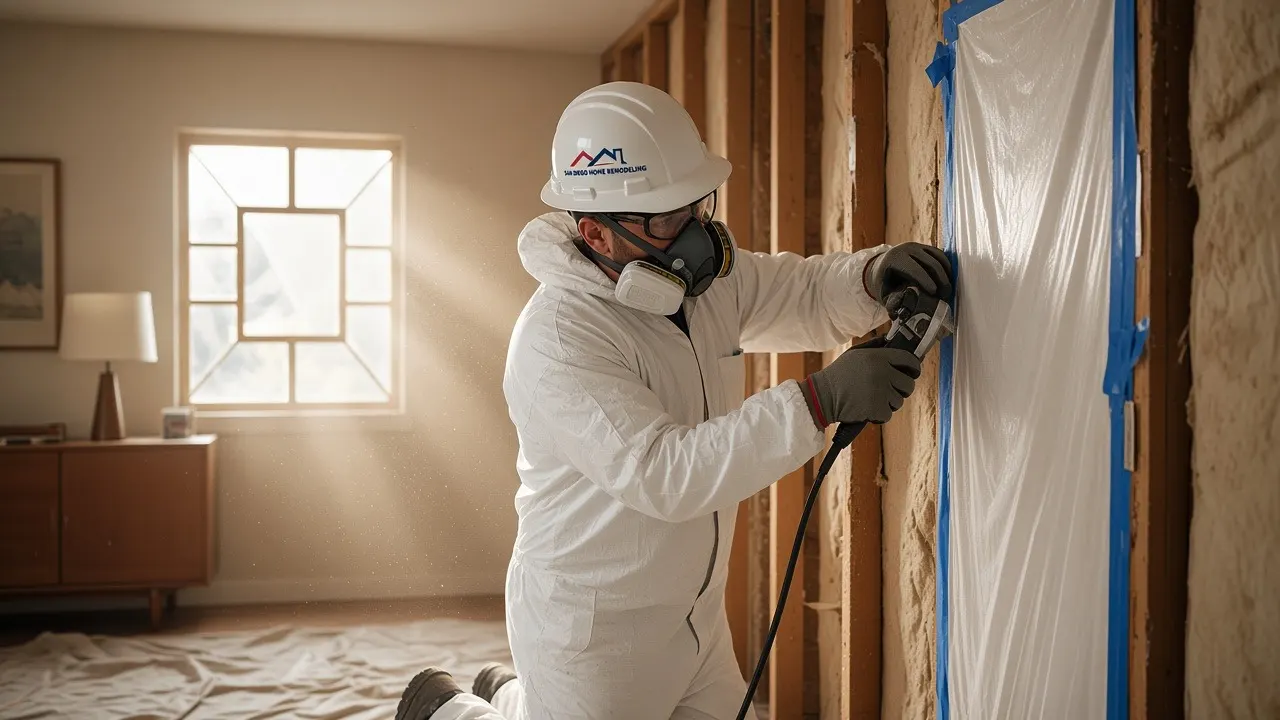
Demolition and Site Prep
Demo often reveals what plans and inspections couldn’t fully predict, from water damage behind old tile to outdated wiring hidden in walls. This is exactly why the contingency buffer from Phase 1 matters.
Rough-In Work: Plumbing, Electrical, and Framing
This stage requires inspections before walls close up, so scheduling matters as much as the work itself. A missed inspection window can add a week or more of downtime while waiting for the next available slot.
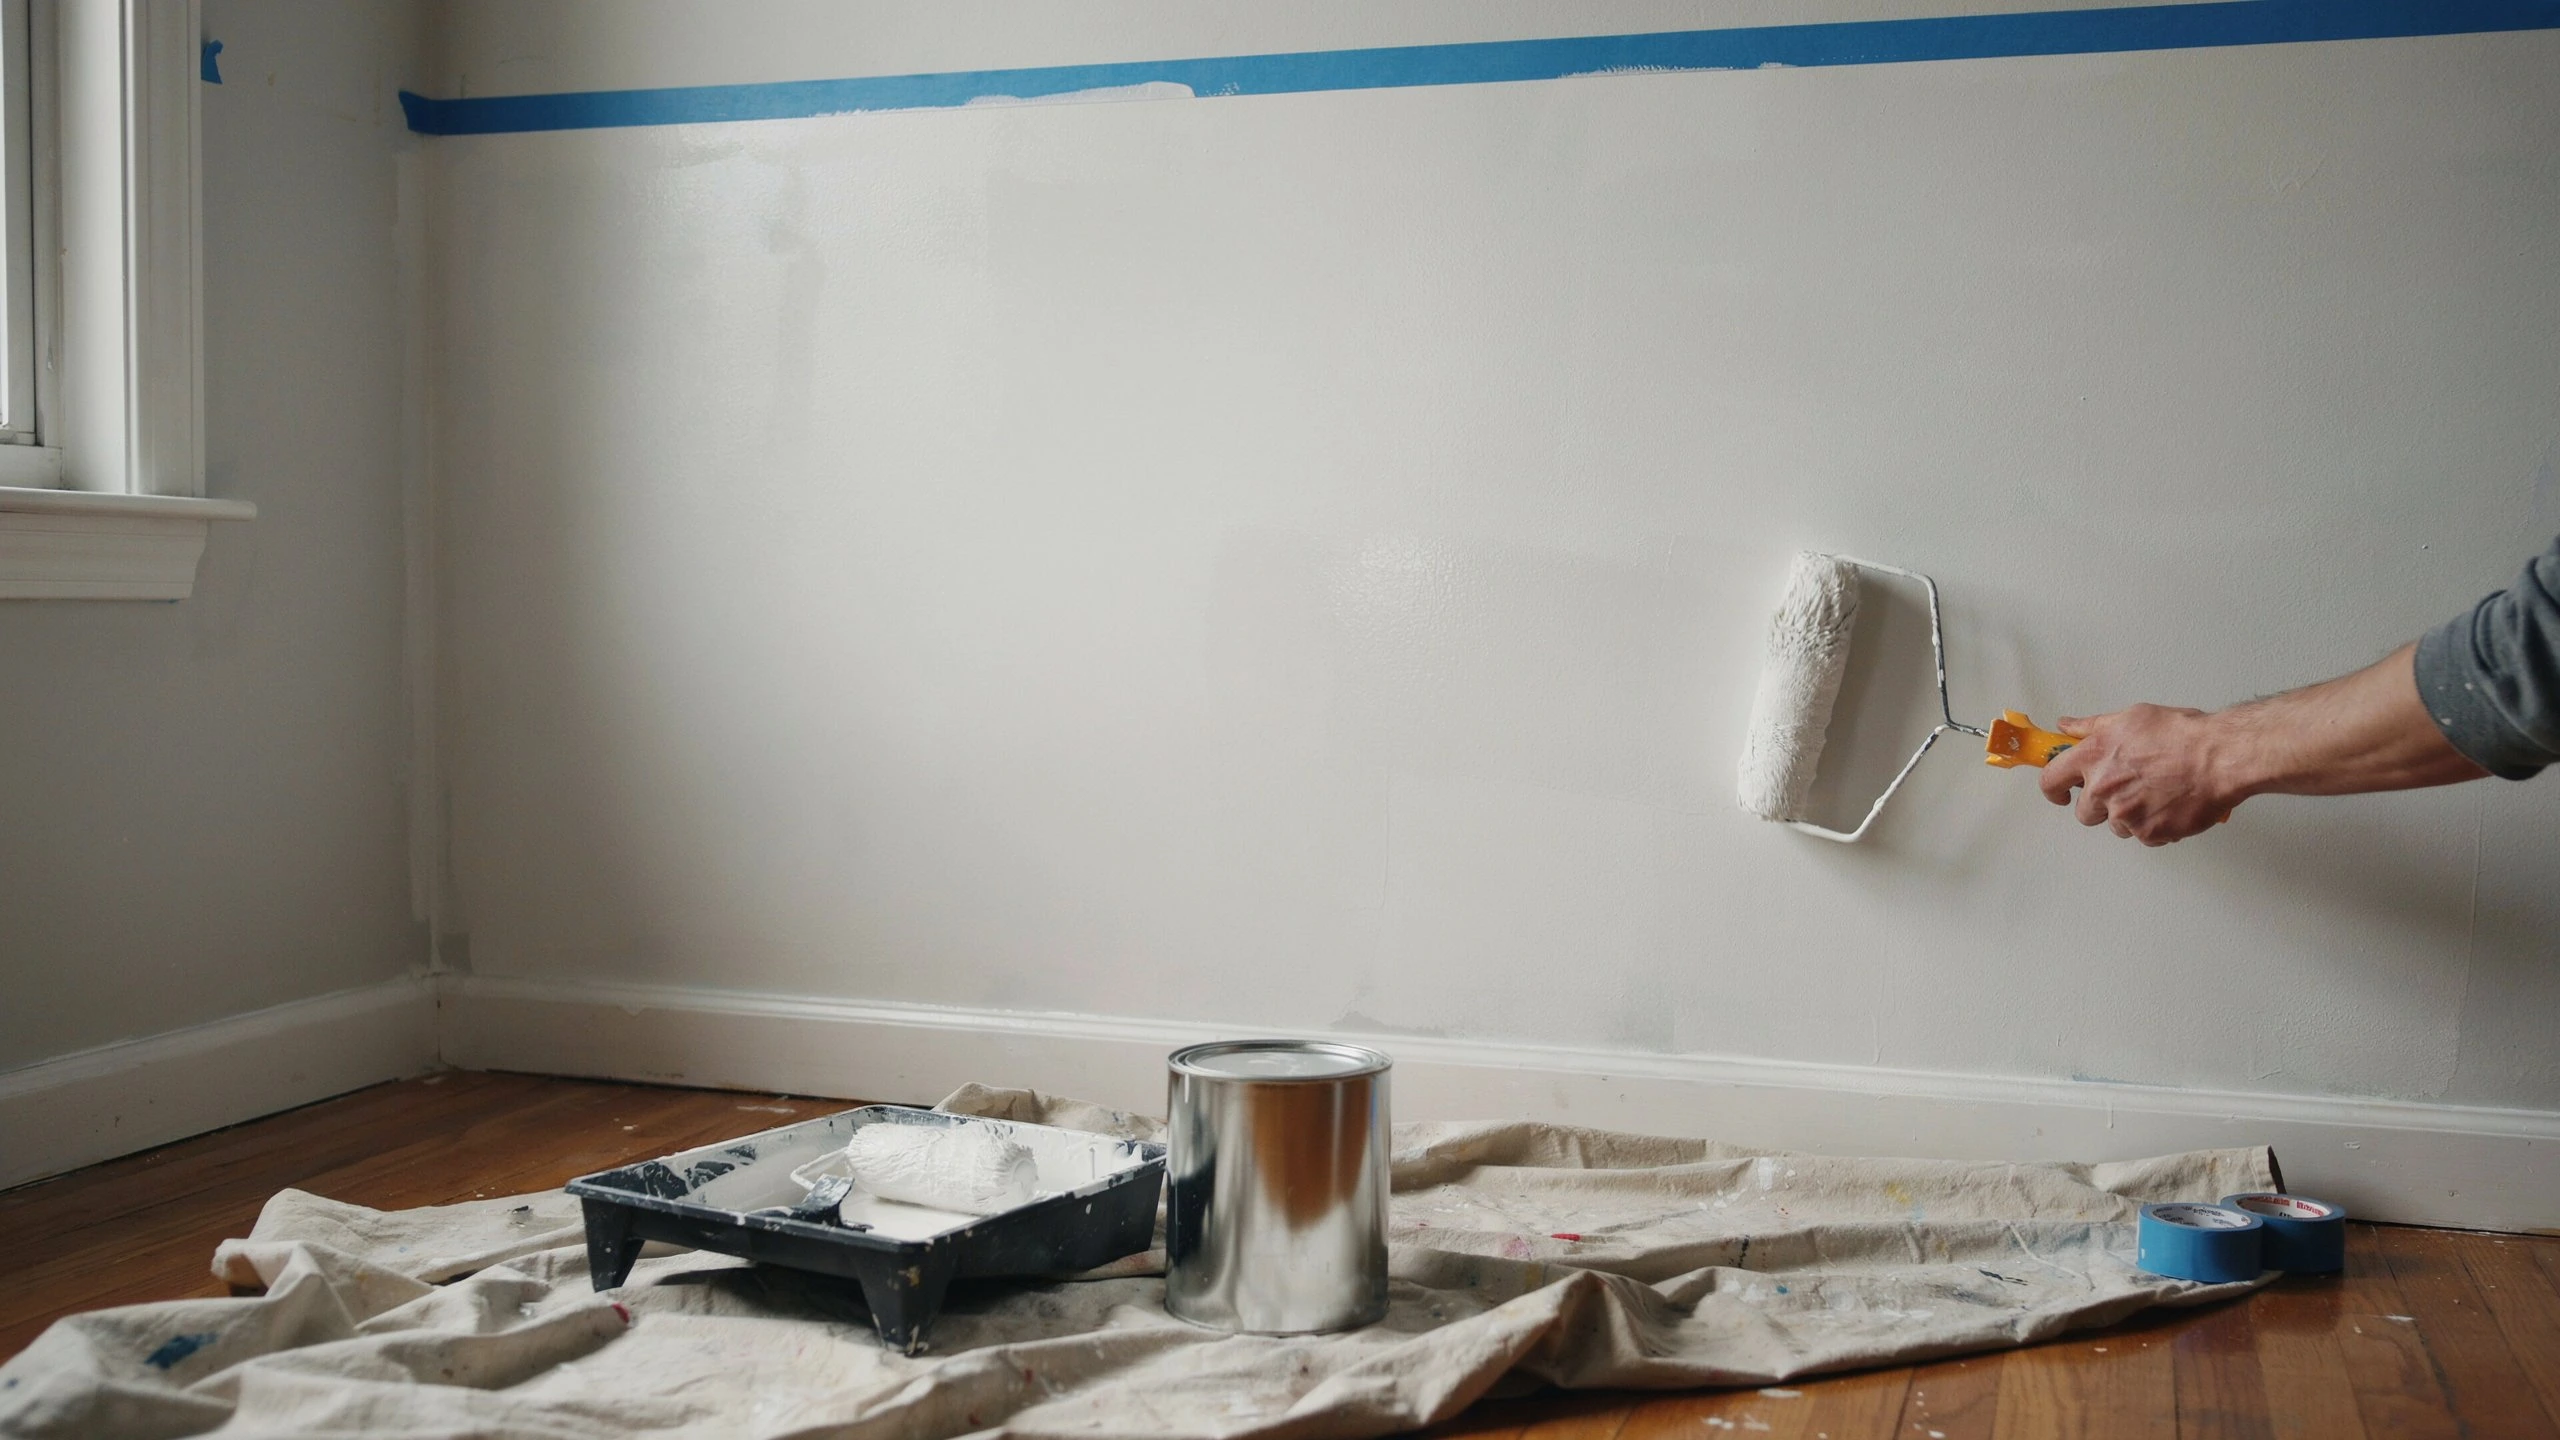
Finishing Work and Final Details
Flooring, cabinetry, paint, and fixtures come together in this stage. Order of operations matters here too, since flooring installed before cabinetry, or paint applied before trim work, often leads to rework.
Managing Unexpected Issues and Change Orders
Every remodel encounters at least one surprise. What separates a smooth project from a chaotic one is how quickly the contractor documents the issue, prices the change, and gets your written approval before proceeding.
Communication Checklist With Your Contractor
Set a standing weekly check-in, even a short one, to review progress against the timeline. Projects that skip regular updates tend to drift further off schedule before anyone notices.
Phase 5: Final Inspection and Closeout
Scheduling Required Inspections
Final inspections confirm the work meets code before you can legally occupy the renovated space. Schedule these as soon as finishing work wraps up rather than waiting, since inspector availability can add days to your timeline.
Final Walkthrough with a Punch List
Walk through every room with your contractor and write down anything incomplete or incorrect, from a paint touch-up to a cabinet door that doesn’t align. This punch list becomes the final to-do before the project is officially done.
Warranty Documentation and Paperwork
Collect warranty information for appliances, fixtures, and workmanship before your contractor leaves the job. This paperwork matters far more a year later than it does on closeout day, so file it somewhere you’ll actually find it.
Post-Remodel Cleaning and Maintenance
A full construction clean, not just a quick sweep, removes dust from vents, cabinets, and light fixtures that regular cleaning won’t catch for months.
Room-by-Room Checklist Breakdown
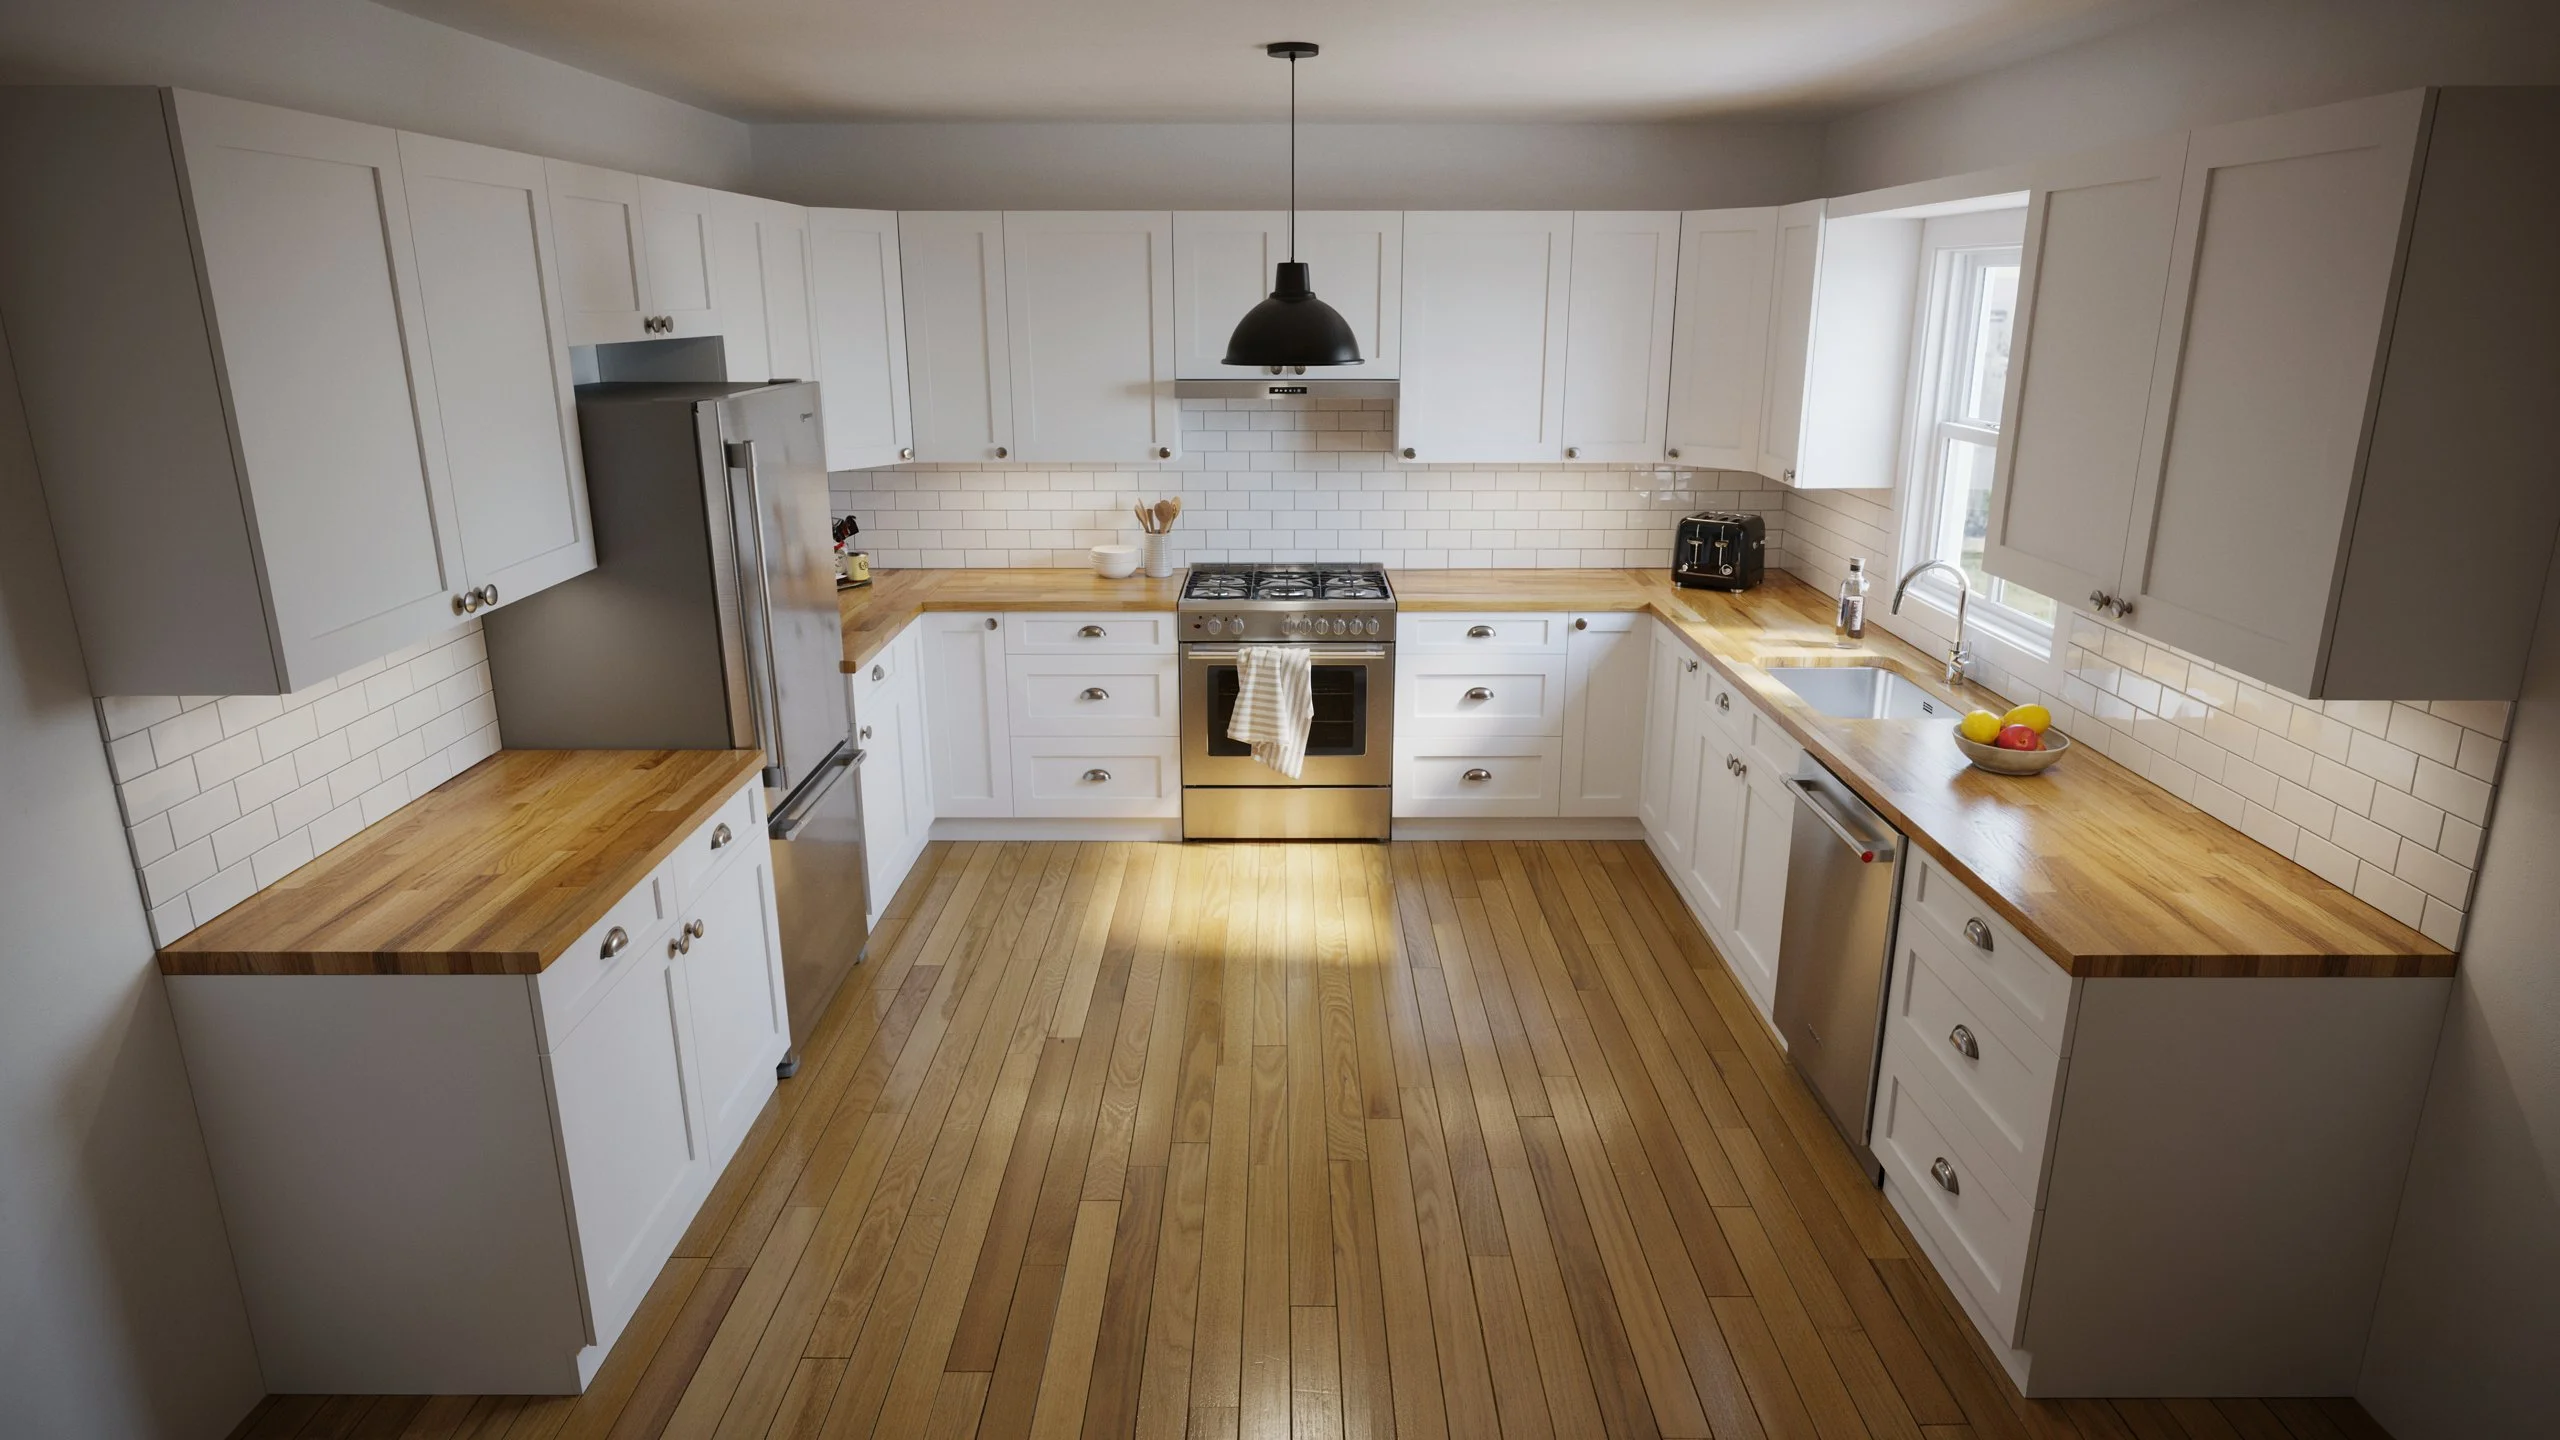
- Kitchen: Confirm appliance dimensions before cabinets are built, verify electrical outlets meet code for new appliances, and check that ventilation is properly sized for your range.
- Bathroom: Waterproofing behind tile is non-negotiable, ventilation fans must be rated for the room size, and fixture placement should be confirmed before plumbing rough-in.
- Living Areas: Flooring transitions between rooms need planning before installation, and lighting layout should be finalized before drywall closes up.
- Exterior: Confirm any structural changes meet setback and height requirements, and check that exterior finishes match neighborhood guidelines if applicable.
If your project covers more than one of these areas at once, a coordinated plan like our San Diego Whole Home Remodeling approach keeps every room’s timeline working together instead of competing for the same crew and materials.
How to Build a Realistic Remodeling Timeline
Start with your target completion date and subtract time for each phase in reverse order: closeout and inspections, finishing work, rough-in, demo, and pre-construction prep. Add one to two buffer weeks per major phase for permitting delays or material backorders.
A kitchen remodel realistically takes eight to twelve weeks from demo to move-in, while a whole-home remodel can run four to eight months depending on scope. Building the timeline this way, instead of picking an arbitrary end date first, keeps expectations grounded in how construction actually unfolds.
You may also read: Home Elevator Cost
Common Remodeling Mistakes to Avoid
The most expensive mistake isn’t a bad material choice, it’s an undefined scope. Homeowners who start construction with a rough idea instead of finalized plans almost always end up paying for changes mid-project at a premium.
Another common mistake is choosing the lowest bid without understanding what it excludes, which leads to surprise costs once work begins. Finally, skipping the contingency buffer is a mistake that only shows up once it’s too late to fix, when unexpected issues drain a budget that has no room to absorb them.
Downloadable Checklist Summary
- Define goals, set budget with contingency, and build a realistic timeline
- Research permits before finalizing design
- Get three contractor quotes and compare line by line
- Sign a detailed contract with a clear payment schedule
- Order long-lead materials as soon as design is finalized
- Confirm all inspections and utility shutoffs before demo day
- Hold weekly check-ins during construction
- Schedule final inspections as soon as finishing work ends
- Complete a punch list walkthrough before calling the project done
- Collect all warranty documentation before the crew leaves
Final Thought
A remodel goes smoothly when the planning happens before the demolition, not during it. Following this complete remodeling project checklist, phase by phase, keeps your budget intact, your timeline realistic, and your decisions clear-headed from the first walkthrough to the final one. This homeowners remodeling checklist isn’t about adding extra steps, it’s about avoiding the ones that cost you time and money later.
If you’re ready to start planning your project the right way, contact us at San Diego home remodeling and we’ll walk through your goals, budget, and timeline together before a single hammer swings.
Frequently Asked Questions
How much should I budget for a remodel?
Budgets vary widely by scope and finish level, but a good starting point is your renovation goal cost plus a 10 to 20 percent contingency buffer. This buffer covers the unexpected issues that come up in nearly every project once walls open up.
How long does a typical remodel take?
A single-room remodel, like a kitchen or bathroom, typically takes eight to twelve weeks from demo to completion. Whole-home projects usually run four to eight months depending on the scope of work involved.
Do I need a permit for remodeling?
Most structural, electrical, and plumbing changes require permits, while purely cosmetic updates usually don’t. Checking with your local building department early prevents delays or stop-work orders later in the project.
Should I live in my home during a remodel?
It depends on the scope of the project and which utilities get affected. Single-room remodels are often manageable to live through, but whole-home projects frequently require temporary relocation during rough-in work.
What is a good rule of thumb for remodeling budgets?
A commonly used guideline is spending no more than 10 to 20 percent of your home’s value on a single remodel to avoid over-improving the neighborhood. This helps protect your return on investment if you plan to sell later.