Textured walls had their moment. Orange peel, knockdown, skip trowel; these finishes were everywhere for decades. Today, they trap dust, make rooms feel dated, and turn a simple paint job into a frustrating project. If you’re staring at bumpy walls and wondering where to start, you’re not alone.
How to remove texture from walls: it depends on one thing, whether your texture has been painted. Unpainted texture? Soak and scrape it off. Painted texture? Skim coat over it. This guide walks you through both methods step by step, plus a third option when scraping and skim coating aren’t the right fit.
Key Takeaways
- Wet scraping works only on unpainted texture
- Skim coating is the correct method for painted texture
- Always test for asbestos in homes built before 1980
- DIY material costs run $50–$150 per room
- Professional skim coating costs $1–$3 per square foot in labor
- Never skip PVA primer after any texture removal
Why People Want to Remove Wall Texture
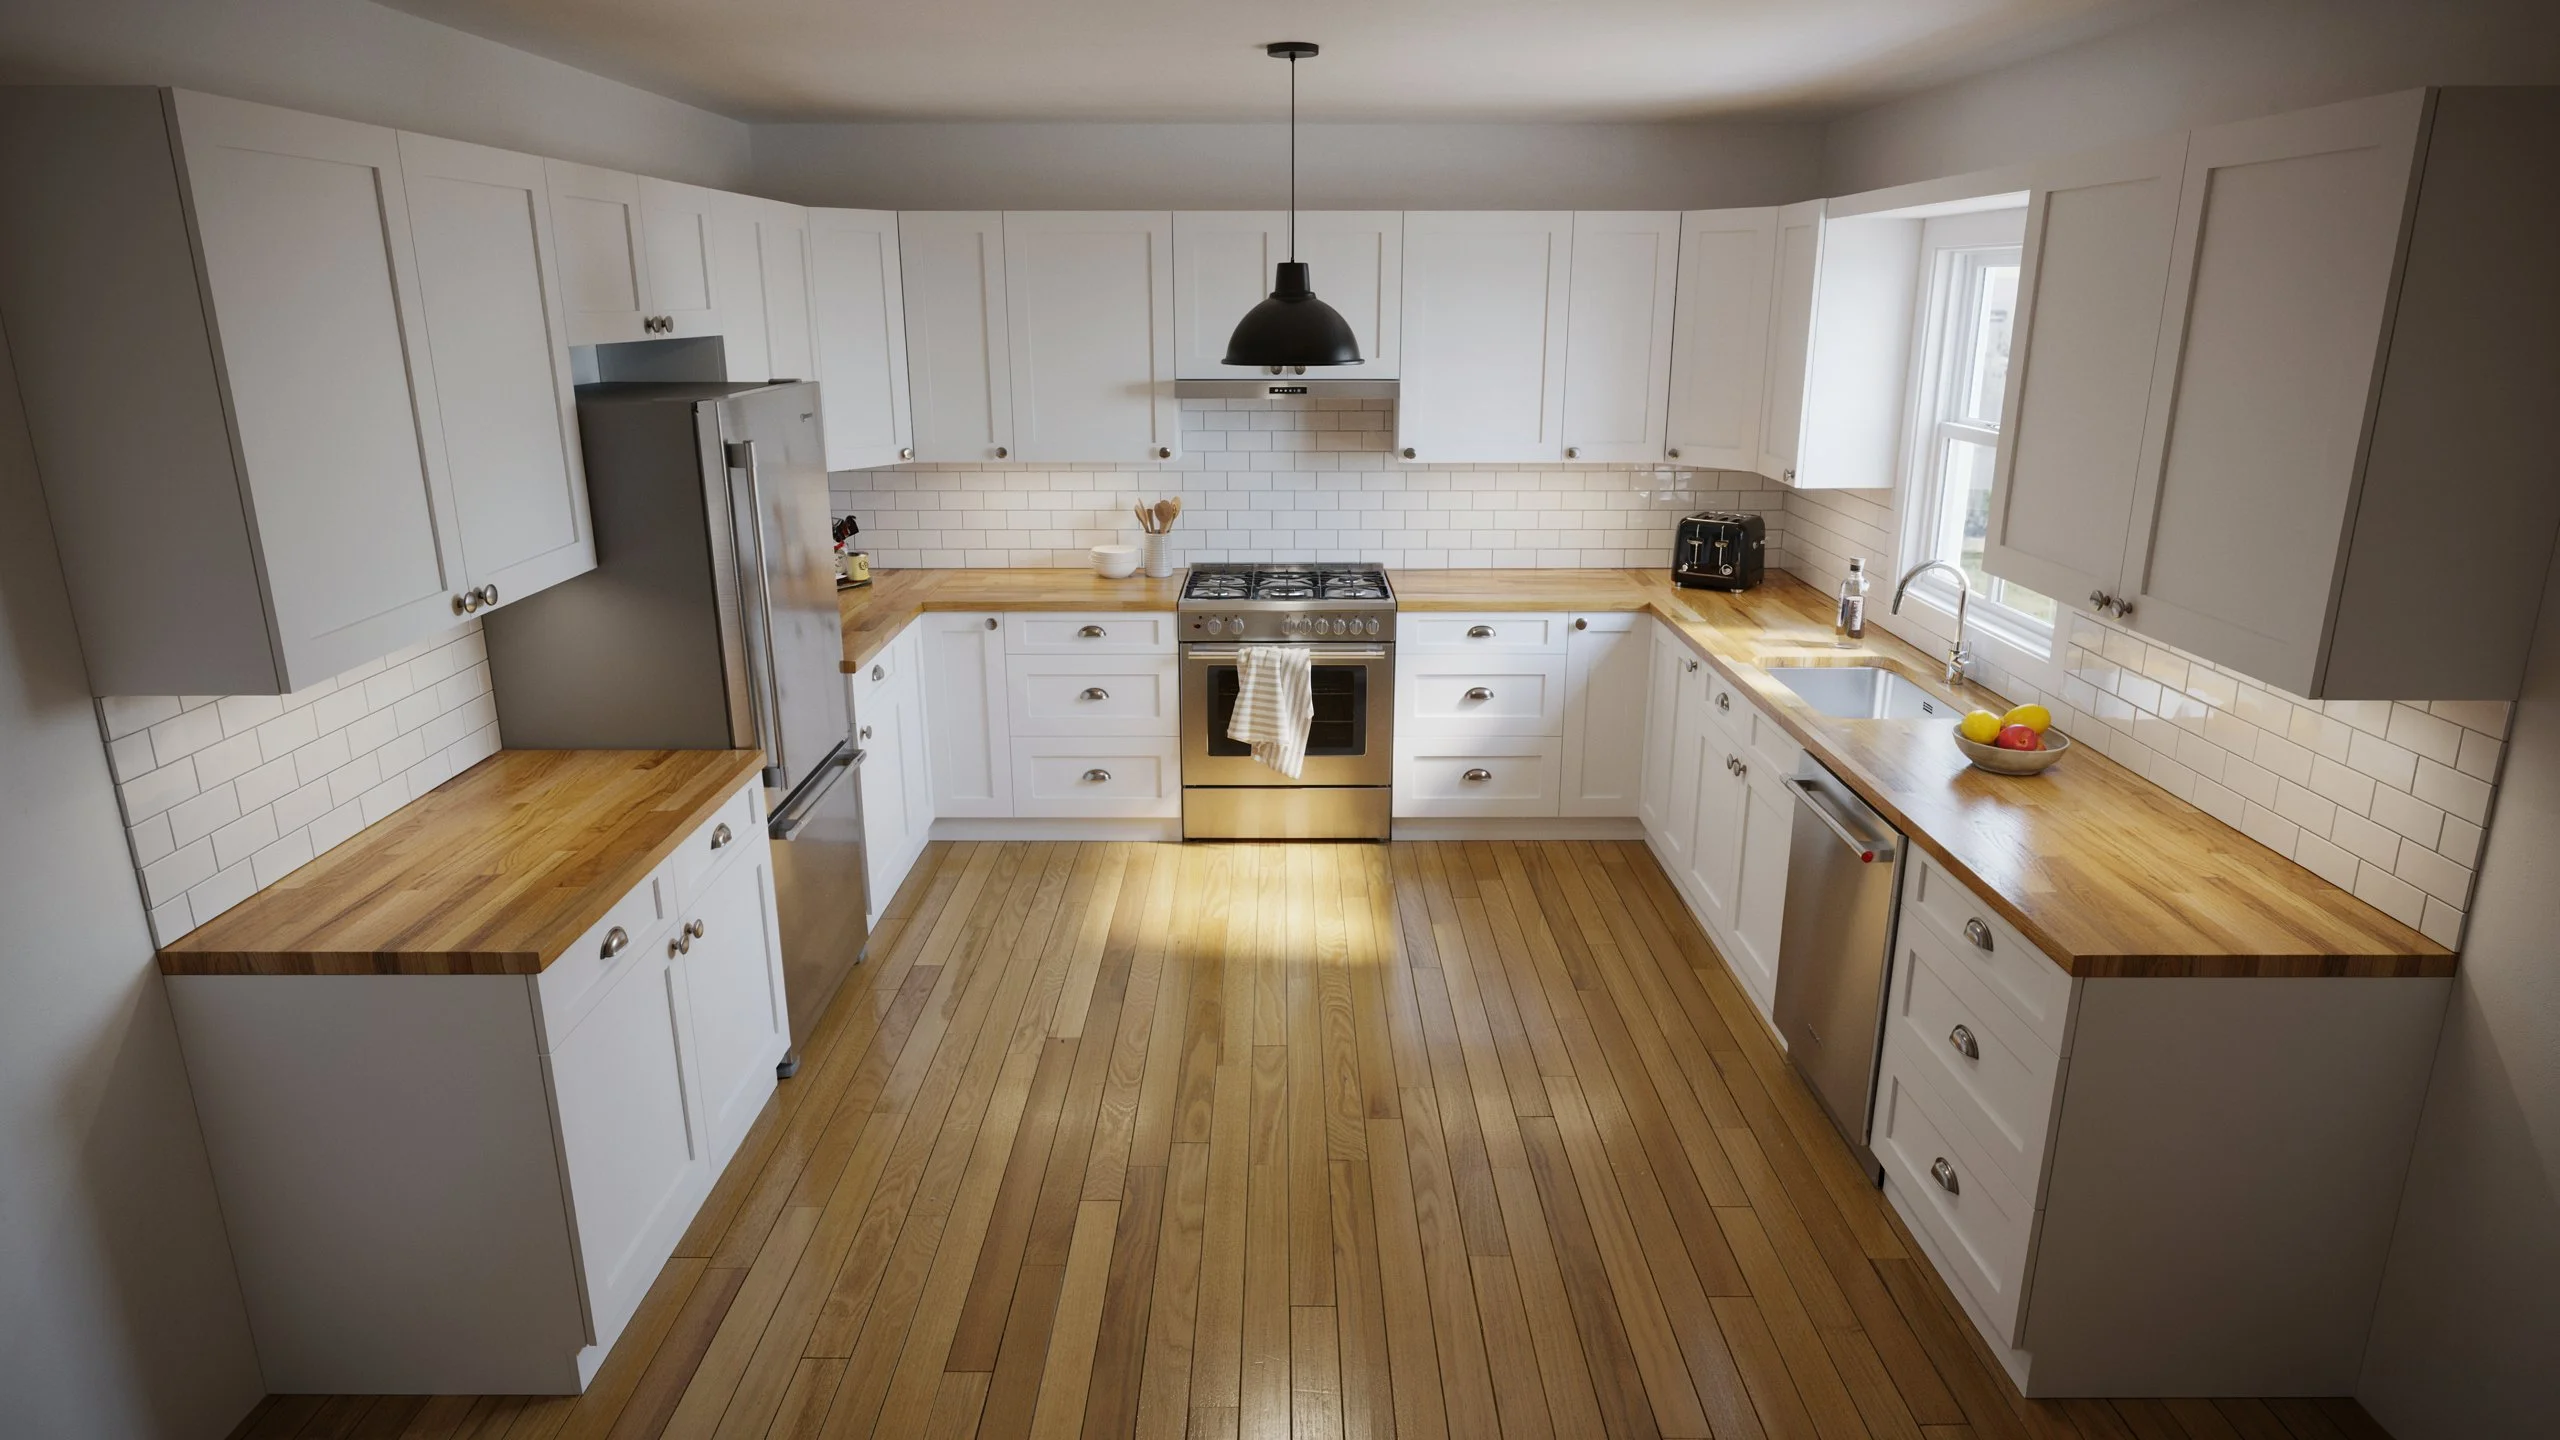
Textured walls were popular because they helped hide drywall flaws and added visual interest. Today, many homeowners prefer smooth walls and flat walls because they create a cleaner and more modern look.
Getting rid of textured walls can also make a room easier to maintain. Dust tends to collect on rough surfaces, and touch-up paint often looks uneven on textured finishes.
Many remodeling projects begin with removing wall texture because smooth walls work better with:
- Modern paint colors
- Wallpaper
- Accent walls
- Updated trim
- Contemporary home designs
A textured wall makeover can make an older room feel newer without changing the layout.
One Safety Check Before You Do Anything
If your home was built before 1980, stop here.
Older spray textures and acoustic finishes sometimes contain asbestos. Disturbing asbestos without proper protection is a serious health risk. The EPA recommends testing before any wall texture removal in pre-1980 homes.
Buy an asbestos test kit at any hardware store for about $30. You collect a small sample and mail it to a certified lab. Results return within a few days. If asbestos is present, hire a licensed abatement contractor. This step is not optional.
Identify Your Texture Type First
Different textures behave differently. Knowing what you have protects your drywall and saves time.
- Orange peel texture: Light, bumpy surface. Easiest to deal with.
- Knockdown texture: Heavier, random flat patches. Moderate difficulty.
- Skip trowel texture: Thick, hand-applied patches. Harder to cover.
- Sand texture: Gritty finish mixed into paint. Requires skim coating.
- Popcorn or acoustic texture: Rough and lumpy. Common on ceilings but found on walls too.
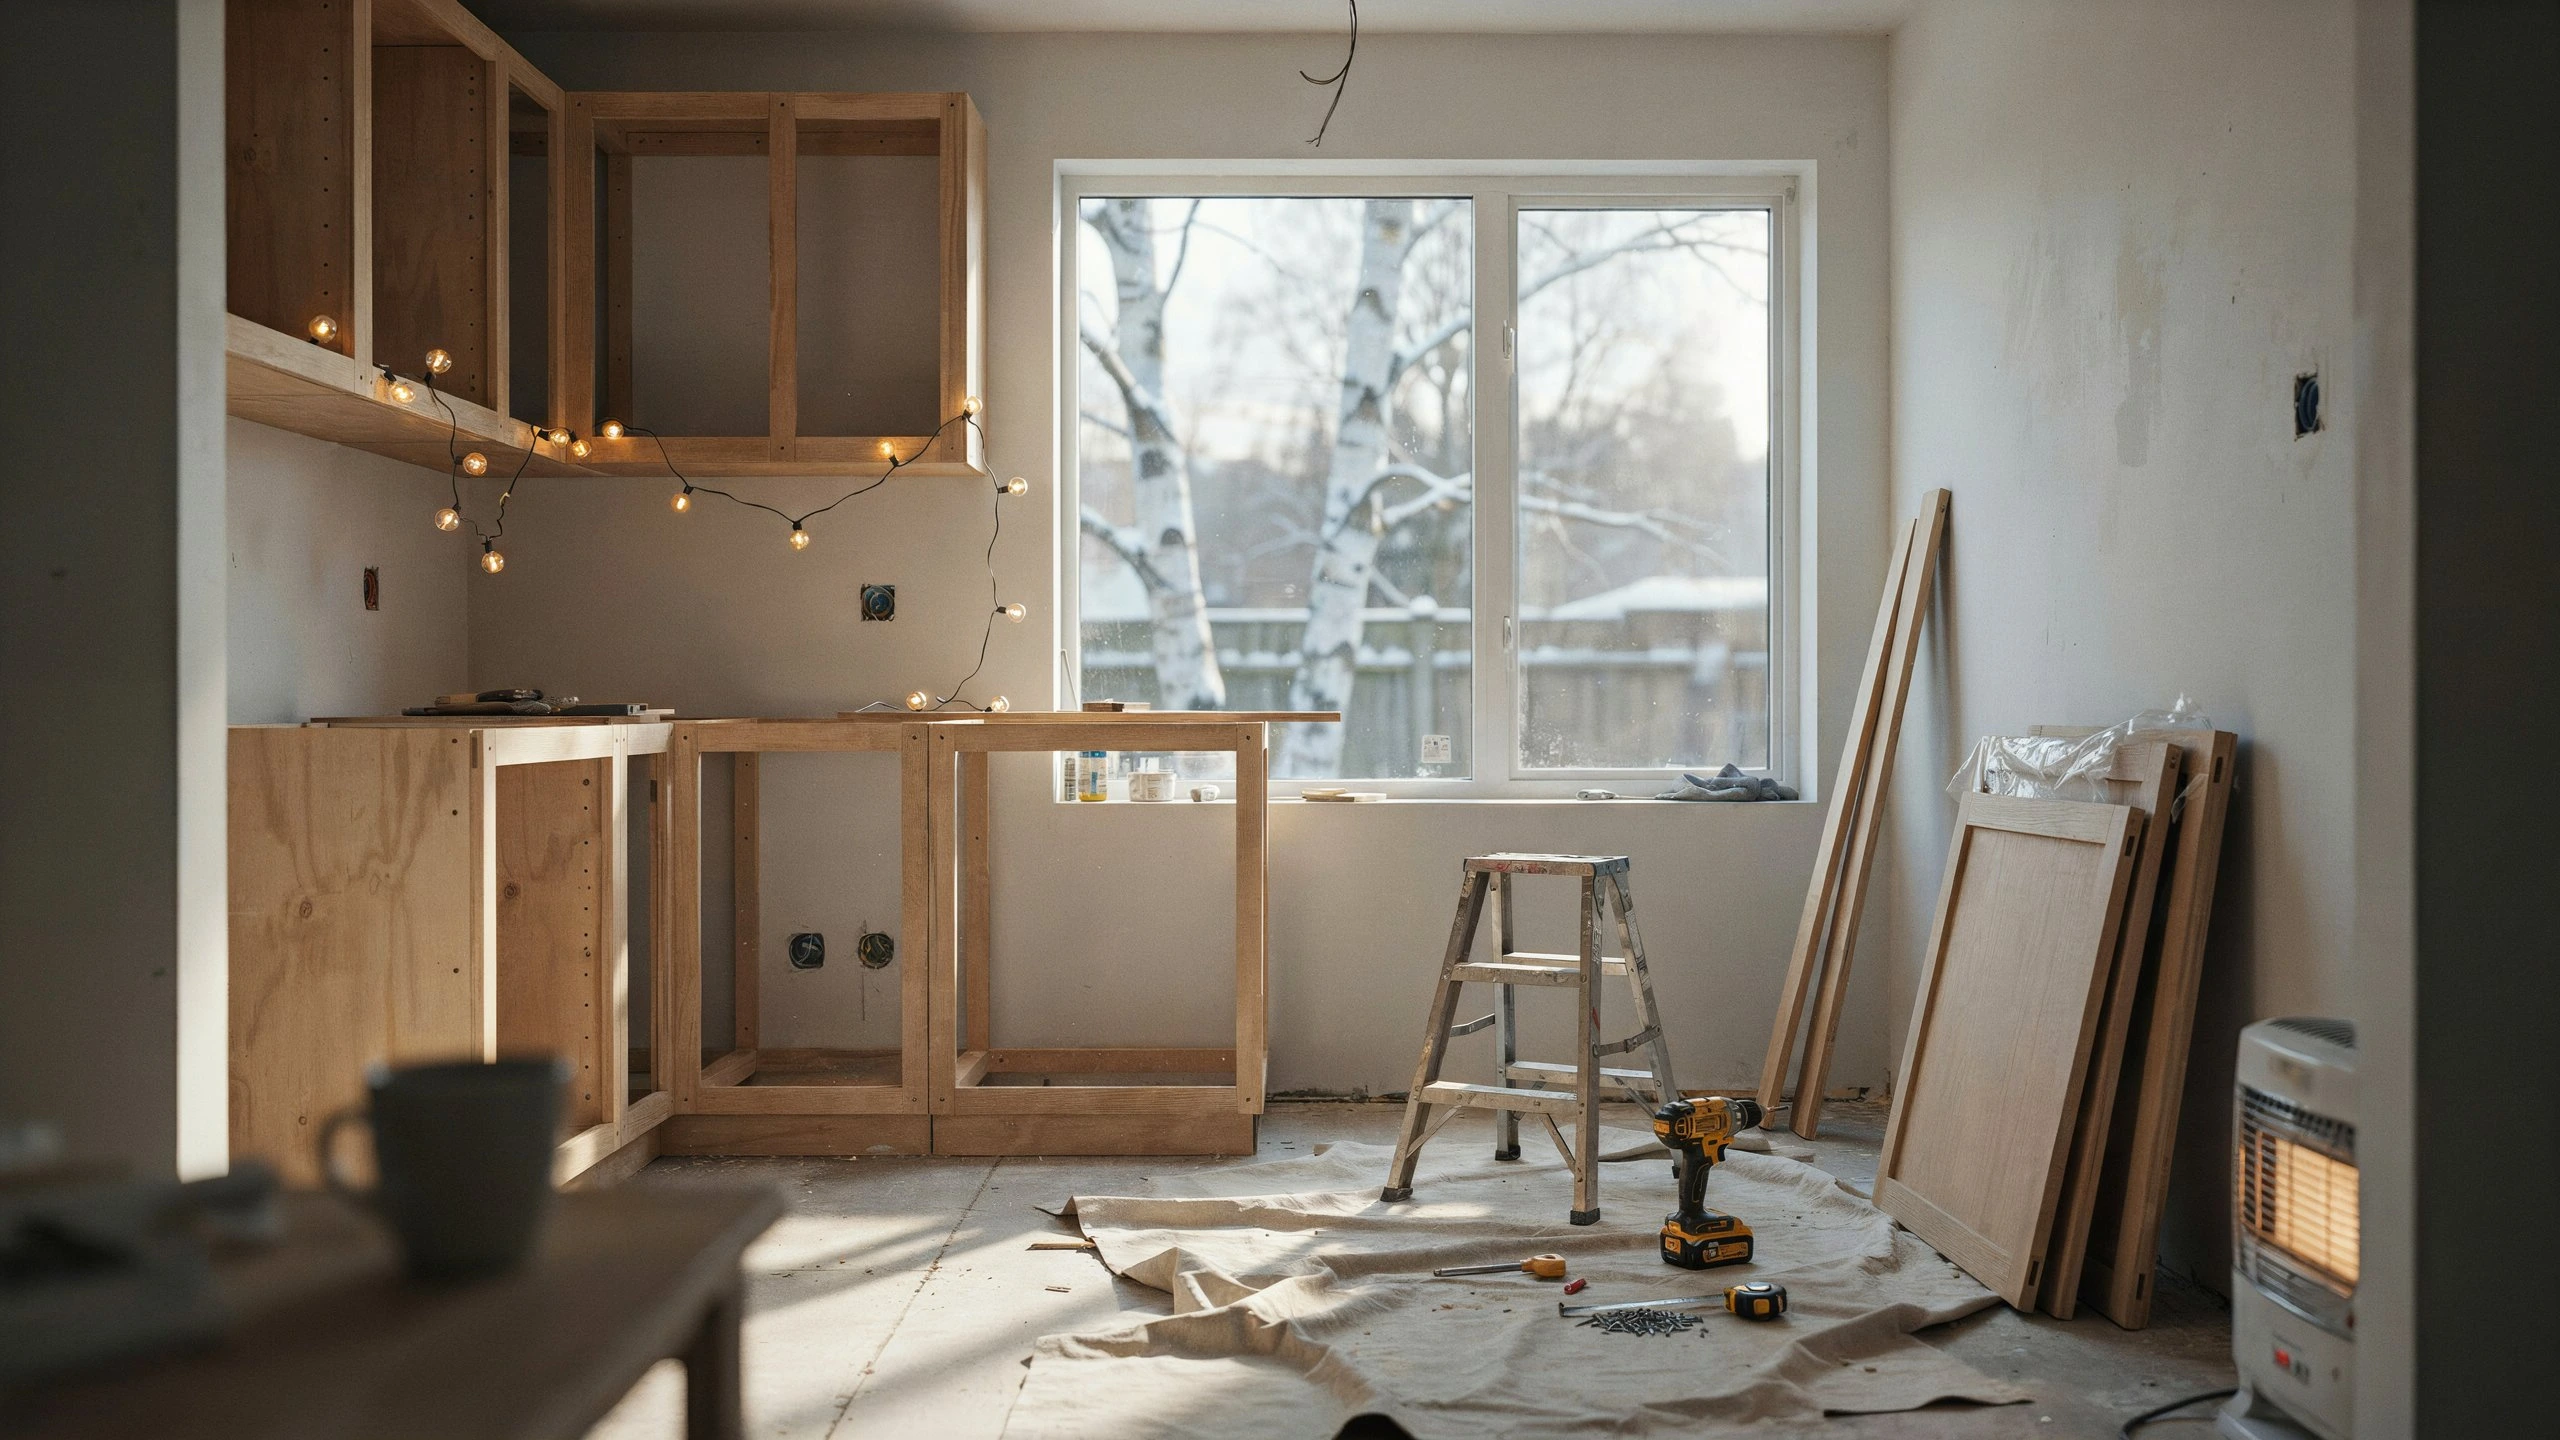
What You'll Need Before You Begin
For wet scraping: pump sprayer, wide drywall scraper (6–10 inch), drop cloth, painter’s tape, dust mask, protective glasses, sanding sponge, PVA drywall primer.
For skim coating: all-purpose joint compound (premixed drywall compound), thick nap paint roller (3/4 inch nap), 10-inch and 12-inch drywall taping knife, mixing paddle with drill, 5-gallon bucket, 100-grit and 120-grit drywall sanding screen, painter’s tape, drop cloth, PVA primer.
Which Removal Method Is Best?
Many people assume there is only one method for removing texture from walls. In reality, the best way to get rid of textured walls depends on the surface.
Texture Type | Recommended Method | Difficulty |
Light Texture | Wet Scraping | Easy |
Unpainted Texture | Wet Scraping | Easy |
Orange Peel Texture | Skim Coating | Moderate |
Knockdown Texture | Scrape + Skim Coat | Moderate |
Painted Texture | Skim Coating | Moderate |
Heavy Texture | Multiple Skim Coats | Difficult |
Sand Texture | Skim Coating | Moderate |
Wet Scraping
Wet scraping works best when water can soften the drywall texture.
This method is often used for:
- Light texture
- Spray texture
- Unpainted texture
- Some popcorn texture applications
Skim Coating
Skim coating creates a new smooth surface over the existing texture.
This process involves drywall compound application across the wall surface and is usually the preferred method for painted finishes.
It works well for:
- Painted texture
- Orange peel texture
- Knockdown texture
- Heavy texture
- Rough wall finishes
Covering the Wall
In some cases, removing wall texture is not the most practical choice.
Covering the surface with:
- Wallpaper
- Wood paneling
- Decorative wall panels
can save time and reduce labor.
The right method depends on the wall condition, project budget, and desired finish.
A little planning at this stage prevents drywall damage repair later and helps create smooth walls that are ready for primer, paint, or a complete wall renovation DIY project.
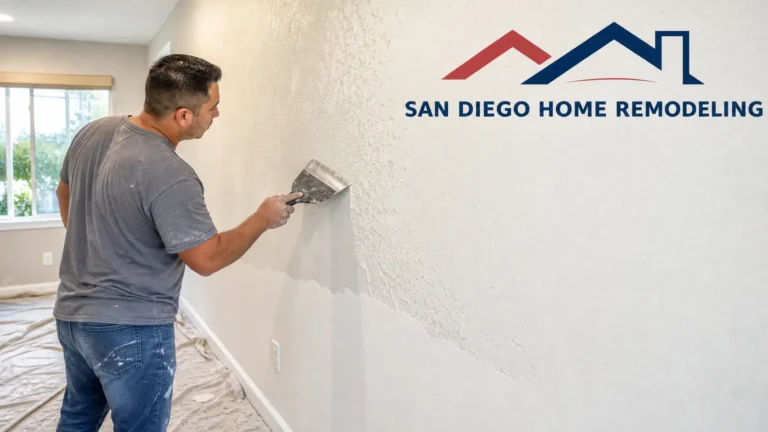
Method 1: Soak and Scrape Drywall Texture
Best for unpainted texture. Water softens the joint compound quickly, and a scraper peels it right off.
Step 1: Prep the room
Lay canvas drop cloths on the floor. Cover trim with painter’s tape. Remove outlet covers and baseboard trim before you start. Reinstalling them later is faster than trying to work around them.
Step 2: Spray and wait
Work in sections of 4–6 square feet. Spray warm water generously over the textured surface. Wait 60–90 seconds. The surface will darken slightly as the water soaks in.
Step 3: Scrape at a low angle
Hold your drywall scraper nearly flat about 10 to 15 degrees. Push firmly in one direction. Softened texture lifts off in strips. If it isn’t releasing, spray again and wait longer.
Step 4: Work quickly
If sections dry before you reach them, the drywall paper tears when you scrape. Keep sections small and keep moving.
Step 5: Sand and prime
Once dry, sand any rough spots with a 100-grit sanding sponge. Apply PVA primer before painting. Skipping primer causes uneven, blotchy paint.
Important: If the scraper starts tearing the drywall paper or drywall face, stop and move to skim coating instead. Excessive scraping can create drywall repair work later.
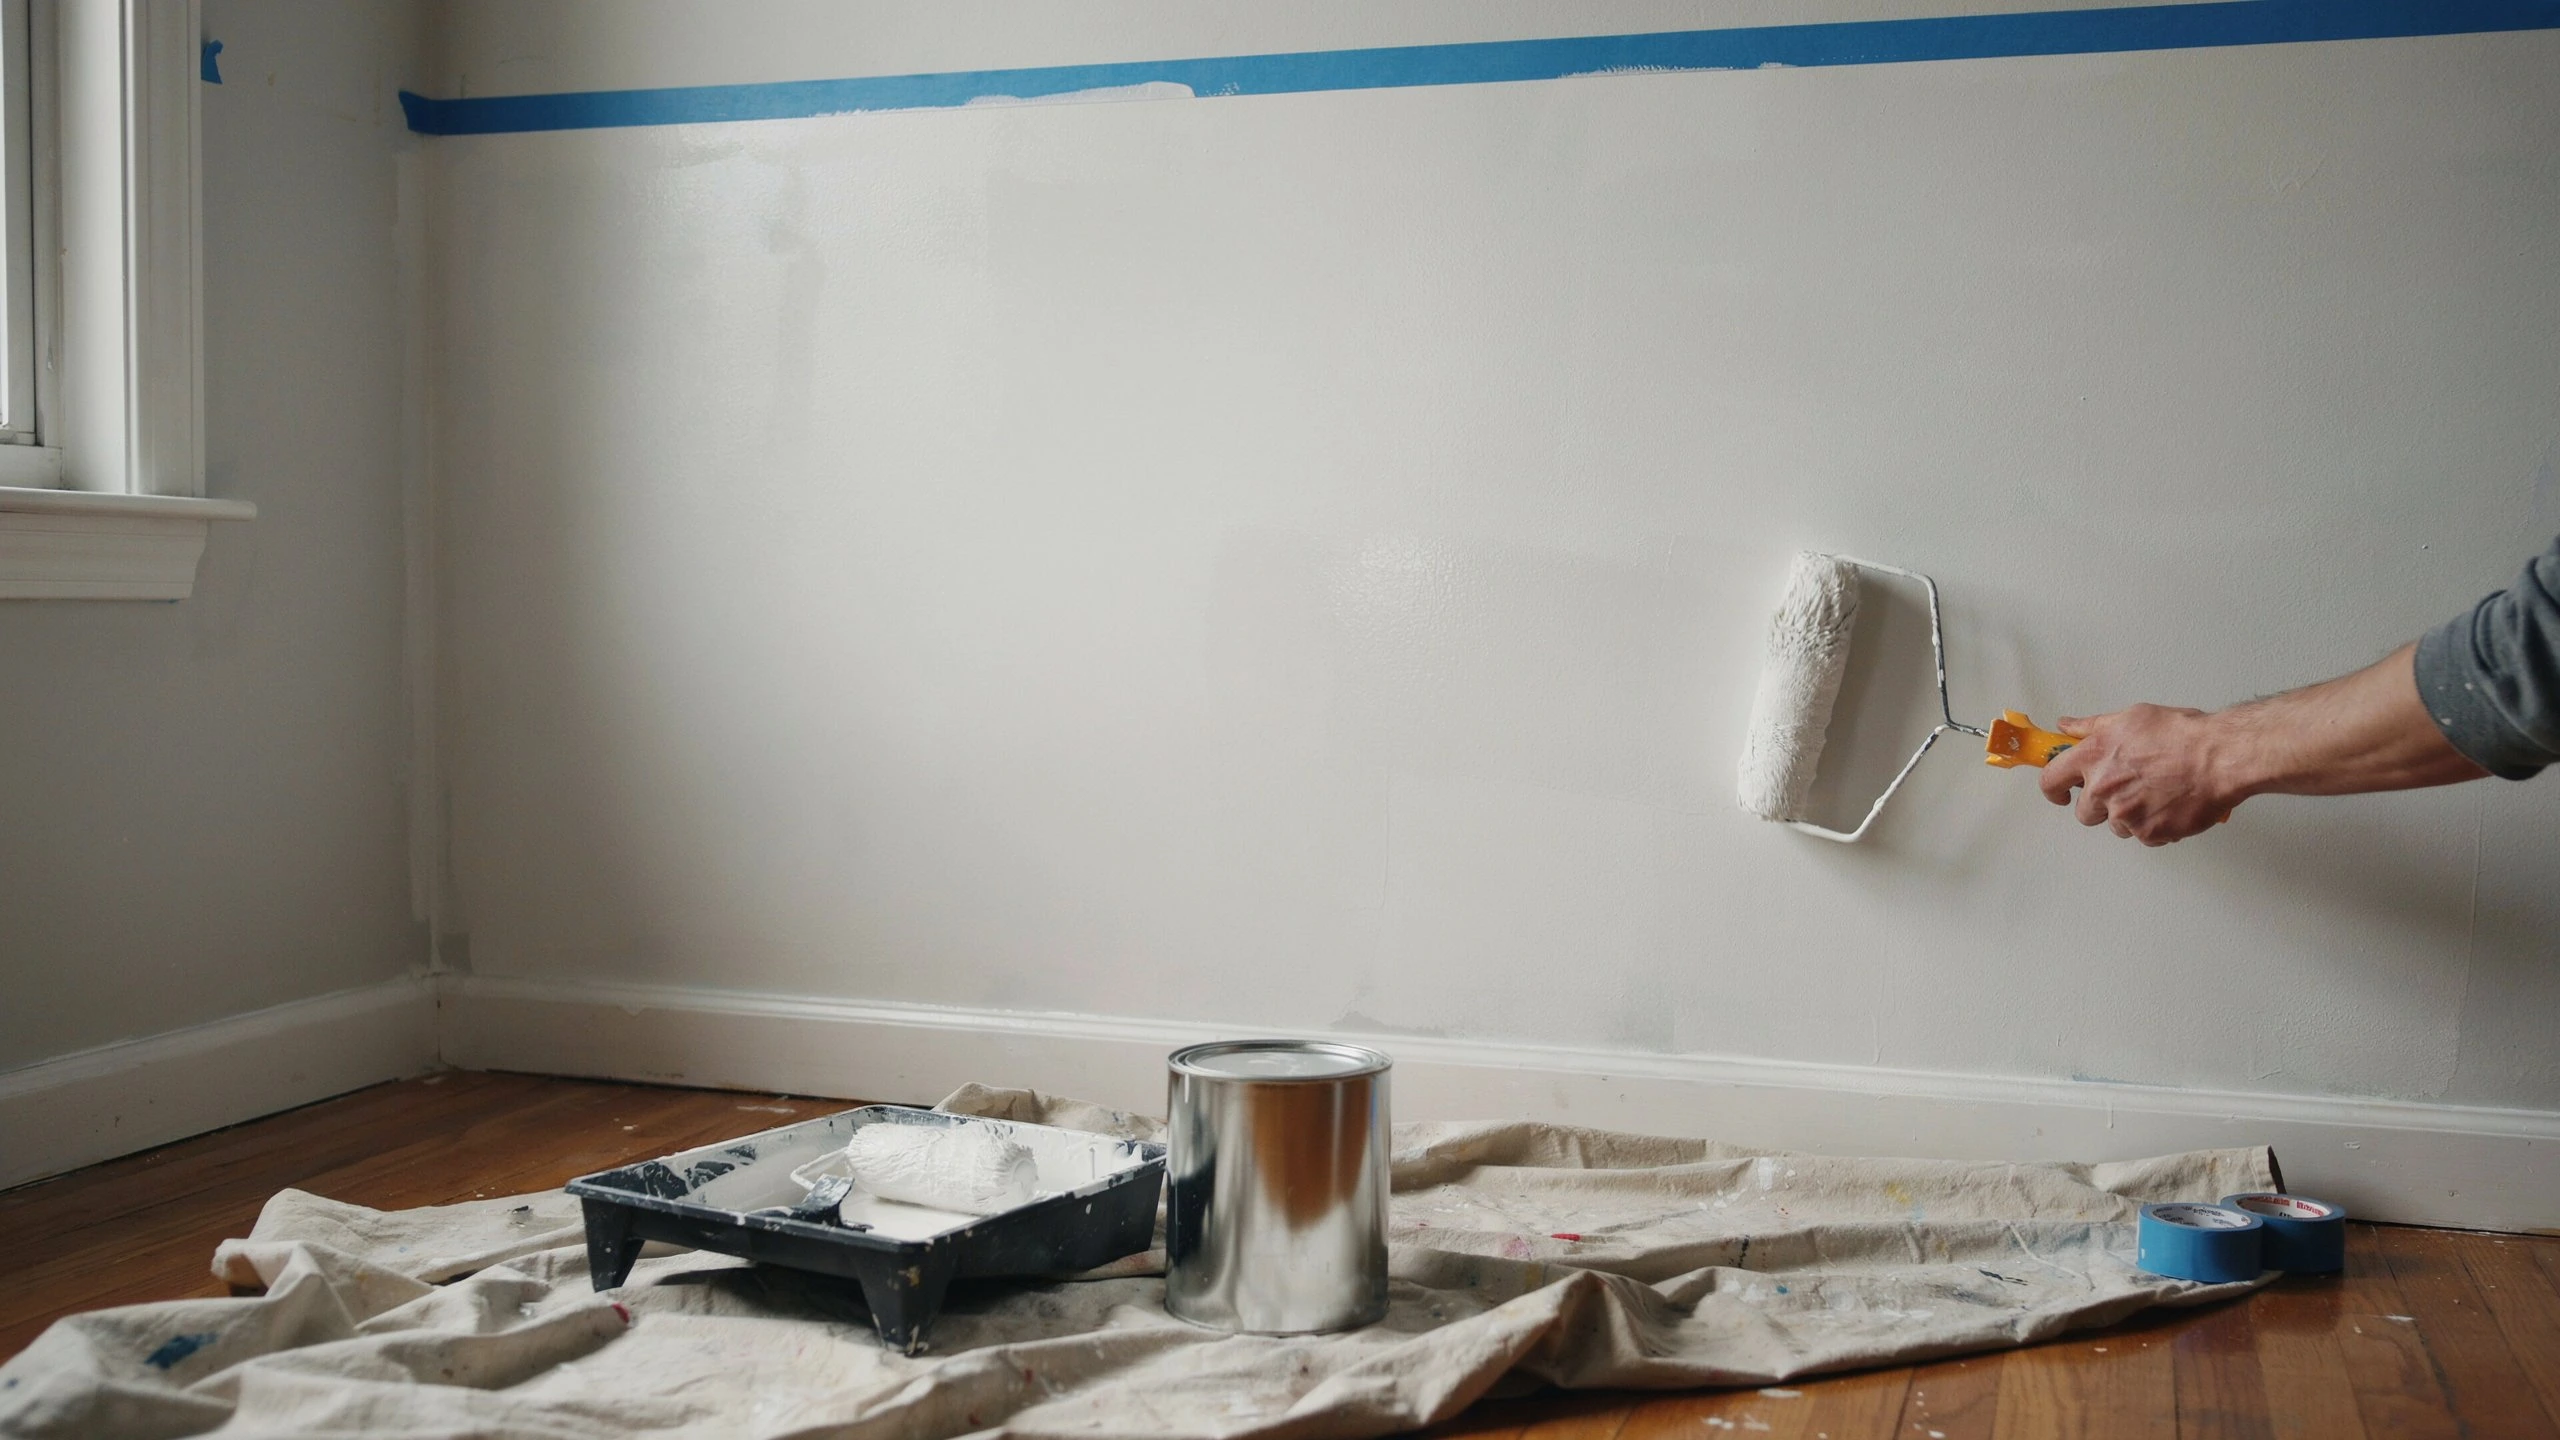
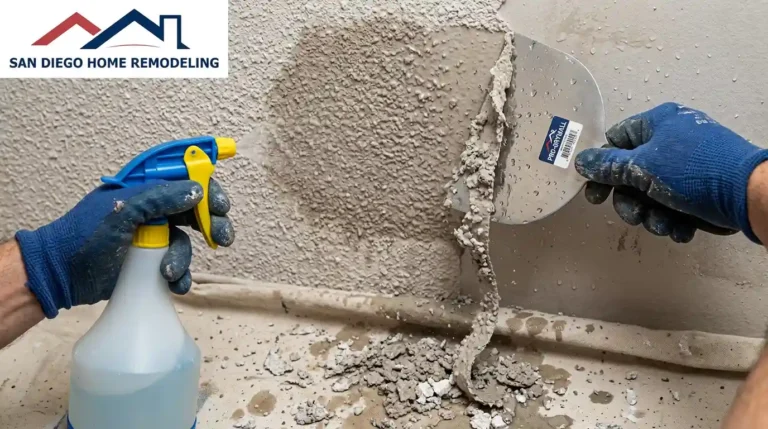
Method 2: Skim Coat to Cover Up Painted Texture

When texture has been painted over, water won’t penetrate it. Scraping the painted texture tears the drywall face. Skim coating walls is the right move: it adds thin layers of joint compound over the surface to fill bumps and build a flat wall.
Prep Your Space
Cover floors with a canvas drop cloth. Seal doorways with plastic sheeting to contain dust. Remove outlet and switch covers and tape the openings to keep drywall mud out of them.
Baseboards and Outlets
Remove baseboard trim before you start. Working around them creates uneven edges at the bottom of the wall. Take off all outlet covers. It takes five minutes and saves a lot of frustration.
Gather Your Supplies
Premixed all-purpose joint compound, thick nap paint roller, 10-inch and 12-inch drywall taping knife, mixing paddle, 5-gallon bucket, spray bottle, drywall sanding screen in 100 and 120 grit, painter’s tape, and PVA primer.
Prepare the Joint Compound
Pour premixed drywall compound into a 5-gallon bucket. Add water slowly and mix with the drill and mixing paddle. Target the consistency of thick pancake batter smooth, no lumps, spreadable but not dripping. Too thin and it runs. Too thick and it drags.
Apply Joint Compound to Wall
Use the thick nap paint roller to apply a thin, even coat over a 4×4 section. The roller covers faster than a knife and pushes compound into the recessed areas around texture bumps.
Skim the Walls with the Magic Trowel
Immediately after rolling, use a Magic Trowel or large drywall taping knife to flatten the surface. Pull in long, steady strokes and feather the edges. The first coat won’t be perfect; it fills the low spots around the raised texture. That’s expected.
Alternate your direction with each coat. If the first coat goes vertical, apply the second horizontally. This levels the surface more evenly across multiple coat layers.
Keep a wet edge. Before moving to a new section, lightly mist the edge of the section you just finished. Overlap slightly into it as you continue. This prevents visible seams.
Light Your Work Surface
Shine a work light at a low angle across the wall while you smooth. Raking light exposes ridges, thin spots, and trowel lines that normal room lighting hides completely. After you think a section is done, move the light to a new angle. You’ll almost always find something to fix.
Sanding Drywall
After each coat dries 12 to 24 hours depending on humidity, lightly sand with a 100-grit drywall sanding screen. You’re knocking down ridges, not sanding it smooth yet. A dust-free drywall sander with a vacuum attachment keeps the mess in check.
Most walls need two to three coats. After the final coat, sand with 120-grit until the surface is flat and uniform.
Prime and Seal
Apply PVA drywall primer before painting. The joint compound is porous and soaks up paint unevenly without a sealer. PVA primer dries fast and creates a consistent base. Paint-and-primer combos are not a substitute here. This is the step that separates a flat, professional finish from a streaky one.
Method 3: Cover Walls with Another Material
When the texture is extremely thick, the drywall underneath is damaged, or full removal isn’t practical, covering is a solid option.
Choices include beadboard paneling, peel-and-stick wallpaper, or shiplap. All three hide texture completely and add a finished look without any scraping or skim coating.
Can You Paint Over Textured Walls Instead?
Yes, but it depends on the final look you want.
Painting over textured walls is much easier than removing them. A fresh coat of paint can improve appearance, but it will not eliminate shadows, bumps, or raised patterns.
Painting may be a good choice when:
- The texture is light.
- The walls are in good condition.
- You’re updating a rental property.
- You need a quick cosmetic change.
Removing wall texture is usually better when:
- Preparing a home for sale.
- Completing a major remodel.
- Creating a modern interior.
- Installing wallpaper.
- Repairing damaged walls.
If a smooth finish is the goal, painting alone will not achieve it.
Common Mistakes to Avoid
- Skipping the asbestos test in older homes is a health and legal risk, not a minor oversight.
- Oversaturating the wall during wet scraping swells the drywall paper and causes tears that are difficult to patch.
- Rushing drying time between coats causes joint compounds to crack when sanded or recoated.
- Painting without priming after any texture removal or skim coat work produces blotchy, uneven results every time.
- Holding the scraper at a steep angle digs into the drywall face. Keep it nearly flat.
- Trying to wet scrape painted texture tears the wall. Go straight to skim coating instead.
How Long Does It Take and How Much Does It Cost?
A standard bedroom using wet scraping takes about one full day. Skim coating takes two to three days, once you include drying time between coats.
DIY material costs run $50–$150 per room with basic tools on hand. Professional skim coating runs $1–$3 per square foot in labor. A typical 12×12 room comes out to $300–$700, depending on wall condition and texture type.
Why This DIY Project Is Worth It
Smooth walls reflect light better, hold paint more evenly, and make rooms feel larger. For homes going on the market, removing texture is one of the most cost-effective improvements available. Flat walls photograph well, appeal to more buyers, and carry a strong return relative to the labor involved.
When Should You Consider a Pro Instead?
DIY works well for one or two rooms with light-to-moderate texture. Hire a professional when your home was built before 1980, when the drywall underneath is water-damaged, when you’re working on a large open-concept area, or when the result needs to be flawless for a sale or high-end renovation.
If you’re in San Diego, San Diego Home Remodeling handles wall texture removal, skim coating, and full interior wall repair as part of both targeted repairs and larger projects. Our team delivers paint-ready walls with no shortcuts.
Get a free estimate on home remodeling services in San Diego contact us today.
Tips for Better Results
- Practice on a closet wall before tackling main living areas
- Clean tools between uses dried compound chunks cause ridges
- Sand lightly before your final coat, not just after
- Keep a wet rag nearby to wipe your taping knife clean
- Work in a room with consistent temperature extreme heat dries compound too fast
Final Thoughts
Taking texture off walls comes down to one question: painted or unpainted? Unpainted texture gets wet and scraped. The painted texture gets skim-coated. Severely damaged or extremely thick textures get covered or replaced. Pick the right method, prep carefully, work in small sections, and prime before you paint. The result: a smooth, clean wall is worth every step it takes to get there.
FAQs About Getting Rid of Textured Walls
Can I remove texture from walls without damaging the drywall?
Yes. Keep your scraper at a low angle, work in small sections, and avoid oversaturating the wall. For painted texture, skim coating is safer because it builds over the surface rather than stripping it.
How do I know if my texture has been painted?
Run a finger across the surface. The painted texture feels smooth and slightly slick on the raised bumps. The unpainted texture has a chalky, matte feel and absorbs water quickly when sprayed.
How many coats of skim coat do I need?
Most walls need two to three coats. Heavy textures like skip trowels may need four. Keep each coat thin, thick single coats crack as they dry.
What primer do I use after skim coating?
PVA drywall primer. It seals the porous surface of joint compound so paint applies evenly. All-in-one paint-and-primer products are not a replacement for PVA on fresh compounds.
Is removing wall texture worth it before selling?
In most markets, yes. Smooth walls photograph better, signal a well-maintained home, and appeal to a wider range of buyers. The cost is usually recovered in buyer perception and sale price.
Can I skim the coat over the painted texture without removing the paint first?
Yes. Lightly sand the painted surface to improve adhesion, then apply your first coat of joint compound directly over it.