May 11, 2026/
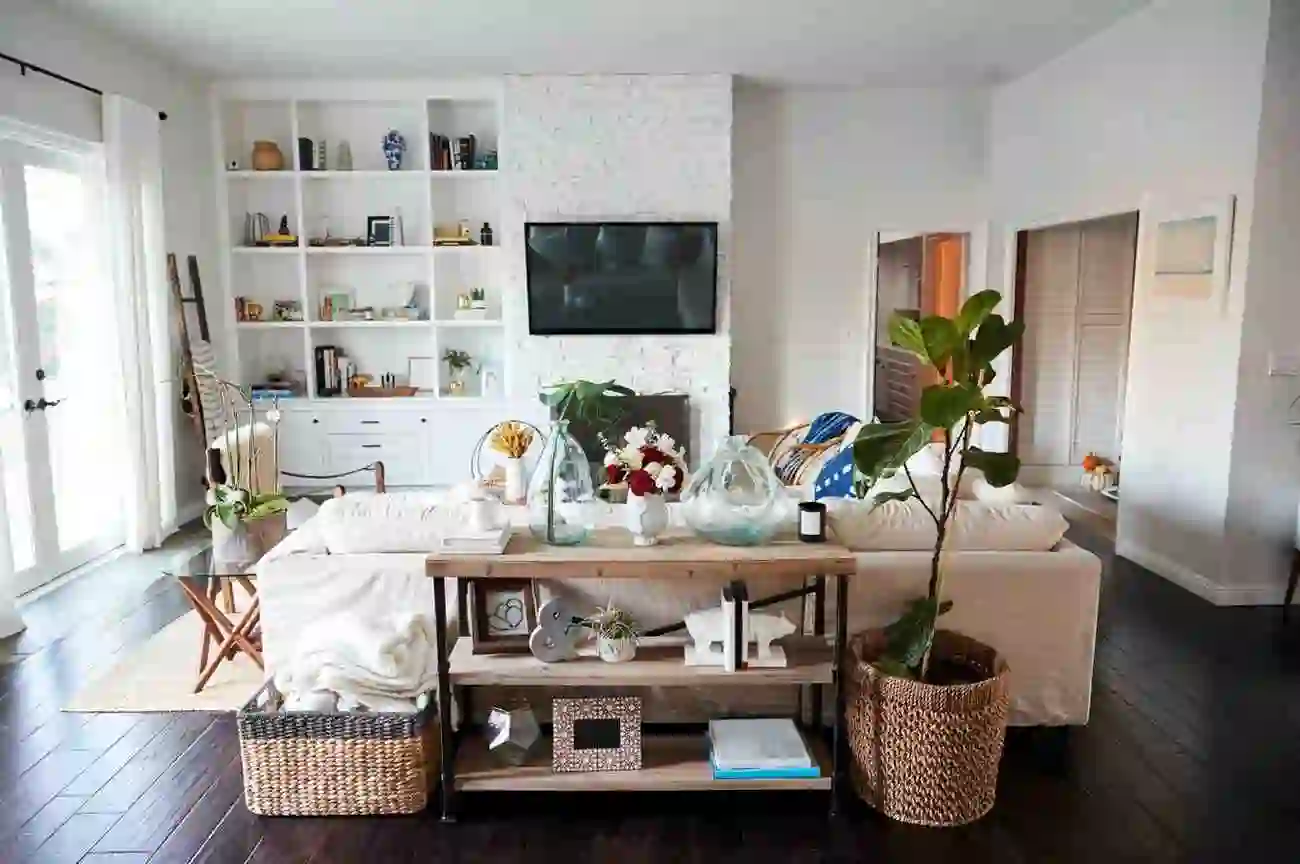
Most homeowners spend hours choosing the right sofa or picking the perfect paint color and then wonder why the room...

Most homeowners spend hours choosing the right sofa or picking the perfect paint color and then wonder why the room...
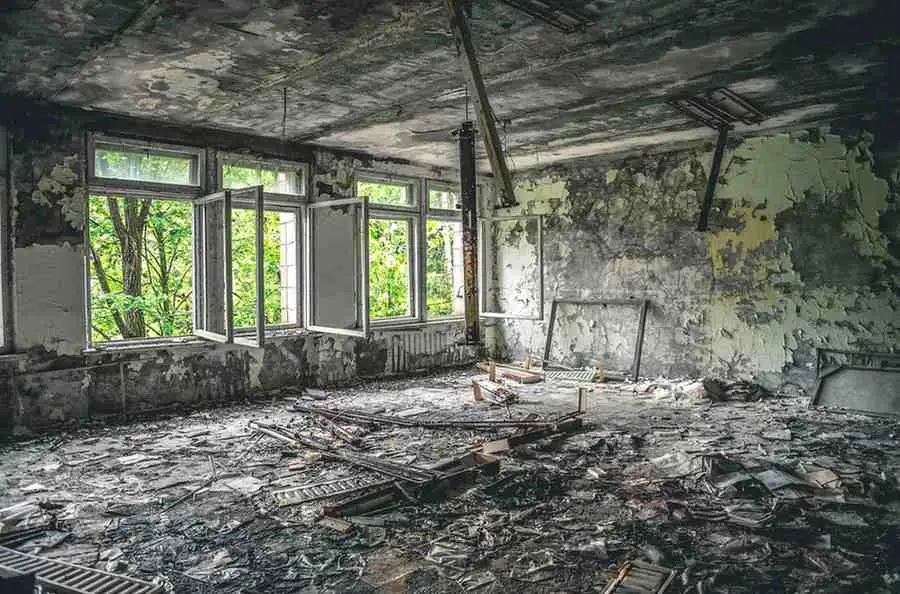
Losing your home to a fire is one of the most devastating experiences a homeowner can face. In a matter...
Picture this a warm San Diego evening, the smell of smoke rising from the grill, your family gathered around a...
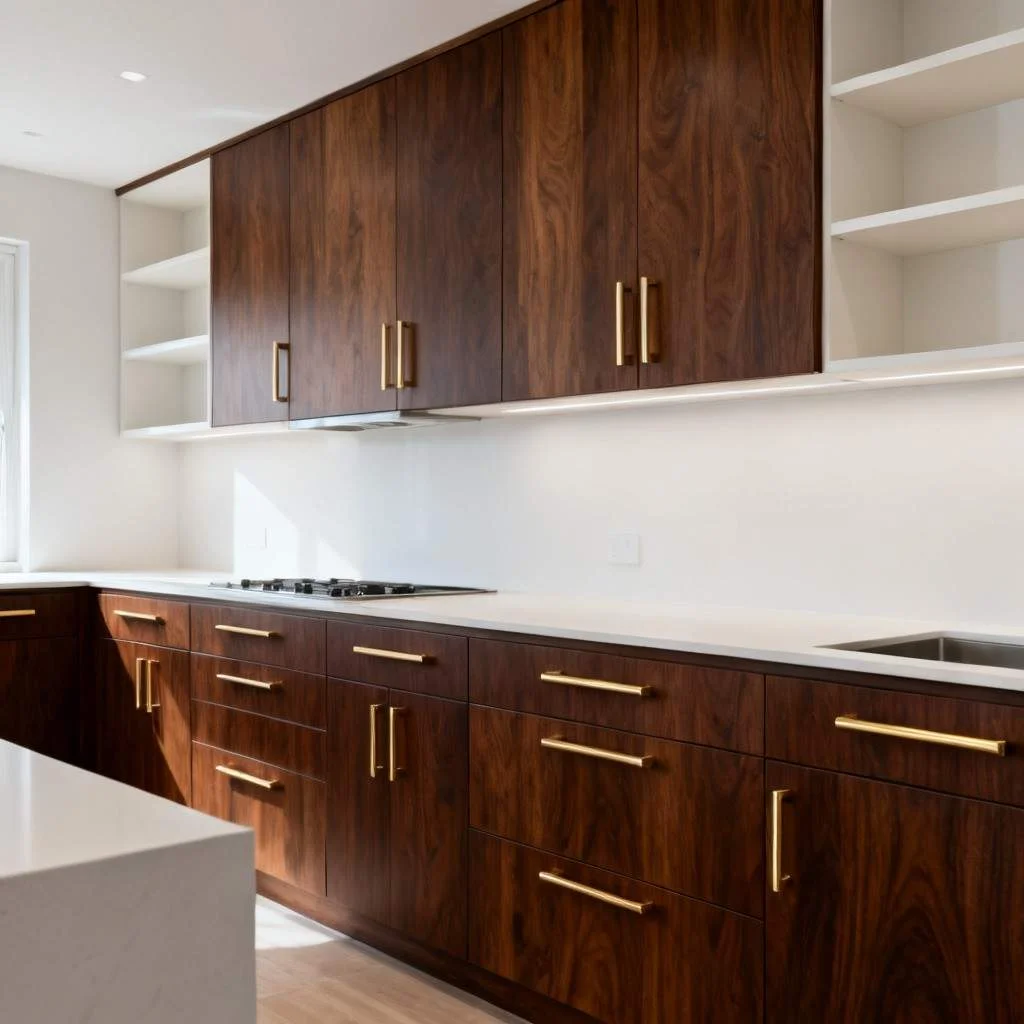
If you’re staring at honey-toned oak cabinets and wondering whether your kitchen is stuck in 1995, you’re not alone. Thousands...

Most homeowners do not struggle with picking tile colors or cabinet finishes. They struggle with knowing what to do first....
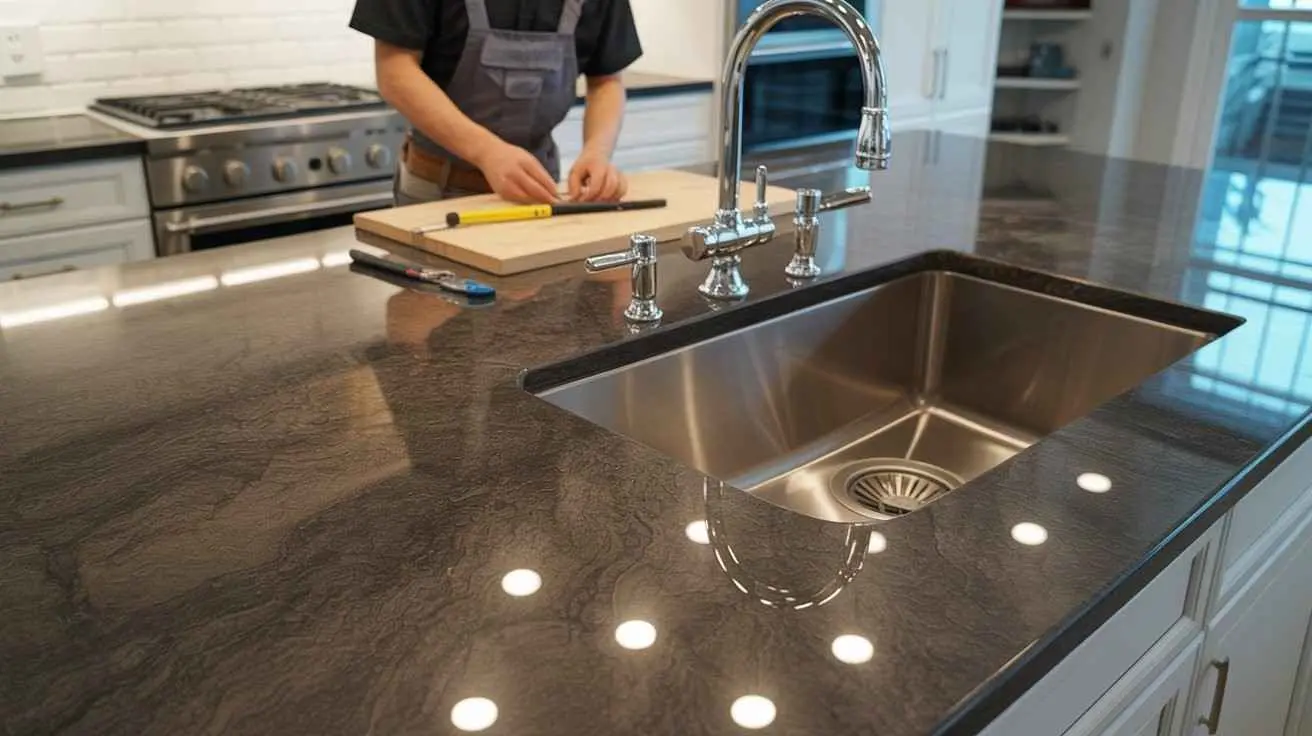
Most homeowners picture the finished kitchen in their minds before the work even starts. New granite countertops, a clean modern...
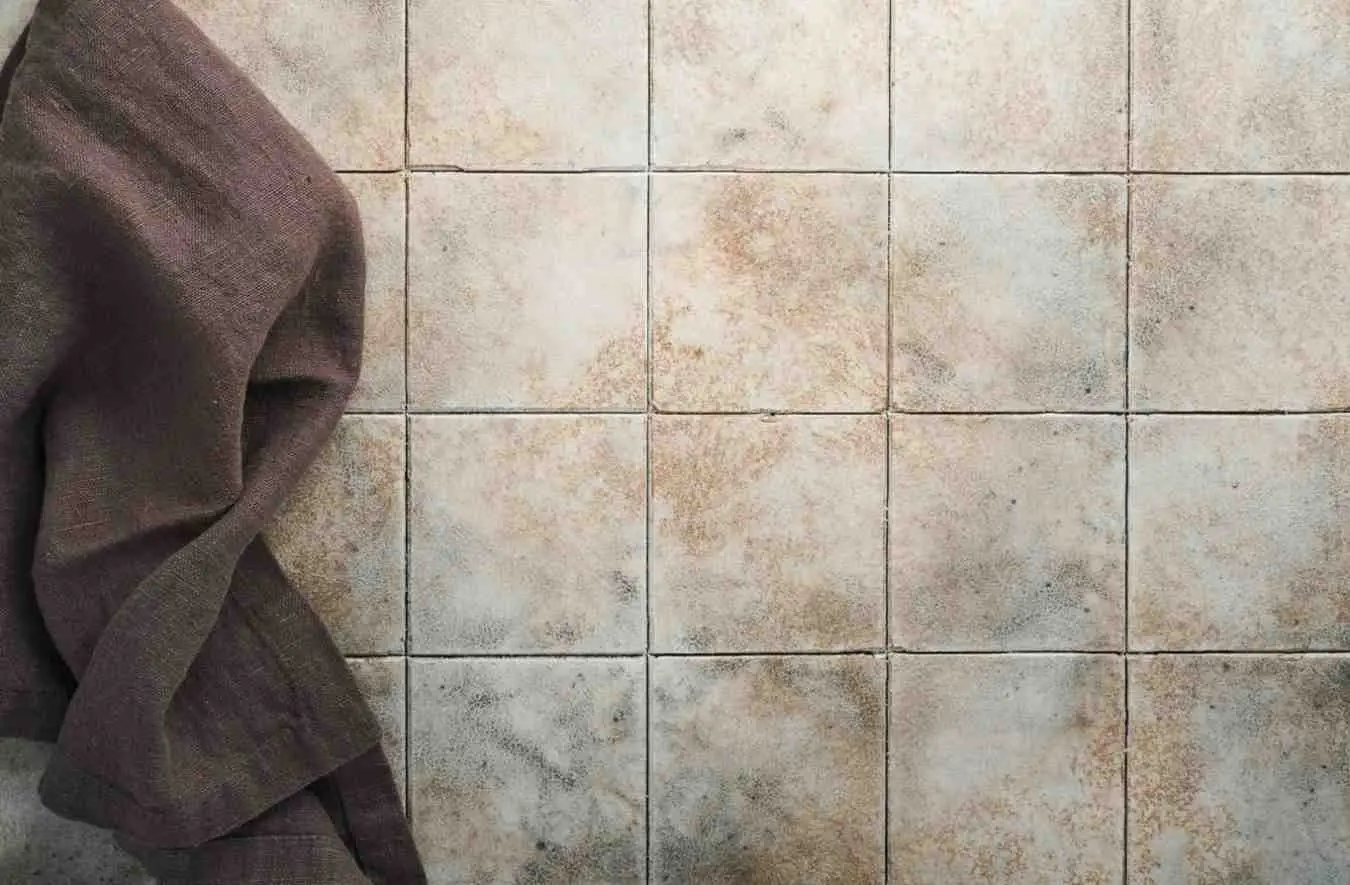
Your bathroom or kitchen tiles might look perfectly fine, but if the grout between them is cracking, turning dark, or...
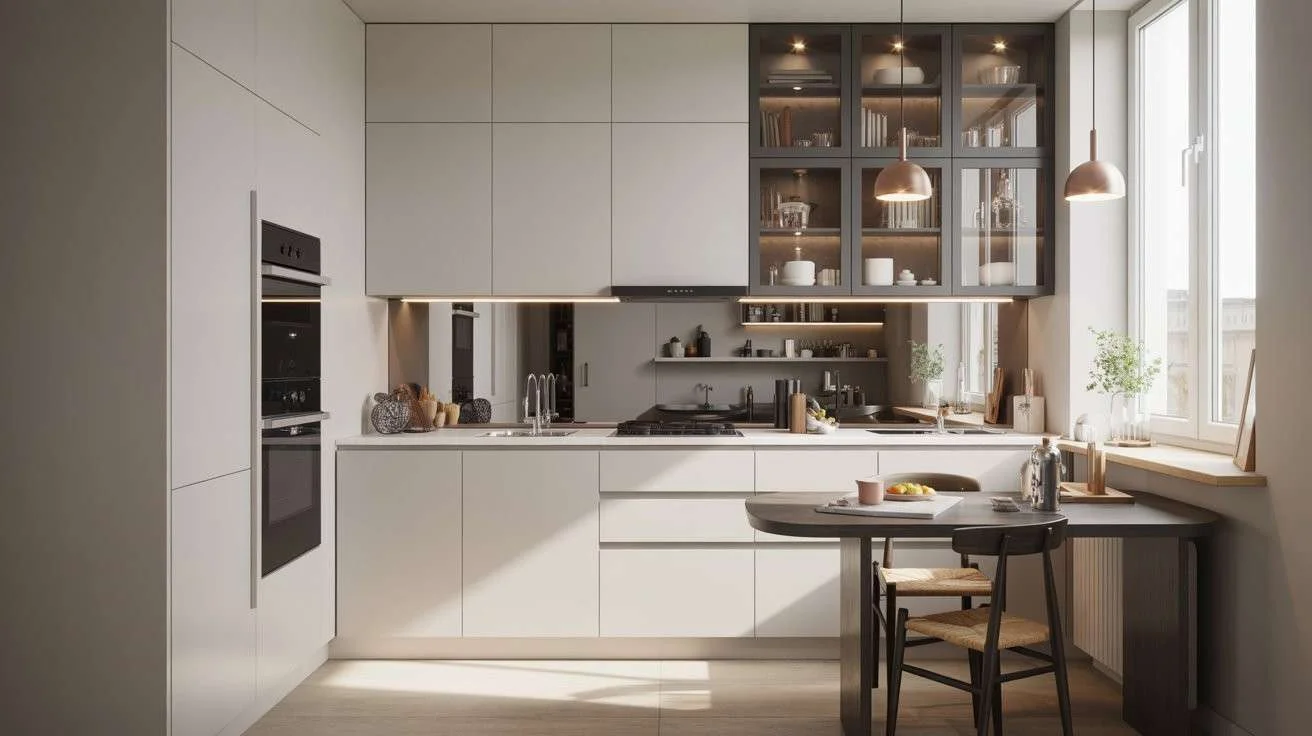
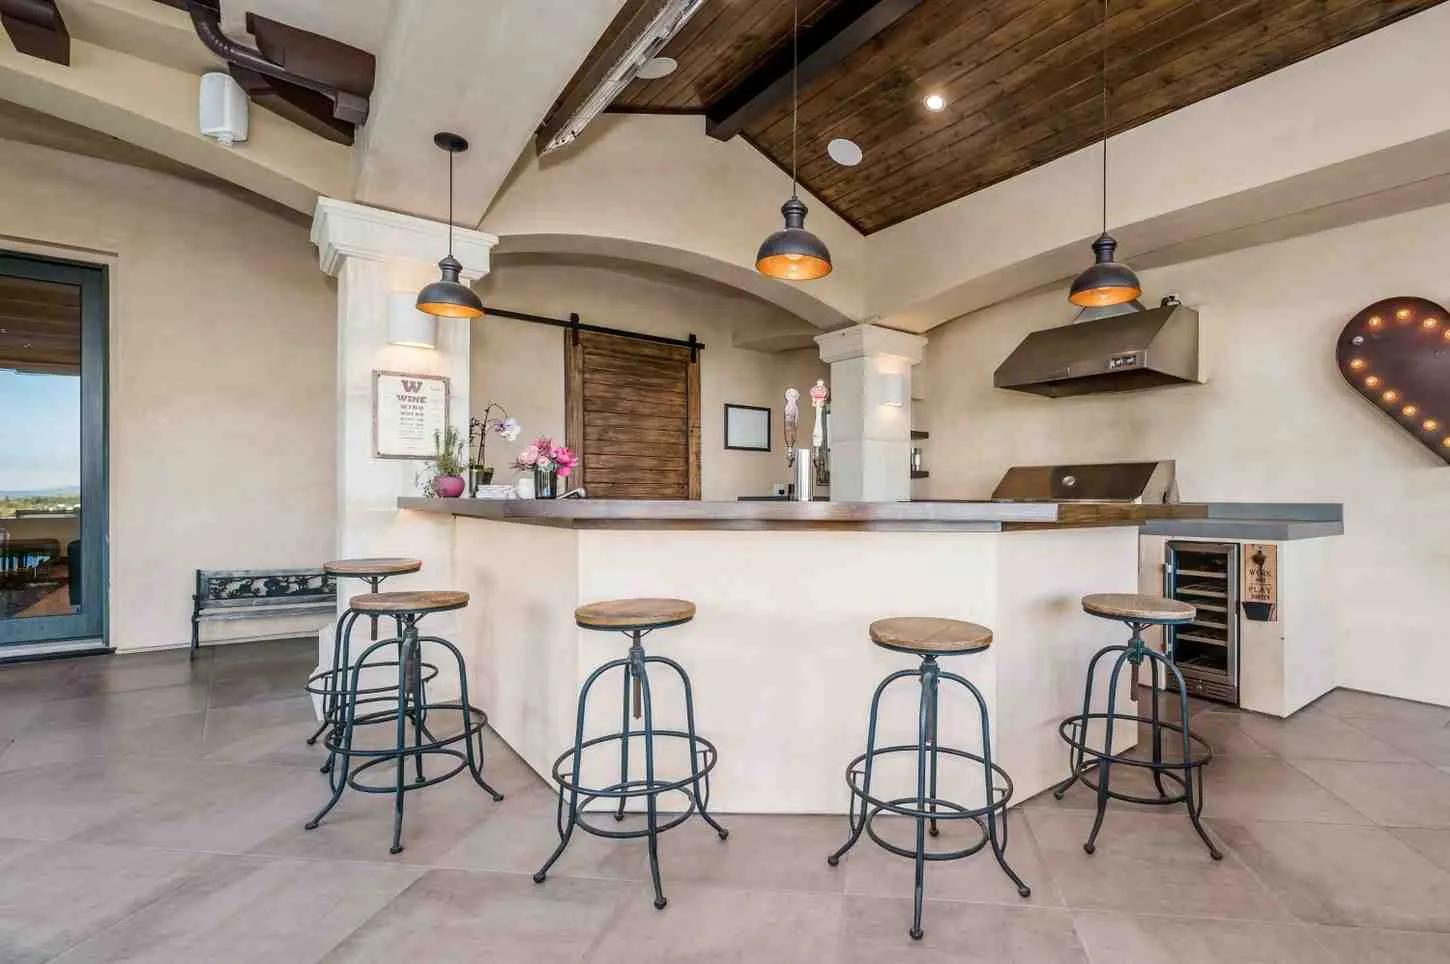
Your kitchen might be small, but that does not mean it has to feel small. Whether you are dealing with...
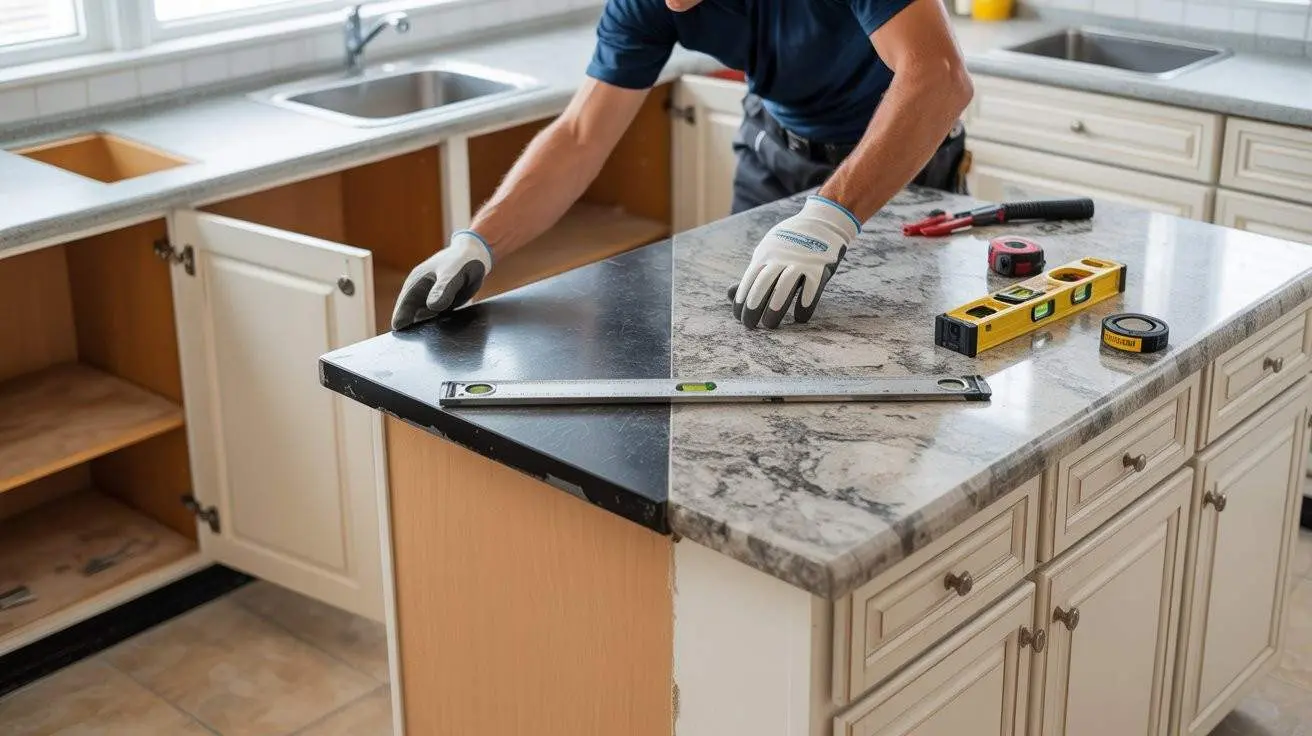
Your kitchen countertops take more wear than almost any other surface in your home. Grease, heat, cracked edges, stained seams...

