
April 3, 2026/
Outdoor Elevator Cost ranges from $6,000 to $100,000 or more depending on type, size, and installation needs. Most homeowners pay...

Outdoor Elevator Cost ranges from $6,000 to $100,000 or more depending on type, size, and installation needs. Most homeowners pay...
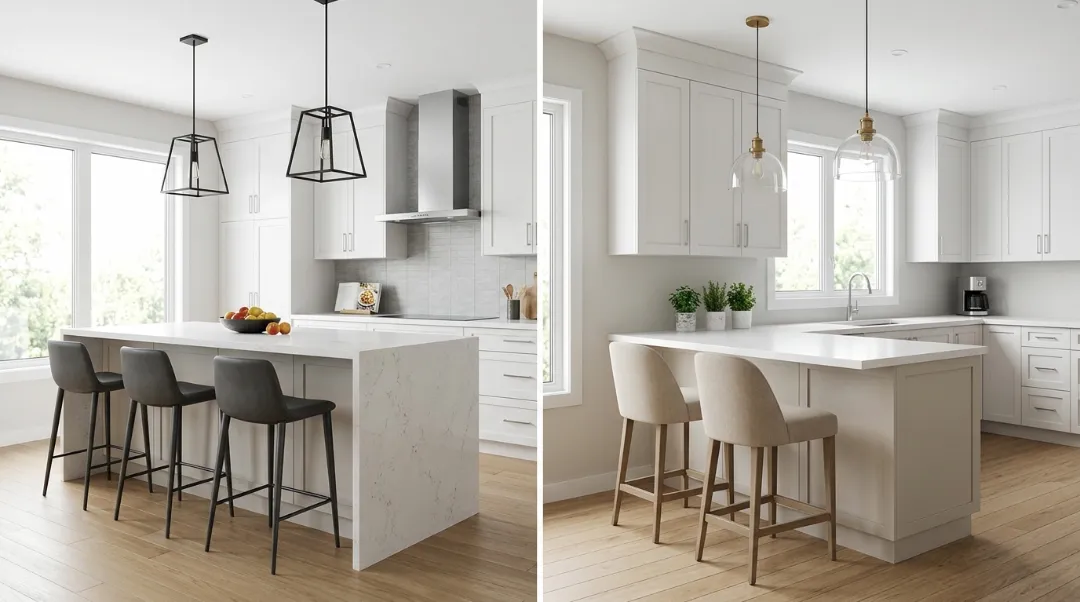
You are in your kitchen with a tape measure, trying to decide if an island or a peninsula would work...
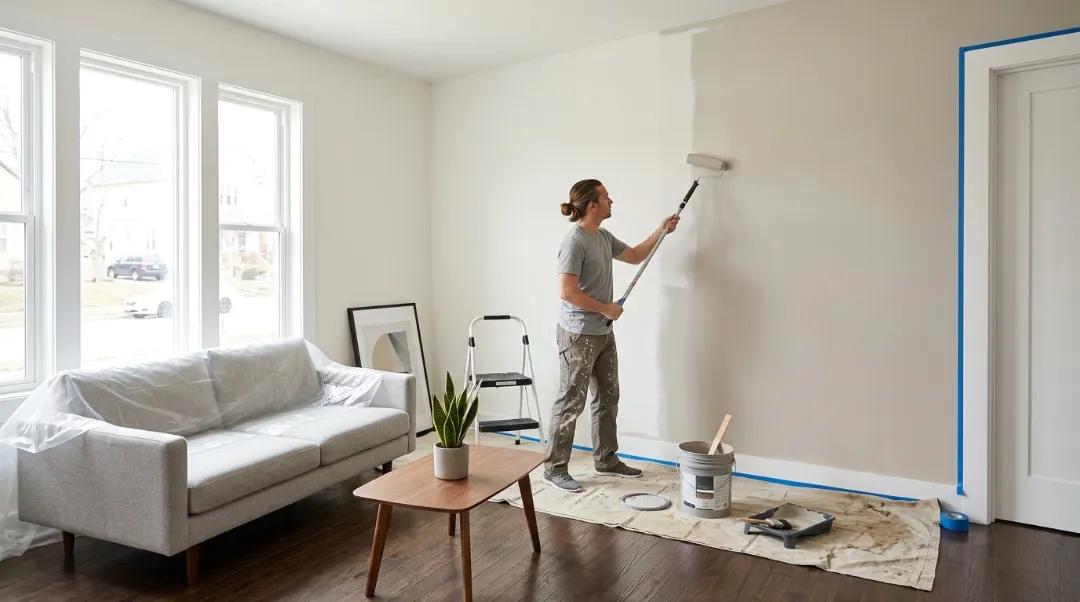
Most people who own a home see a damaged wall or an old bathroom and say, “I’ll take care of...
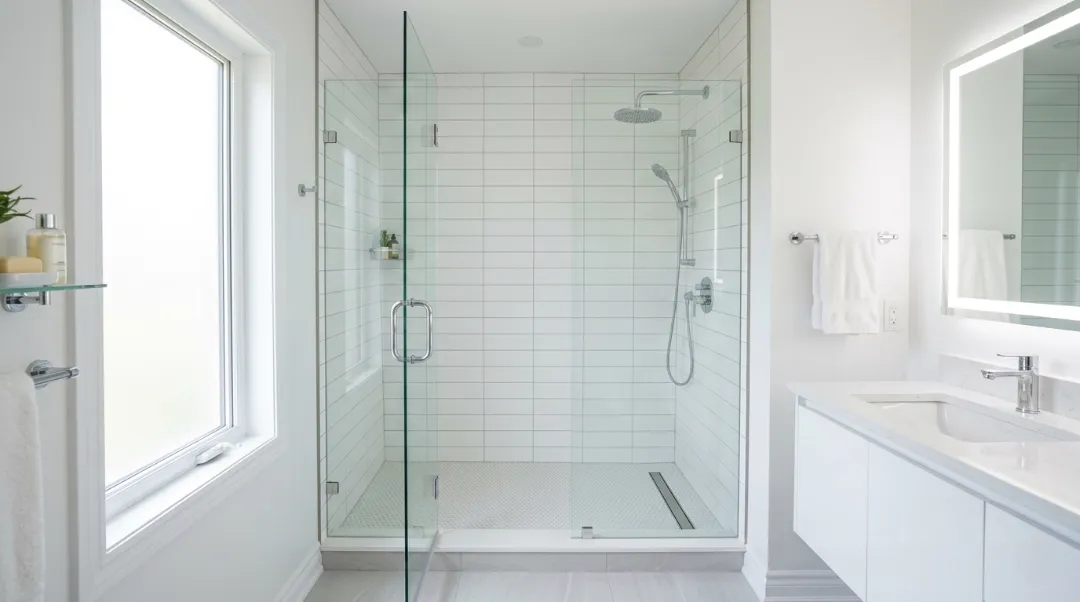
One of the best bathroom improvements a homeowner can do is switching from a bathtub to a shower. However, you...

Remodeling your stairs is one of the most effective ways to refresh your home’s interior design. A staircase makeover can...
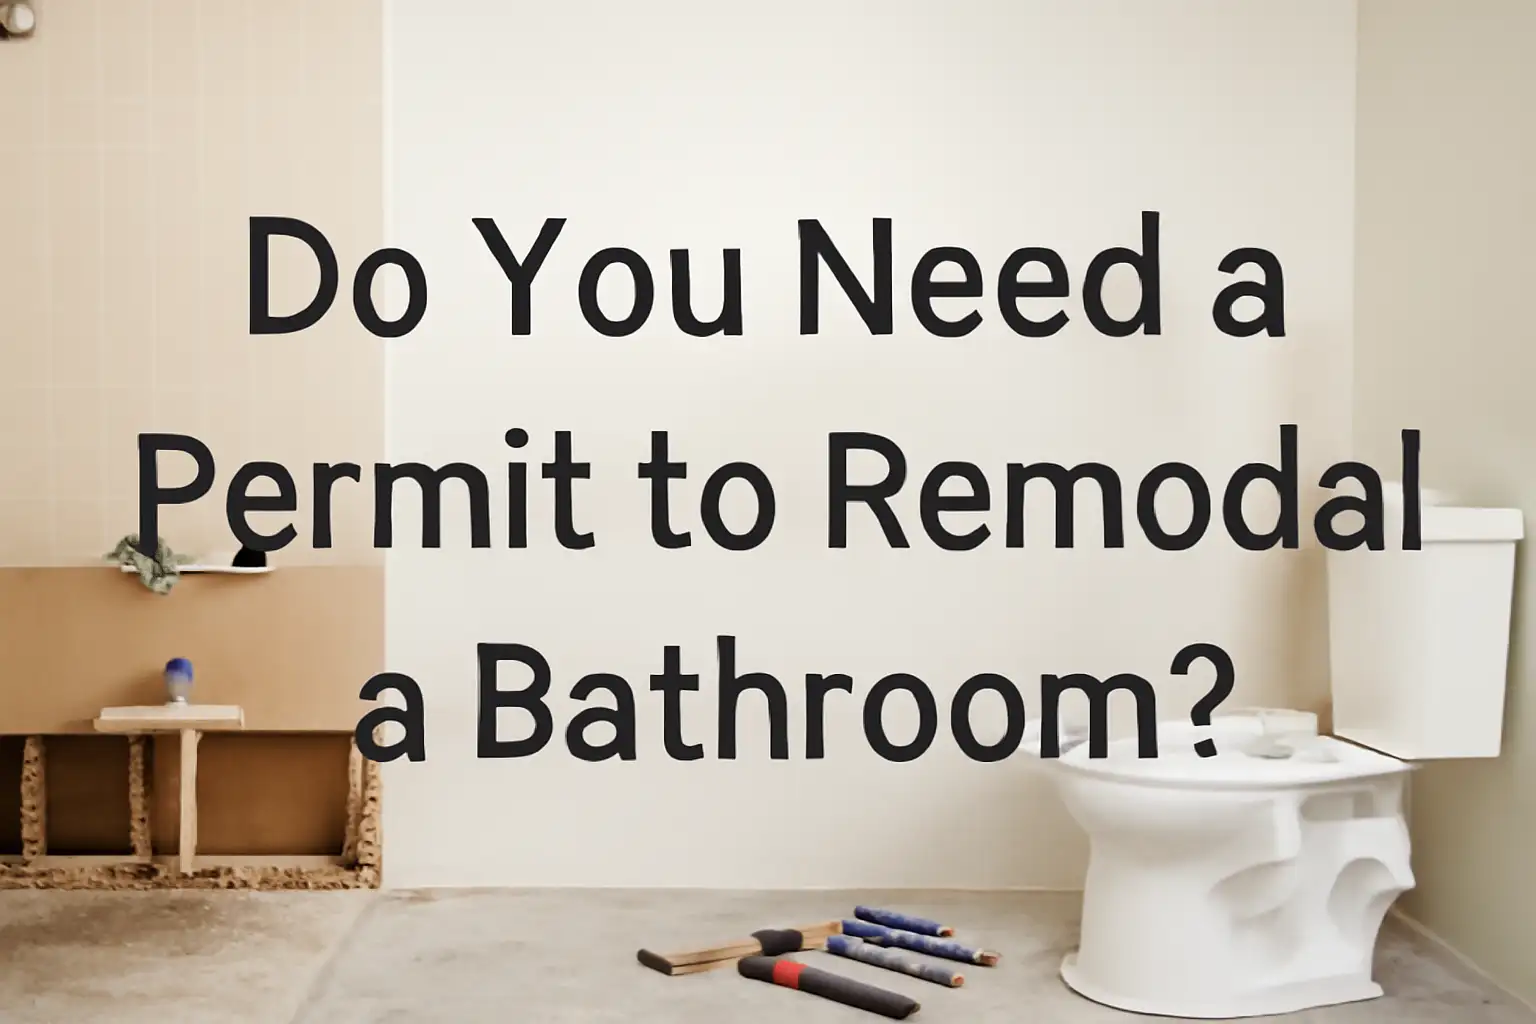
Thinking about updating your space and wondering, do you need a permit to remodel a bathroom? This is the single...
Planning a kitchen update can feel stressful when you’re not sure what you’ll spend. If you’re considering IKEA for your...

Yes, you can remodel a condo, but it’s not as simple as renovating a house. You own your unit, which...

For any homeowner, planning a high-end bathroom remodel is a big deal. You want the comfort of a spa at...

