June 1, 2026/
Marble has always been the gold standard for luxury bathrooms. It brings natural veining, depth, and a timeless look that...

Marble has always been the gold standard for luxury bathrooms. It brings natural veining, depth, and a timeless look that...
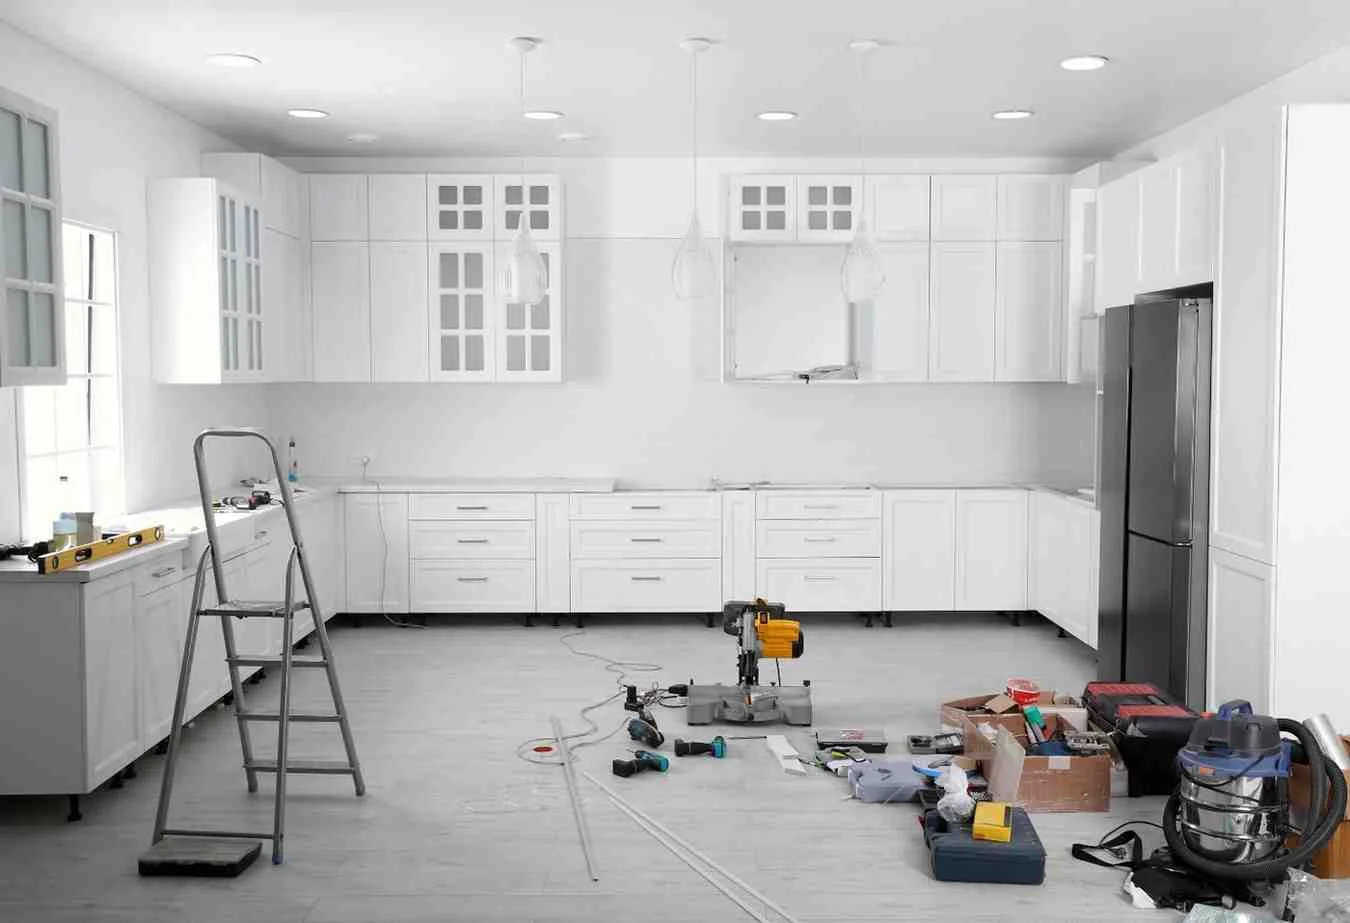
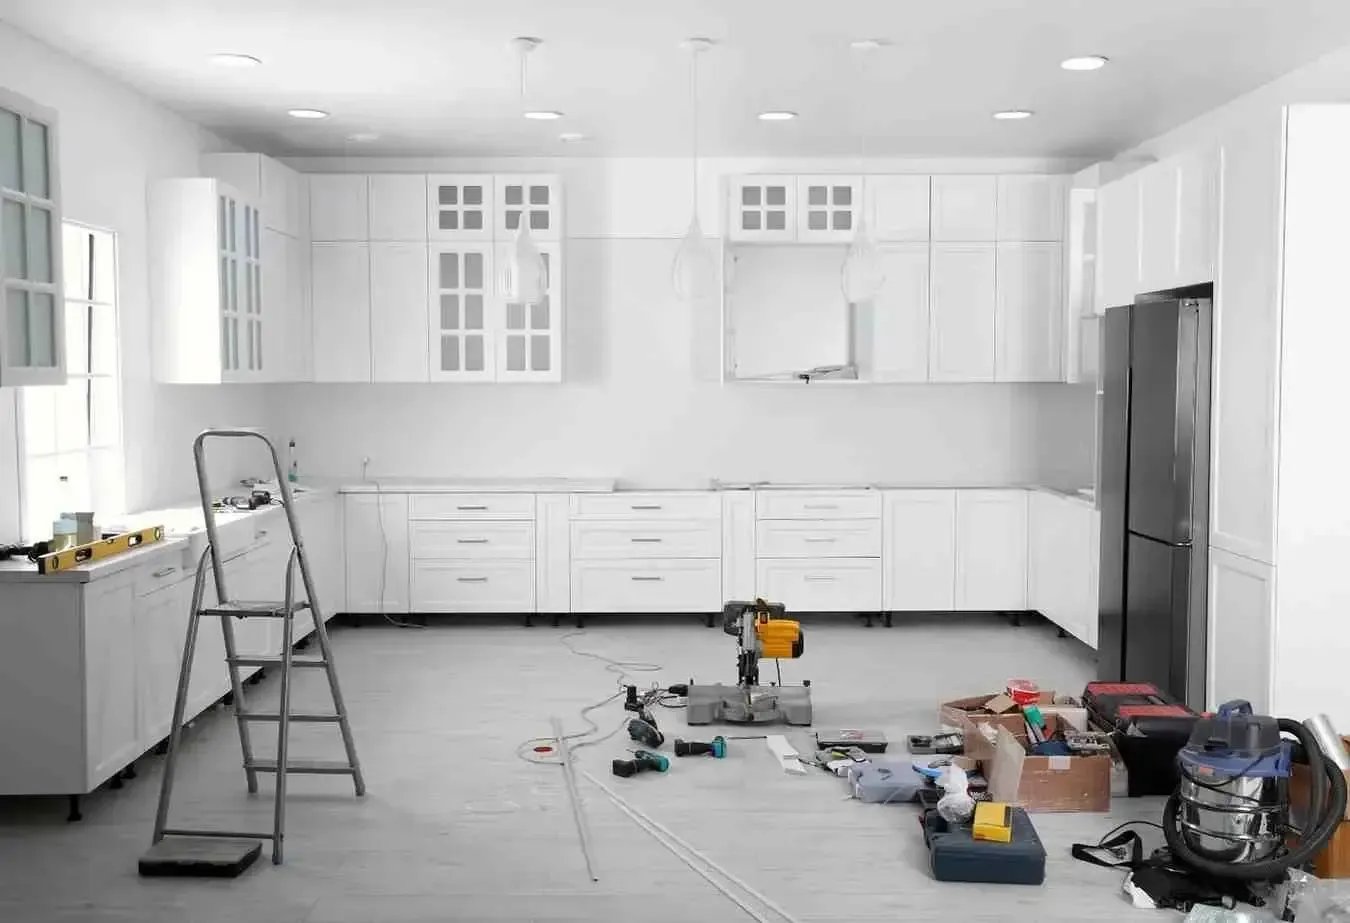
Planning a kitchen upgrade starts with one big question: what is the real 10×10 Kitchen Remodel Cost? A standard 10×10...
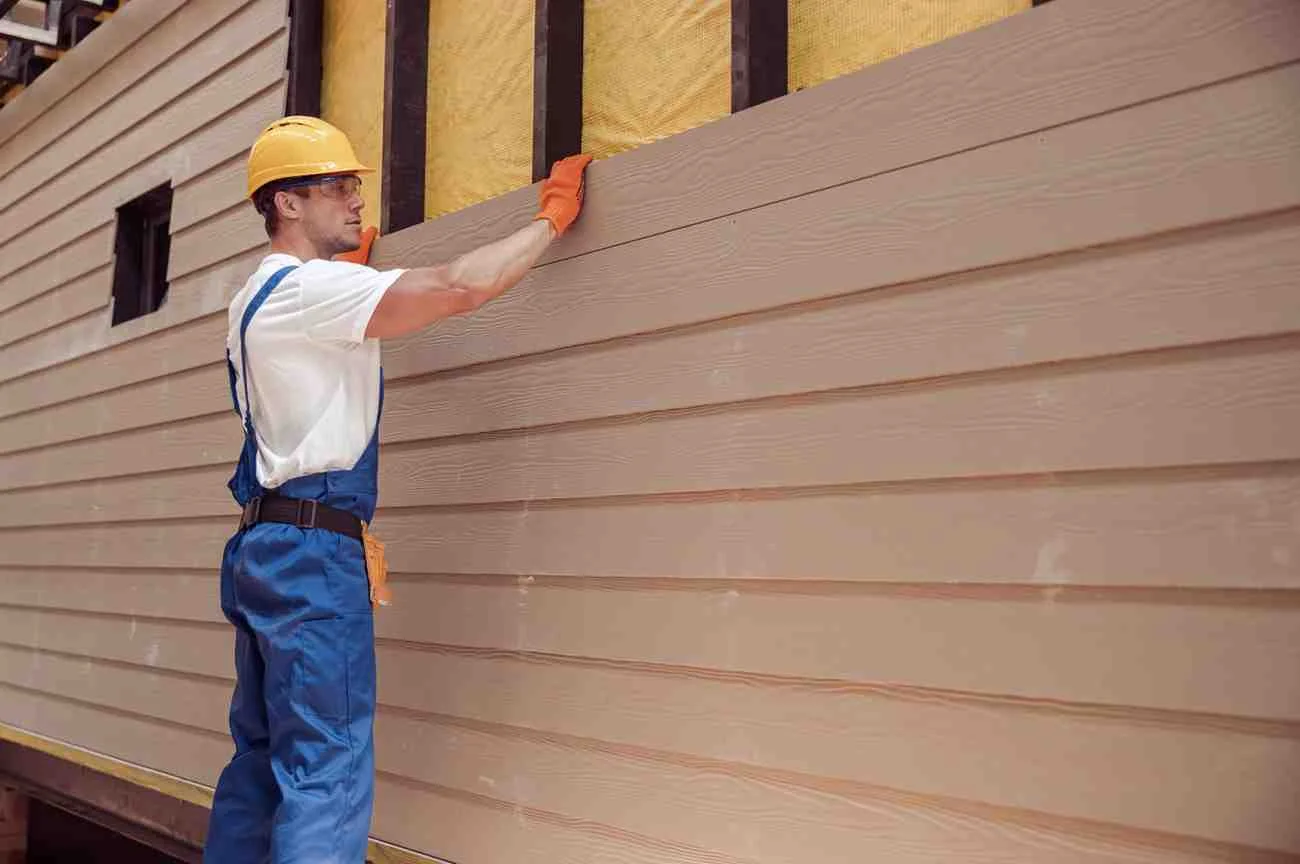
Your home’s exterior takes a beating every single day. Sun, rain, wind, and humidity wear down the siding over time....
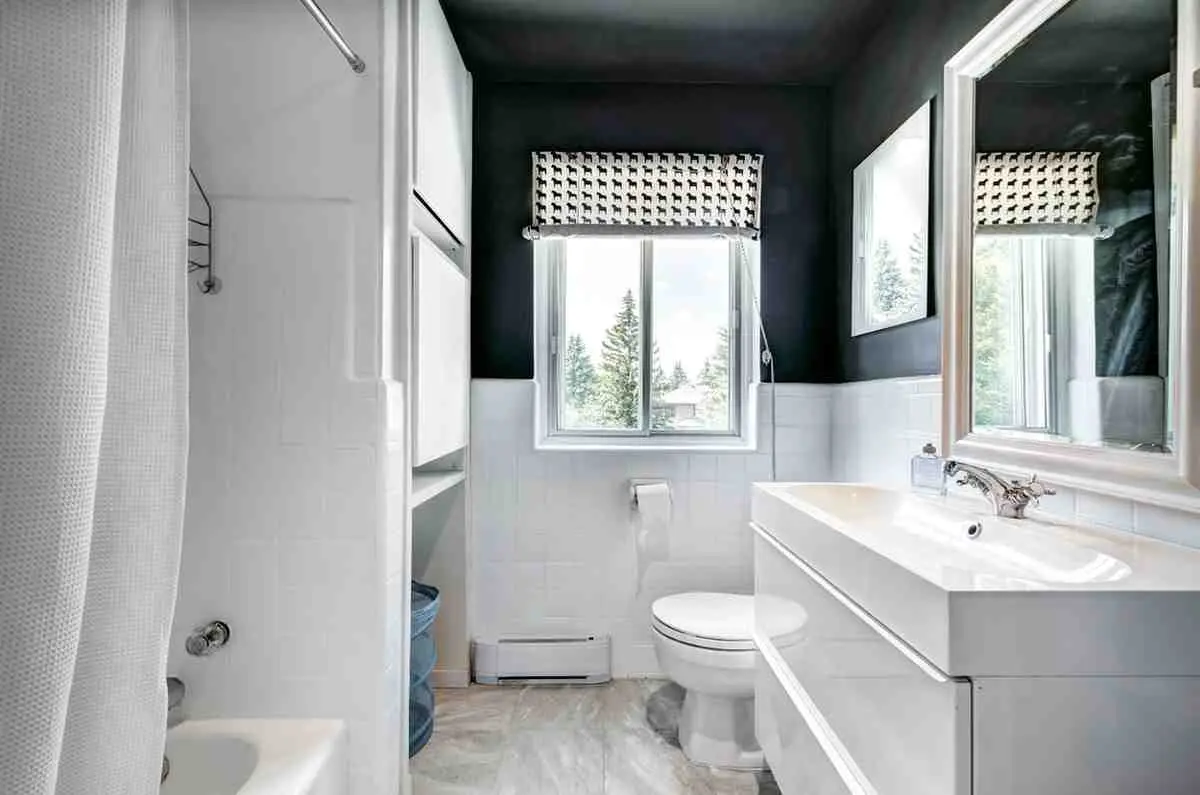
How to Remodel a Small Bathroom? Most homeowners dread their small bathrooms. The layout feels cramped, the storage space is...
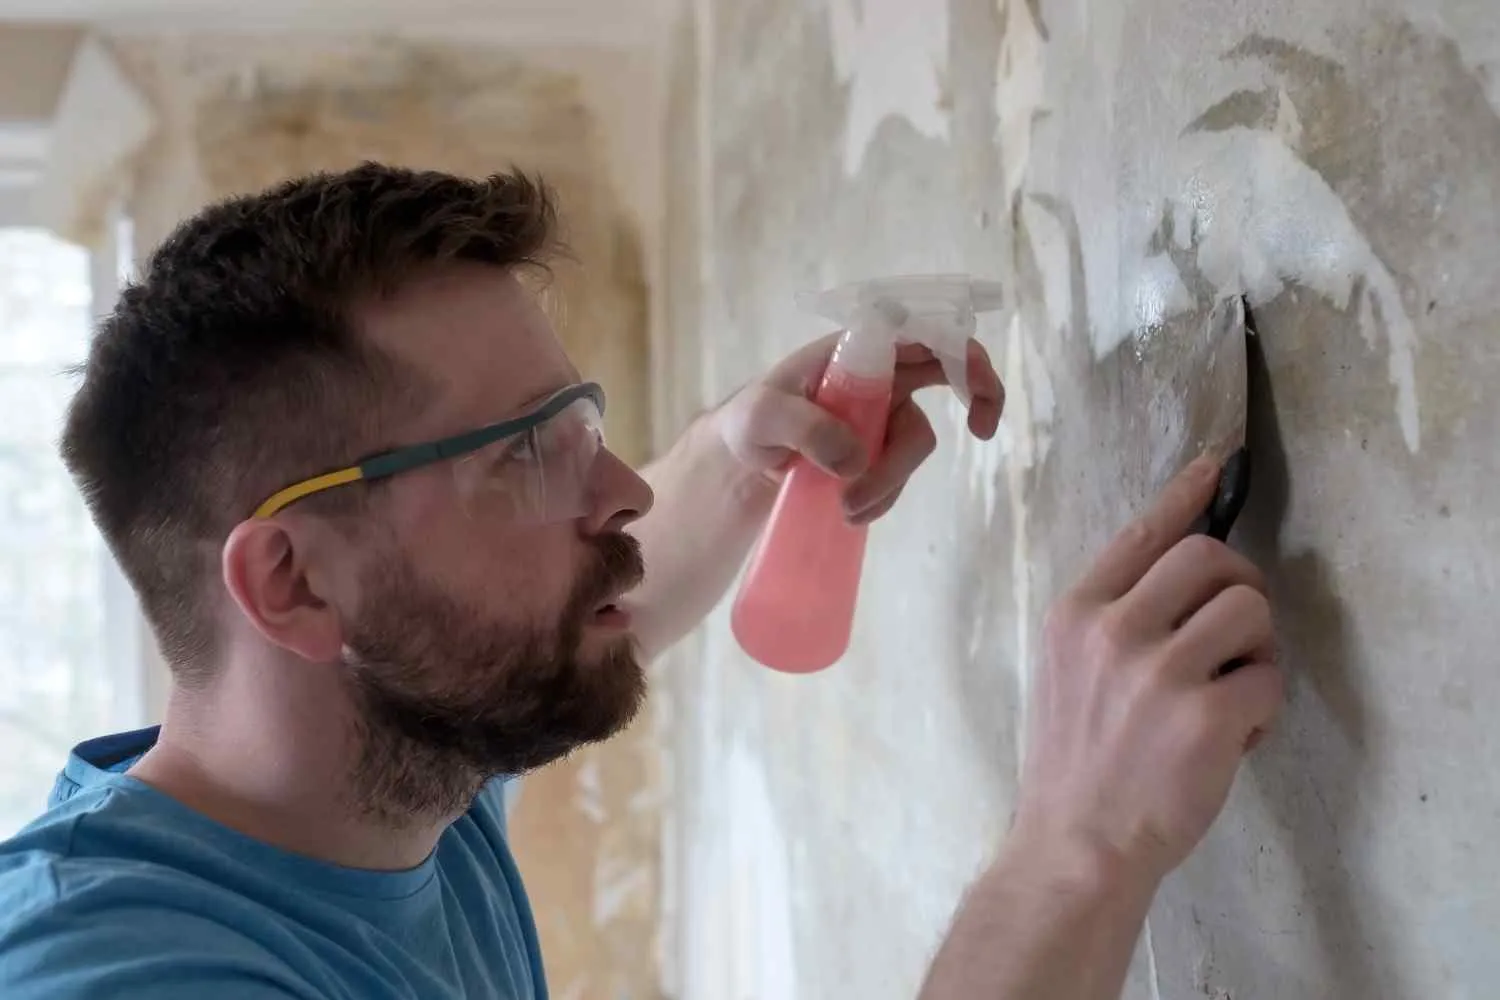
Textured walls were popular for decades, but today most homeowners want something cleaner, smoother, and more modern. If you have...

You turn on the faucet, step away for a few minutes, and come back to a tub that is barely...

Most homeowners do not realize how much goes into a bathroom remodel until they are already in the middle of...
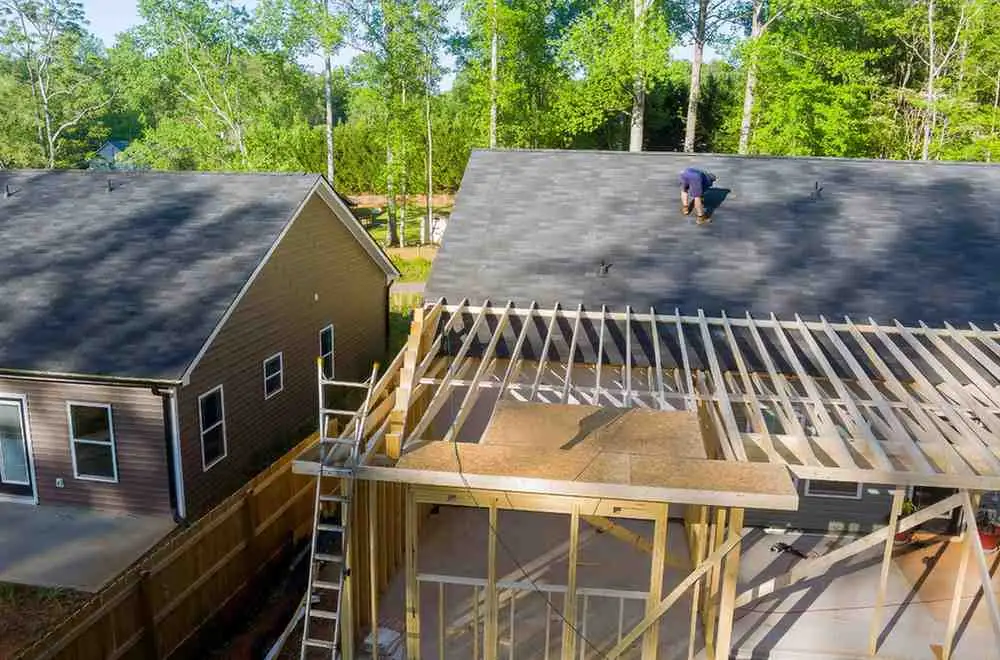
Many homeowners love their current house but feel stuck because they need more room. Maybe the kitchen feels too small,...
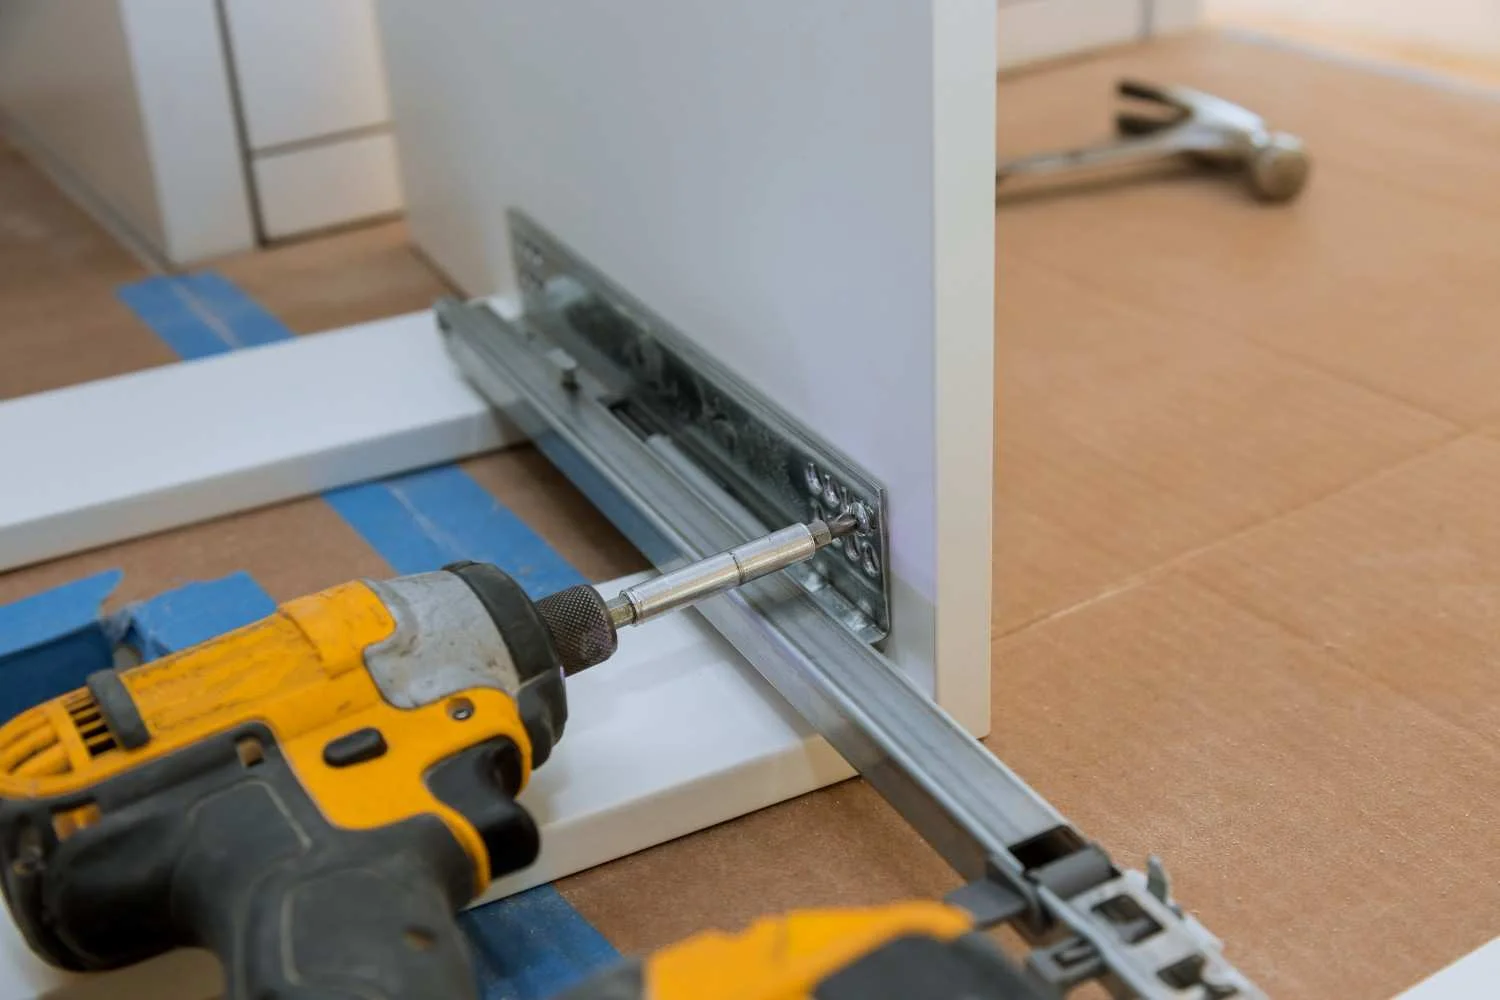
Most homeowners spend weeks picking cabinet styles, countertop colors, and hardware, then rush through the finishing details. The toe kick...

