
December 1, 2025/
Remodeling your stairs is one of the most effective ways to refresh your home’s interior design. A staircase makeover can...

Remodeling your stairs is one of the most effective ways to refresh your home’s interior design. A staircase makeover can...

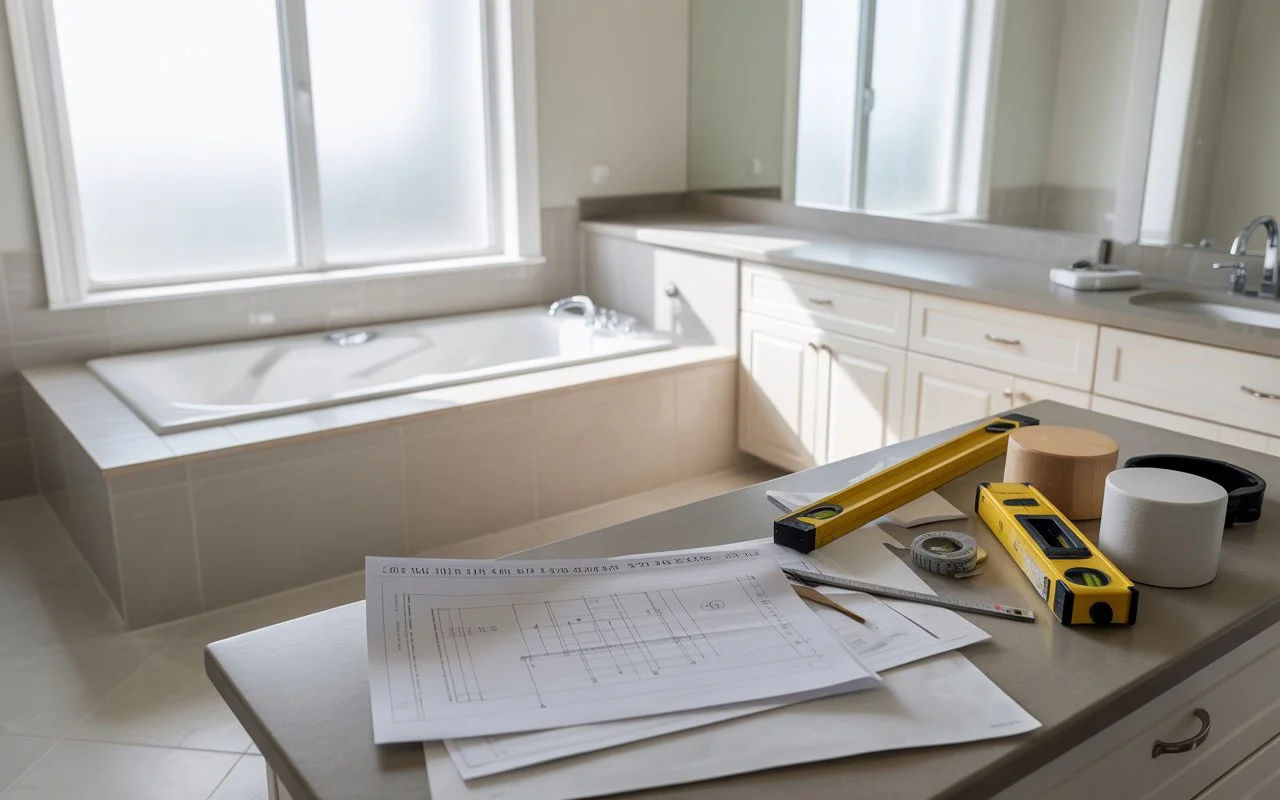
Thinking about updating your space and wondering, do you need a permit to remodel a bathroom? This is the single...
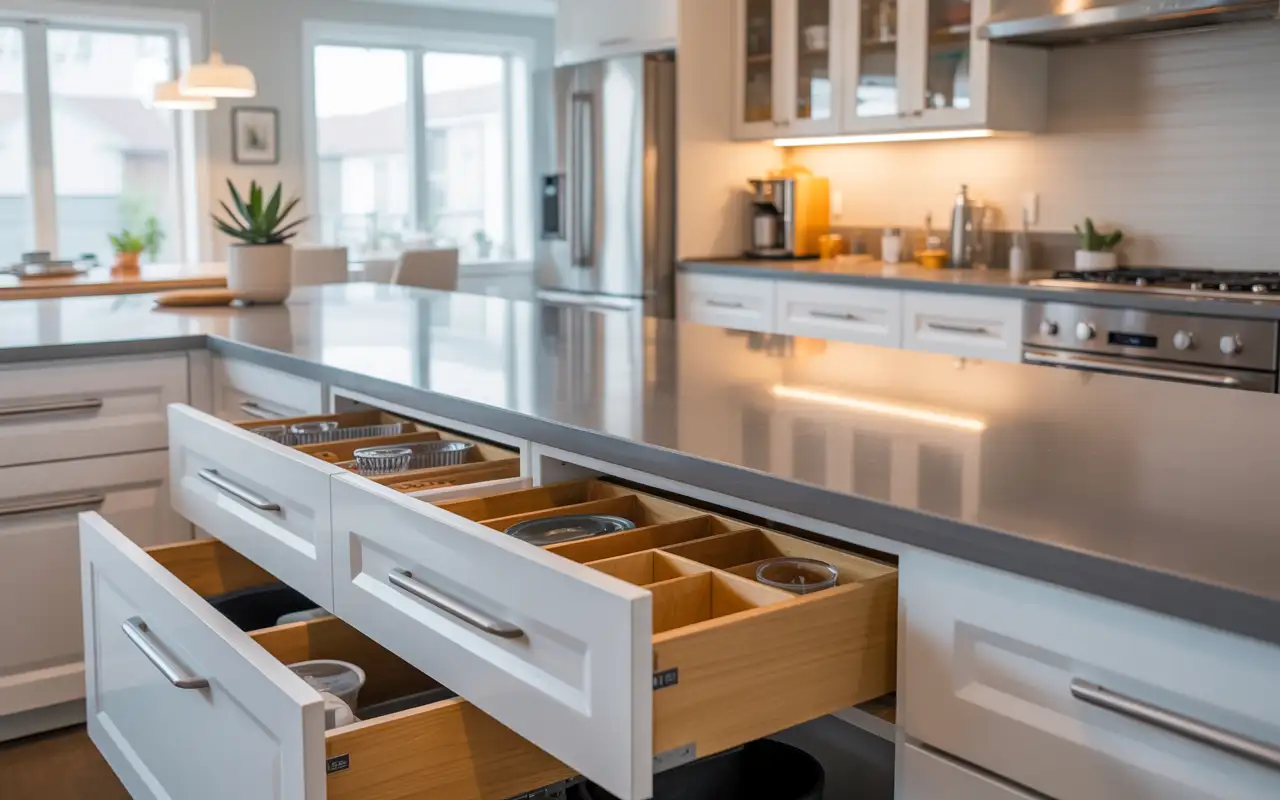
Planning a kitchen update can feel stressful when you’re not sure what you’ll spend. If you’re considering IKEA for your...

Yes, you can remodel a condo, but it’s not as simple as renovating a house. You own your unit, which...
A Jacuzzi bath remodel can turn your ordinary bathroom into a luxury home spa, offering relaxation and significant health benefits....
![How Long Does Spackle Take to Dry? [2025 Guide]](https://sandiegohomeremodeling.com/wp-content/uploads/2025/11/how-long-does-spackle-take-to-dry-image.webp.webp)
Patching small holes in drywall is a fundamental home repair skill. Knowing the answer to how long does spackle take...
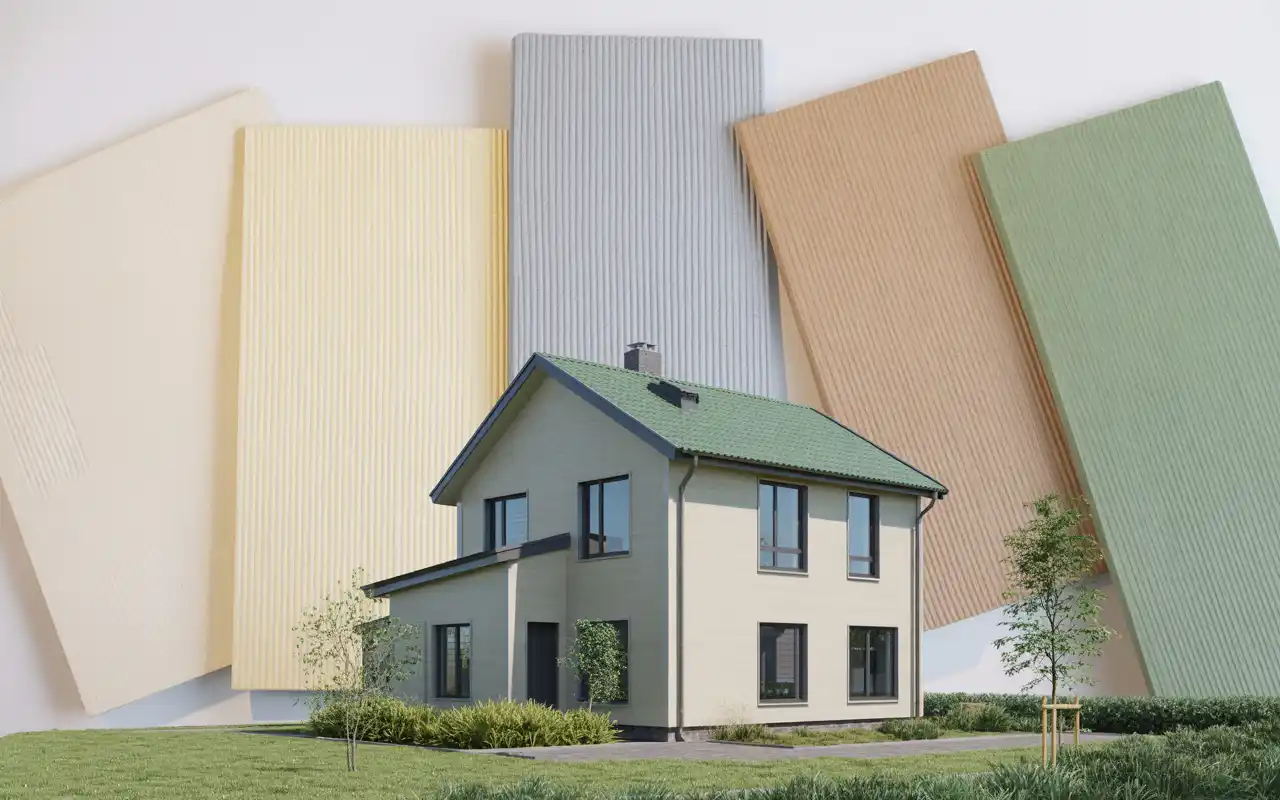
You’ve got a green roof, and now you’re staring at your home’s exterior wondering what paint color will actually look...
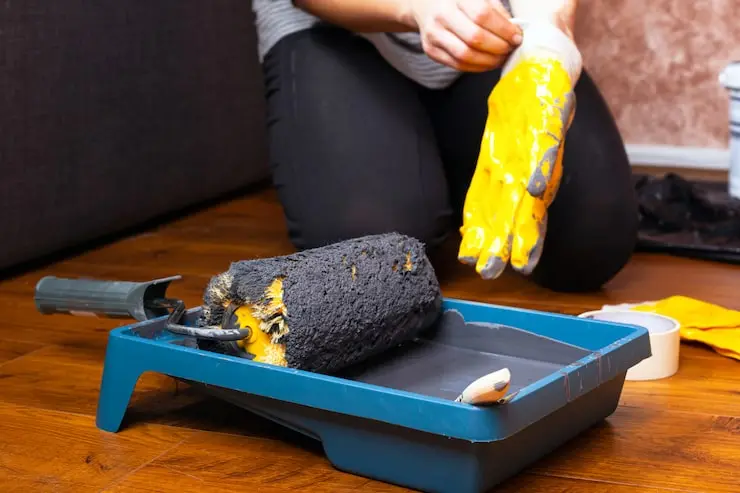
Proper painting technique is important, but a true professional knows the real secret to flawless walls is a clean, well-maintained...
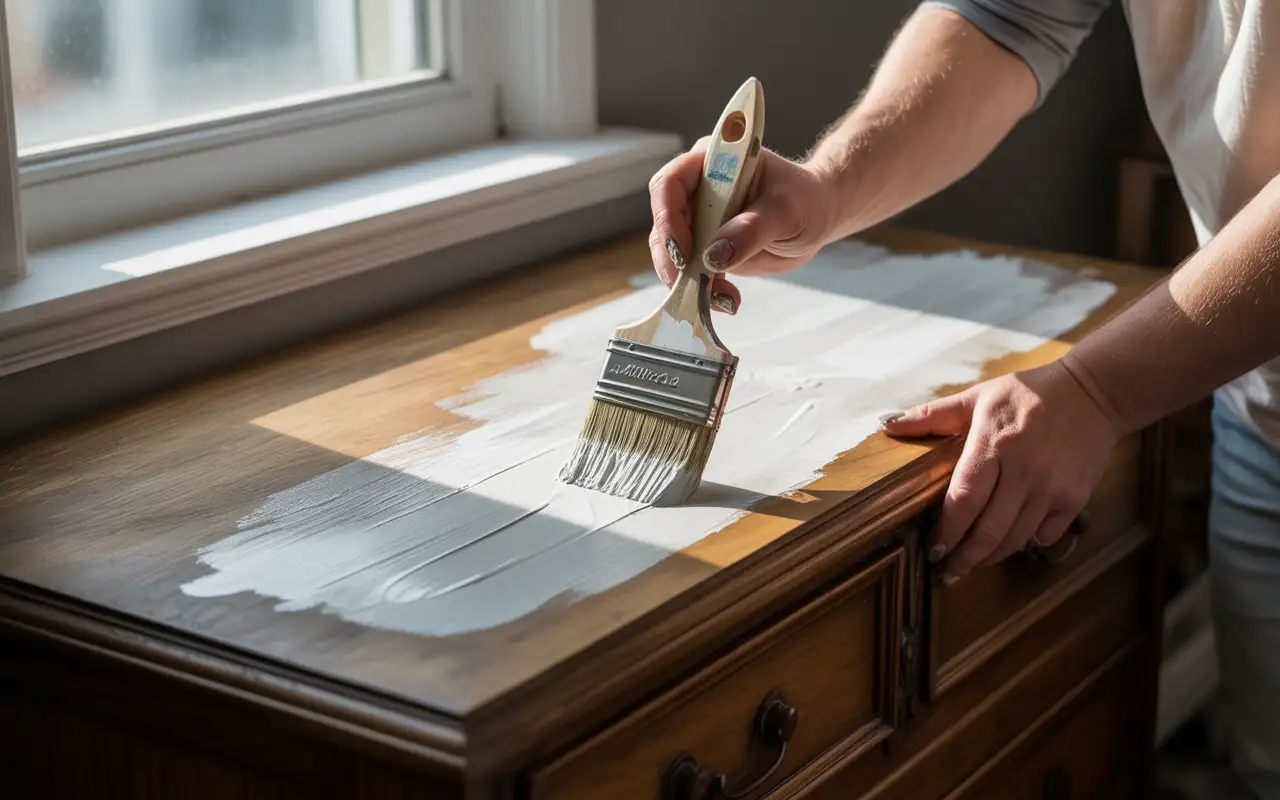
That old varnished dresser in your bedroom might look dated, but it doesn’t have to stay that way. Many homeowners...

