Striped walls have a way of making a room feel intentional. Done right, they add rhythm, height, or width without a single piece of furniture moving. Done wrong, they end up looking like a school project that got out of hand, wobbly lines, bleeding edges, and paint that peels within a week. If you’re wondering how to paint stripes on a wall without any of that happening, you’re in the right place.
At San Diego home remodeling, we’ve repainted more accent walls than we can count, and most of the mistakes homeowners make come down to skipping two or three small steps that take an extra ten minutes but save hours of touch-up work later.
Why Striped Walls Are Still a Great DIY Choice
Striped accent walls never really left. What’s changed is how homeowners use them. Instead of the bold, high-contrast stripes popular a decade ago, most requests we get now are for subtle tonal stripes, two shades of the same color that only show up when light hits the wall at an angle. It’s a quieter effect, but it still does the job of adding texture to a flat wall.
Stripes are also one of the few paint techniques that can visually reshape a room. Vertical stripes pull the eye upward and make a low ceiling feel taller. Horizontal stripes do the opposite, stretching a narrow room and making it feel wider. This makes stripes a practical design tool, not just a decorative trend.
This guide is written for beginners and intermediate DIYers. If you’ve painted a wall a solid color before, you already have most of the skills you need. The only new skill is taping accurately, and that’s something anyone can learn in a single afternoon.
What You Need Before You Start
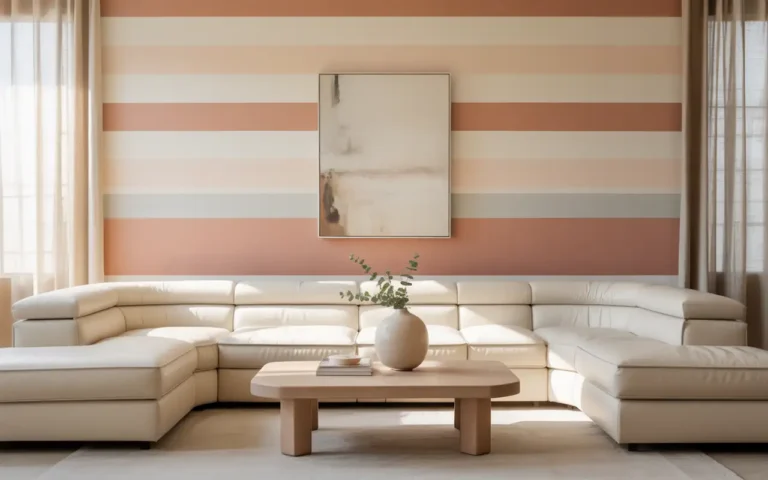
Essential Tools and Materials
- Sample-size or quart cans of your base and stripe colors (satin or eggshell finish works best for durability)
- A 4-inch level, at least 4 feet long, or a longer one if your wall is wide
- Painter’s tape rated for delicate surfaces (cheap tape bleeds; this is the one place not to cut corners)
- A pencil and a soft measuring tape
- A small foam roller for stripe touch-ups
- A standard 9-inch roller and tray for the base coat
- An angled brush for cutting in near trim and ceiling lines
- Drop cloths and a putty knife for wall prep
Optional Tools for Better Results
A laser level is worth renting or buying if your wall is longer than 10 feet. Hand-drawn lines drift over long distances, even with a level, because small errors compound stripe after stripe. An edging tool also helps if you’re working near crown molding or baseboards where a roller can’t reach cleanly.
Choosing the Right Stripe Style
Vertical Stripes
Vertical stripes make ceilings look taller and work particularly well in older homes with 8-foot ceilings. They’re also more forgiving for beginners because any small unevenness is less noticeable than it would be on a horizontal line.
Horizontal Stripes
Horizontal stripes widen a room visually, which makes them a good choice for narrow hallways or small bedrooms. They’re harder to paint well because any dip or rise in the line is immediately obvious across the full width of the wall, so a level is non-negotiable here.
Diagonal or Chevron Stripes
Diagonal and chevron patterns take the most planning and the most tape, often 30 to 40 percent more than a standard stripe job. We generally recommend these only for homeowners who already have some painting experience, since taping angles correctly is where most DIY chevron attempts go wrong.
Thick vs Thin Stripes
Wide stripes, 8 inches or more, create a bold, modern look and are more forgiving of small measuring errors. Thin stripes, 2 to 4 inches, look more tailored but demand precise measuring since any variation stands out more on a narrow band of color.
How to Measure and Plan Your Stripes
Start by measuring the total width (for vertical stripes) or height (for horizontal stripes) of the wall. Divide that number by your desired stripe width to see how many full stripes will fit. In most real walls, the math doesn’t divide evenly, and that’s fine. The trick professional painters use is to make the two end stripes slightly wider or narrower so the pattern looks intentional rather than cut off awkwardly at the corner.
A simple formula: wall width divided by stripe width equals the number of stripes. If you get a remainder, split it evenly between your first and last stripe rather than cramming it into one edge.
For color combinations, stick to two to three colors within the same family for a first project. High contrast pairs like navy and white look striking in photos but show every imperfection in person. Once you’ve painted a few walls, you’ll have a better feel for how bold you can go.
Step-by-Step: How to Paint Stripes on a Wall
Step 1: Prepare the Wall
Clean the wall with a damp cloth to remove dust and grease, especially in kitchens or near light switches. Fill any nail holes or dents with spackle, let it dry, and sand it smooth. Skipping this step is the number one reason paint jobs look unfinished, even when the stripes themselves are perfect.
Step 2: Paint the Base Coat
Roll on your base color and let it cure fully, ideally 24 hours, before taping. This isn’t just about dry time. Fresh paint is soft, and tape applied too early can pull it off the wall when removed, a mistake we see constantly on rush jobs.
Step 3: Mark Your Stripes
Using your level or laser level, lightly mark the edges of each stripe in pencil. Work from the center of the wall outward for symmetry, or from a focal point like a window if the wall isn’t perfectly square.
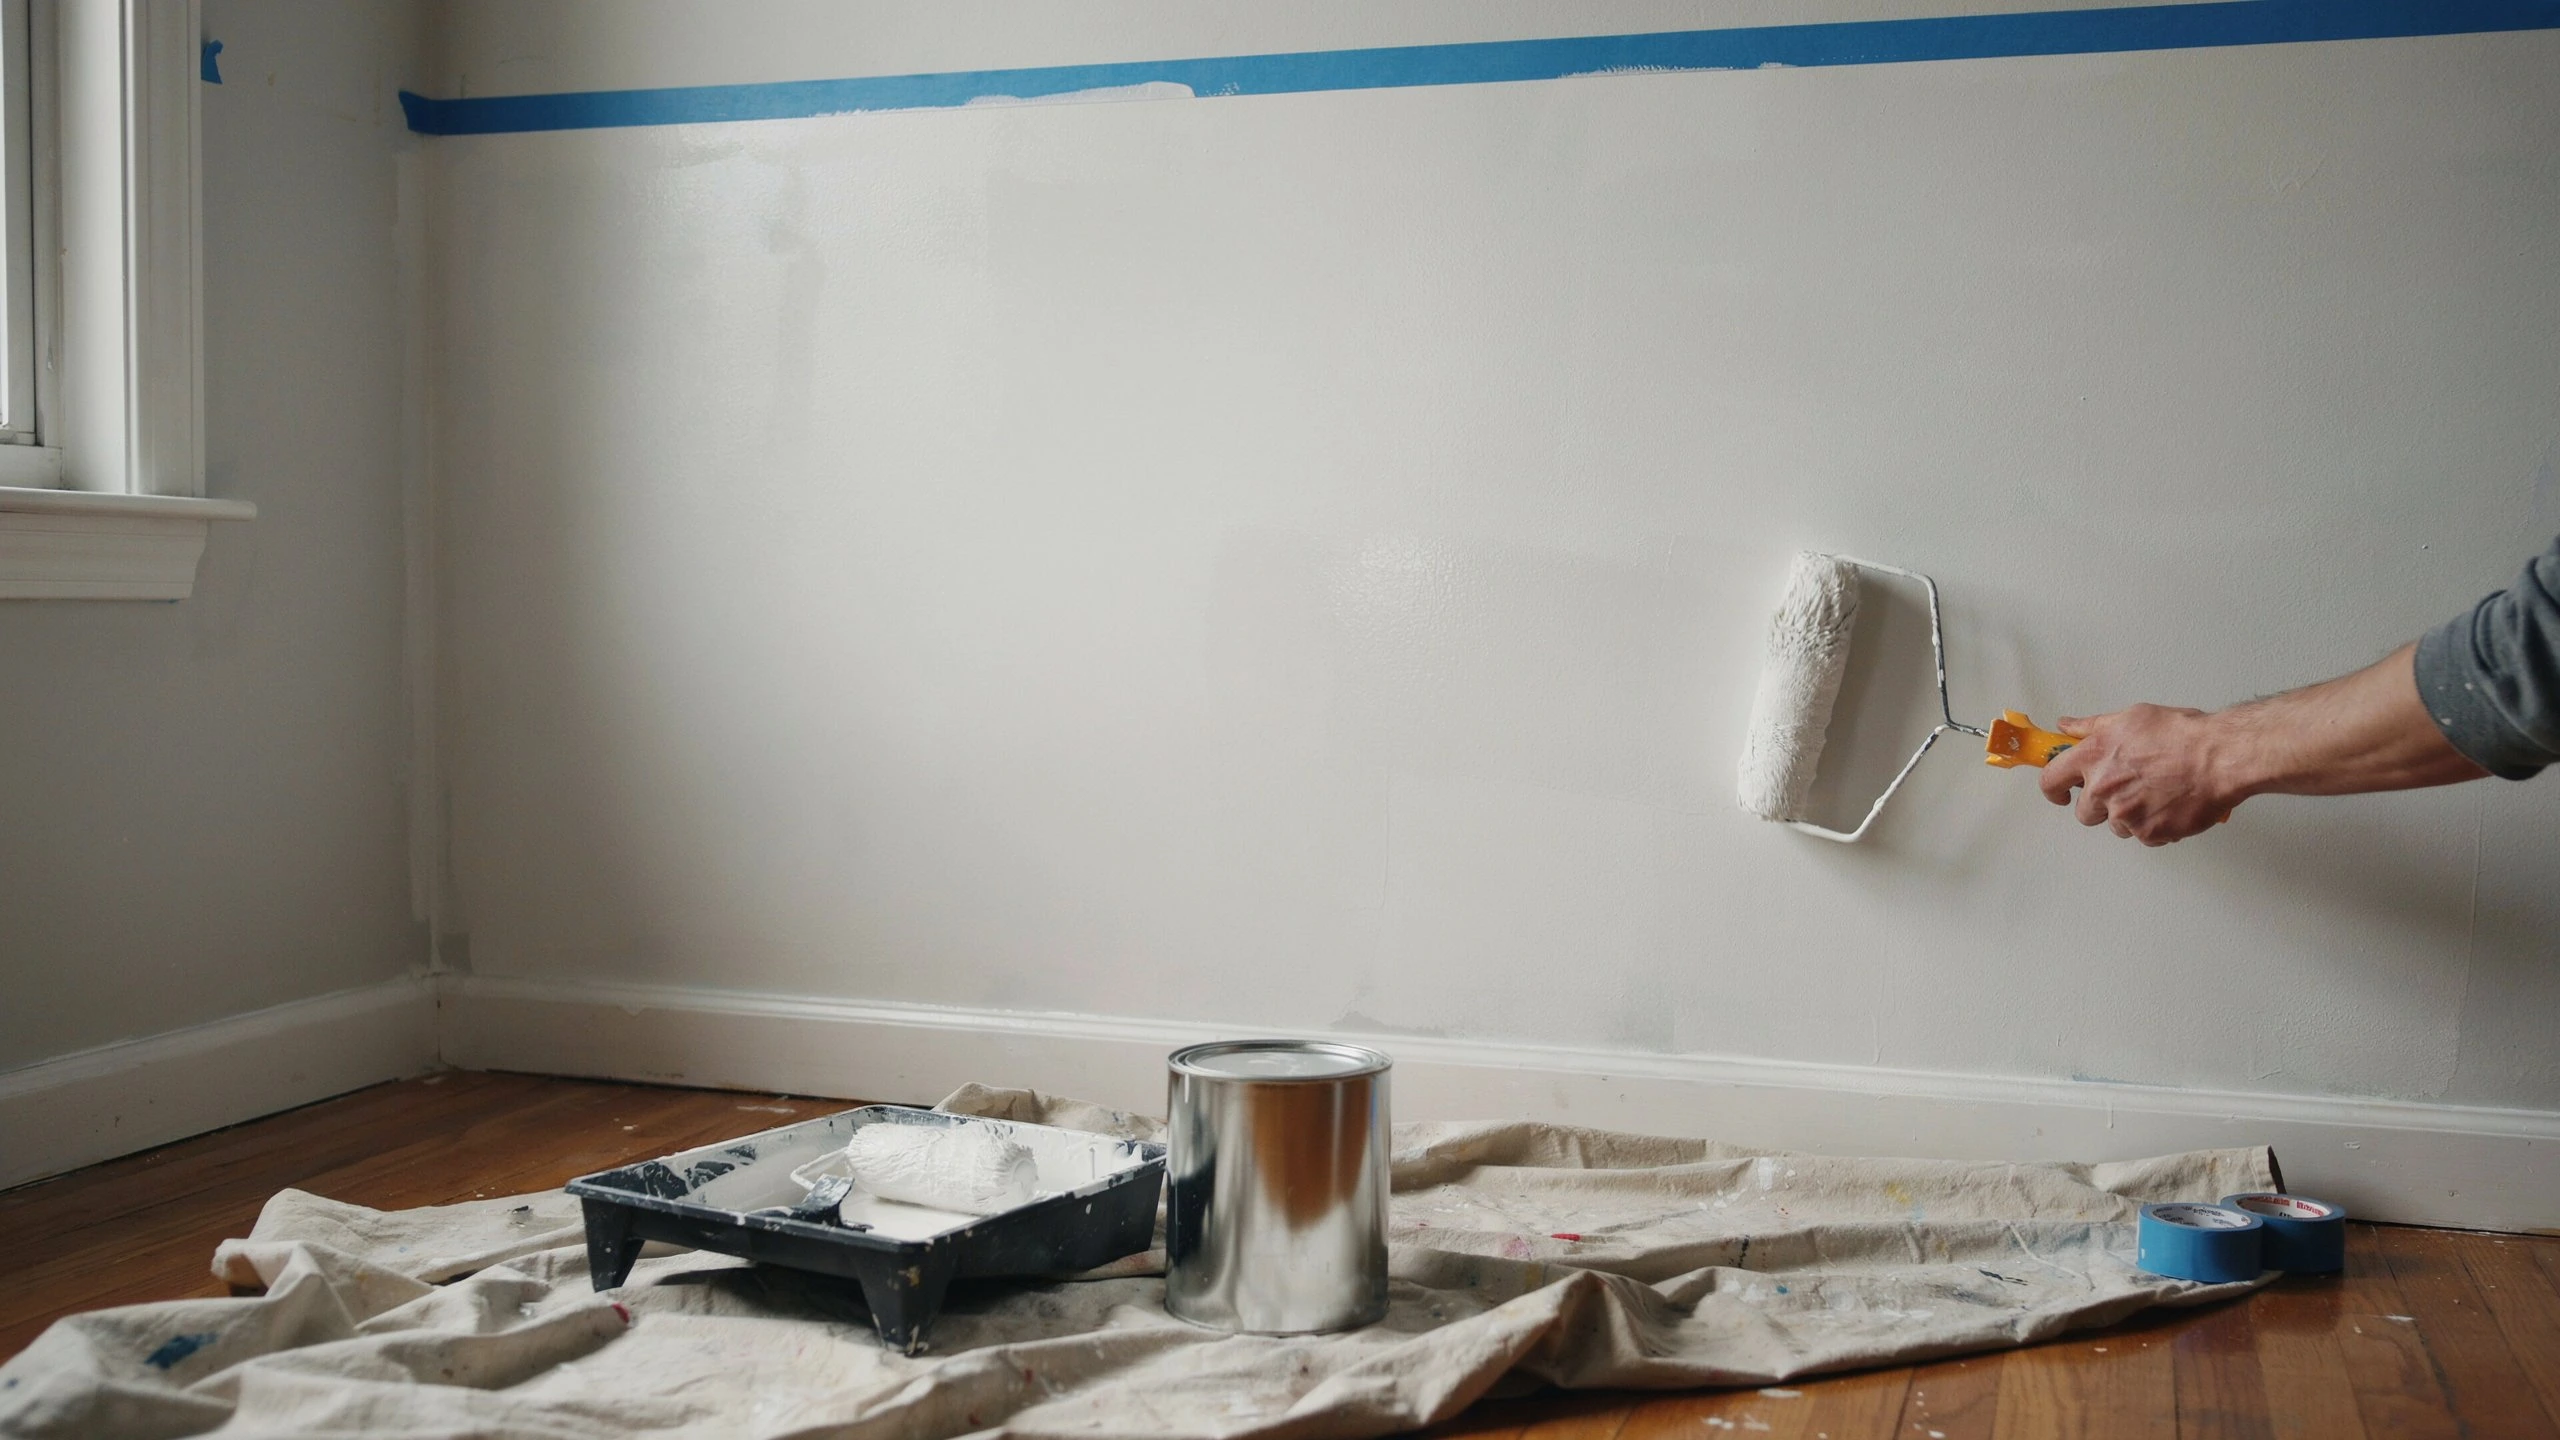
Step 4: Apply Painter’s Tape
Line the tape up just outside your pencil marks so the stripe color covers the line completely. Press the tape down firmly with your fingernail or a putty knife along the entire edge, this single detail affects paint bleed more than any other step.
Step 5: Seal the Tape (Pro Tip)
This is the step most guides skip entirely. Before painting your stripe color, roll a thin coat of the base color directly over the taped edge. This seals any tiny gaps under the tape with a color that matches the wall, so if paint does seep through, it’s invisible. Let it dry for 15 to 20 minutes before applying the stripe color on top.
Step 6: Paint the Stripes
Apply your stripe color in thin, even coats using a foam roller for the cleanest edges. Two thin coats always look better than one thick one, which tends to pool near the tape line and cause bleeding.
Step 7: Let Dry & Apply Second Coat (if needed)
Wait at least two hours between coats, longer in humid weather. Rushing this step is one of the most common reasons stripes look patchy once fully dry.
Step 8: Remove Tape Properly
Pull tape away slowly at a 45-degree angle while the final coat is still slightly tacky, not fully dry. This prevents the tape from tearing dried paint along with it, which is a common and frustrating problem.
Step 9: Touch-Ups
Use a small artist’s brush to fix any minor imperfections along the lines once everything is dry. Keep a bit of leftover paint on hand for weeks after in case scuffs show up.
Pro Tips for Perfect Stripes
Paint on a mild, dry day if possible. High humidity slows drying time significantly and increases the risk of tape lifting wet paint. If you’re working in a bathroom or kitchen, run the exhaust fan the entire time to help control moisture in the air.
For long-term maintenance, dust striped walls with a soft, dry cloth every few weeks. Avoid harsh cleaners near the stripe edges, since scrubbing can wear down the paint faster right at the seam.
Common Mistakes to Avoid
Bleeding lines almost always trace back to skipping the tape-sealing step or not pressing the tape down firmly enough. Uneven spacing usually happens when a homeowner measures once at the top of the wall and assumes the rest will line up, floors and ceilings are rarely perfectly level, so measure at multiple points. Peeling paint often means the base coat wasn’t fully cured before taping. And tape that isn’t pressed down along its entire length is the single most preventable cause of ragged edges.
You may also read: How to Clean Paint Rollers
Best Color Combinations for Striped Walls
Tonal pairings, two shades of the same color, create a subtle, sophisticated look that works in almost any room and any lighting. High-contrast pairings, like charcoal and white, make a bold statement but require more precise technique since imperfections are harder to hide. Multi-color stripes, three or more shades, work well in kids’ rooms or playful spaces but take considerably longer to tape and plan.
How Long Does It Take to Paint Stripes?
For an average 10 by 10 foot wall with standard 6-inch stripes, expect about 6 to 8 hours of active work spread across two days to account for drying time between coats. Wider stripes go faster since there’s less taping involved, while thin stripes or chevron patterns can push the total time closer to 12 hours.
You may also read: Can You Paint Over Varnished Wood?
Cost to Paint Stripes on a Wall
DIY Cost
Most homeowners spend between $40 and $150 on paint, tape, and basic tools for a single accent wall, assuming they already own rollers and brushes from previous projects.
Professional Cost
Hiring a painter for a striped accent wall typically runs higher due to the extra labor involved in measuring, taping, and multiple coats. If you’re looking into House Painting Services San Diego for a more complex pattern or a whole room, it’s worth getting a quote based on the specific design, since chevron or multi-color jobs cost noticeably more than a simple two-tone stripe.
Are Striped Walls Still in Style?
Yes, though the style has shifted toward subtlety. Bold, high-contrast stripes had their moment, but the current trend leans toward tonal stripes and textured finishes that read as sophisticated rather than statement-making. Because the technique itself is timeless, a well-executed striped wall tends to age better than trend-driven wallpaper or bold single-color accent walls.
When to Hire a Professional
If your wall has vaulted ceilings, unusual angles, or you’re planning a chevron or diagonal pattern, it’s often worth bringing in a professional. High ceilings in particular make taping and cutting in significantly harder, and a small measuring error near the top of a 12-foot wall becomes very noticeable by the time it reaches the floor. This is also where a company like San Diego home remodeling can save you time, since experienced painters can get sharp results in a fraction of the time it takes a first-time DIYer.
Final Thoughts
Painting stripes on a wall isn’t complicated, but it does reward patience over speed. The steps that get skipped, like sealing the tape and letting the base coat fully cure, are exactly the ones that separate a clean, professional-looking result from a wall that needs a redo in six months. Take your time with the measuring and taping stages, and the actual painting will go quickly.
If measuring, taping, and multiple coats sound like more than you want to take on this weekend, our team is happy to help. Contact us at San Diego home remodeling to talk through your design ideas and get a straightforward quote for your project.
FAQs
What’s the best paint finish for stripes?
Satin or eggshell finishes hold up well and are easy to clean without showing brush marks. Matte finishes look nice but scuff more easily along stripe edges over time.
How do you paint stripes without bleeding?
Seal the taped edge with a thin coat of your base color before applying the stripe color, and always press the tape down firmly along its entire length. This two-part approach is the most reliable way to get crisp, bleed-free lines.
What’s the ideal stripe width?
There’s no universal answer, but 4 to 8 inches works well for most rooms and is easier to measure accurately than very thin stripes. Wider stripes also tend to look better on taller walls, while narrower stripes suit smaller accent areas.
Can beginners do this too?
Yes, especially with wider vertical stripes and a two-color tonal palette. Start simple, and once you’re comfortable with taping technique, you can move on to horizontal lines or more complex patterns.
How long does striped wall paint take to dry?
Most latex paints are dry to the touch within one to two hours, but full curing takes about 24 hours before the wall can handle regular contact. Wait the full curing period before removing tape from a second coat to avoid pulling up fresh paint.