If your sink isn’t draining well, the stopper is often the culprit. The good news? You don’t need to be a plumber to handle it. With a few tools and a bit of patience, you can learn how to remove bathroom sink stoppers and get your sink working again.
Most stoppers come out in less than 15 minutes once you know what type you have. Let’s go step by step, cover all the common types, and make sure you can clean and reassemble everything without leaks.
Table of Contents
What is a Bathroom Sink Stopper?
A bathroom sink stopper is more than just the small metal piece you see in the drain. It’s an entire mechanism that controls water flow. Understanding the main types will help you remove yours correctly.
- Pop-Up Stopper: This is the most common type. It’s operated by a small lever on the back of the faucet. Pushing the lever down lowers the stopper to seal the drain, and pulling it up lifts it. The visible part of the stopper is connected to a vertical metal rod (the clevis strap) that is linked to a horizontal pivot rod under the sink. This is the stopper we will focus on.
- Push-and-Pull Stopper: This stopper is a simple plug with a knob on top. You push it down to close the drain and pull it up to open it. These can often be removed by hand with a simple pull and twist.
- Lift-and-Turn Stopper: This stopper also has a knob on top, but you lift it and then turn it to either open or close the drain. Like the push-and-pull, it is often a one-piece unit that lifts out of the drain.
Over time, hair, soap scum, and toothpaste buildup around the stopper. That’s why removing the sink stopper is one of the most common DIY plumbing tasks.
How to Identify Your Sink Stopper
Before you start, figure out what kind of stopper you have. Each type comes out in a different way. Here are the most common:
- Pop-up stopper (pivot rod type): Controlled by the lever behind the faucet. Most standard sinks use this.
- Lift-and-turn stopper: You lift and twist it to open or close. Usually has a set screw under the cap.
- Push-pull (push button or click-clack): Press once to close, press again to open.
- Toe-touch stopper: Opened and closed with your toe by pushing the cap.
- Flip-it stopper: Uses a small toggle on the top to open or close.
- Grid drain: Has no moving plug, just holes. (These don’t come out.)
Knowing the type saves time and keeps you from forcing parts.
How to Remove Bathroom Sink Stoppers
Before you begin, gather the necessary tools. This ensures you can work without stopping.
Tools & Materials You’ll Need:
- Bucket or Bowl: To catch any water that may leak from the pipe.
- Adjustable Wrench or Pliers: To loosen the pivot nut.
- Flashlight: The space under a sink can be dark.
- Disposable Gloves: To keep your hands clean.
- Old Toothbrush or Cleaning Brush: For scrubbing gunk.
- Drain Snake or Hair Clog Remover Tool: To clear gunk from the drainpipe.
Step 1: Prep Your Workspace
Clear out everything from under the sink. This gives you plenty of room to work. Lay a towel down to protect the cabinet’s bottom. Place your bucket directly under the drainpipe where you will be working.
Step 2: Find the Pivot Rod and Clevis Strap
Get a flashlight and look at the main drainpipe directly under the sink. You will see a horizontal rod, the pivot rod sticking into the pipe. This rod is connected to a vertical, perforated metal strap, called the clevis strap. The pivot rod fits into one of the holes on this strap. This is the part that moves the stopper up and down.
Step 3: Disconnect the Pivot Rod
The pivot rod is held in place by a small metal clip or screw. Gently squeeze the sides of the clip or use a screwdriver to remove it. Once the clip is off, slide the rod out of the clevis strap. Place the clip and the rod somewhere safe so they don’t get lost.
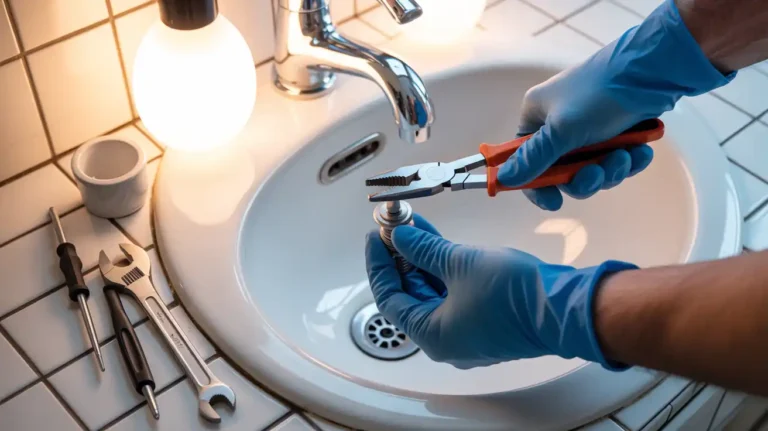
Step 4: Unscrew the Pivot Nut
This is the most critical step to remove the stopper. At the other end of the pivot rod, a large nut holds it to the drainpipe. This is the pivot nut. Place your bucket underneath to catch any drips. Use your fingers to loosen the nut. If it’s too tight, use your adjustable wrench or pliers to loosen it. Unscrew the nut all the way and gently pull the pivot rod out of the drainpipe.
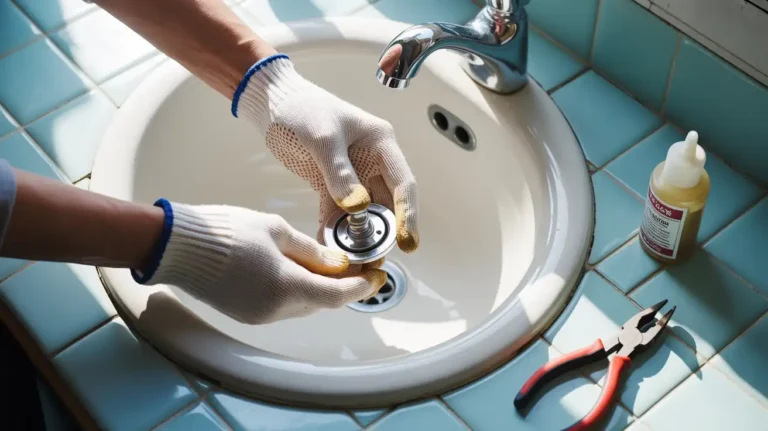
Step 5: Take Out the Sink Stopper
Now that the pivot rod is disconnected, the stopper is free. Go back to the top of the sink and simply take out the sink stopper. It should lift out without any resistance. Be prepared for a mess. The stopper will likely be covered in hair, soap, and other gunk. This is exactly what was causing the drain to slow down.
How to Service & Clean a Bathroom Sink Stopper
Once you remove a sink drain stopper, it’s essential to clean it thoroughly before putting it back.
- Remove Gunk: The most satisfying part is pulling off the hair and grime with your gloved hand.
- Scrub the Stopper: Use an old toothbrush and warm, soapy water to scrub the entire stopper. A vinegar-and-baking-soda paste also works well to cut through grease and grime.
- Clean the Drain: Now is the perfect time to clean the sink drain itself. Use a drain snake or a plastic hair-clog removal tool to fish out any hair and debris that you can see. Once you’ve removed as much as you can, you can use a drain cleaner or a simple mixture of baking soda and vinegar to dissolve remaining gunk.
After cleaning, rinse everything with hot water to clear out any residue.
Reinstalling the Stopper
Reassembly is just the reverse of removal.
- Put the clean stopper back into the drain from the top.
- From under the sink, slide the pivot rod back into the drainpipe and through the hole in the bottom of the stopper.
- Tighten the pivot nut to hold the rod in place. Don’t overtighten it, as this can crack the pipe.
- Reconnect the clevis strap to the pivot rod with the metal clip you saved. Make sure the rod is in the same hole it was in before.
- Test the stopper. Fill the sink with water and make sure the stopper holds the water in. Then, pull the lever to release the water and make sure it drains freely.
Common Problems & Troubleshooting
Even with a simple process, things can sometimes go wrong. Here are some common issues and how to fix them.
- The Stopper Won’t Lift Out: If the stopper is still stuck after you’ve removed the pivot rod, the issue might be a bent or rusted connection. Gently jiggle it, but don’t force it.
- There’s a Leak After Reassembly: A leak usually means the pivot nut isn’t tight enough or the washer seal inside the nut is old or damaged. Try tightening the nut a little more with a wrench. If it still leaks, you may need to replace the washer.
- The Stopper Won’t Go Up or Down: If the stopper isn’t working, it’s often a problem with the connection between the pivot rod and the clevis strap. Make sure the rod is in the correct hole and the clip is secure.
By understanding these common problems, you’ll be prepared for anything during the removing the sink stopper process.
When to Replace the Stopper Assembly
Sometimes cleaning won’t cut it. Replace the stopper if:
- The pivot rod is rusted or broken.
- The rubber gasket is worn.
- The finish is peeling.
- The stopper doesn’t match your remodel.
Universal kits fit most sinks and cost less than $20. This is also a great time to upgrade to a push-button style if you’re tired of rods and clips.
Professional Help When You Need It
While learning how to remove a bathroom sink stopper is a great DIY skill, some issues are better left to the pros. If you encounter a complex clog or a more serious plumbing issue, or if you’re uncomfortable with the repair, it’s best to call a professional. San Diego Home Remodeling offers a full range of bathroom remodeling services in San Diego and can help with any plumbing needs. Our team can quickly diagnose and fix any problem, big or small.
Conclusion
In conclusion, removing a sink drain stopper is a simple plumbing task that anyone can tackle with the right information and a few basic tools. By following these steps, you can clean the stopper and the drain, solve most clog problems, and get your sink draining freely again. You’ll not only save money but also feel a great sense of accomplishment.
FAQs
How do you remove a bathroom sink stopper rod?
To remove a bathroom sink stopper rod, you first need to get under the sink. Locate the horizontal rod that connects to a vertical metal strap. This is the pivot rod. Remove the small metal clip holding the rod in place, then unscrew the pivot nut that attaches the rod to the drainpipe. You can then pull the rod out.
How to remove a push pull drain stopper?
A push-and-pull drain stopper is usually a one-piece unit. To remove it, you simply grasp the knob on top and pull it straight up. Sometimes, a firm pull and a slight twist can help. No tools are needed for this type of stopper.
How to remove the pop-up plug?
A pop-up plug is the visible part of the stopper. To remove it, you must first disconnect the mechanism underneath the sink. This involves removing the clip and unscrewing the pivot nut on the drainpipe. Once the rod is free, the plug can be pulled straight out of the drain from above.
How do you release a pop-up drain stopper?
The pop-up drain stopper is released by pulling up on the lever located on the back of the faucet. This action causes the clevis strap to pull up on the pivot rod, which then pushes the pop-up plug upward, opening the drain. If it’s stuck, the mechanism may need to be cleaned.