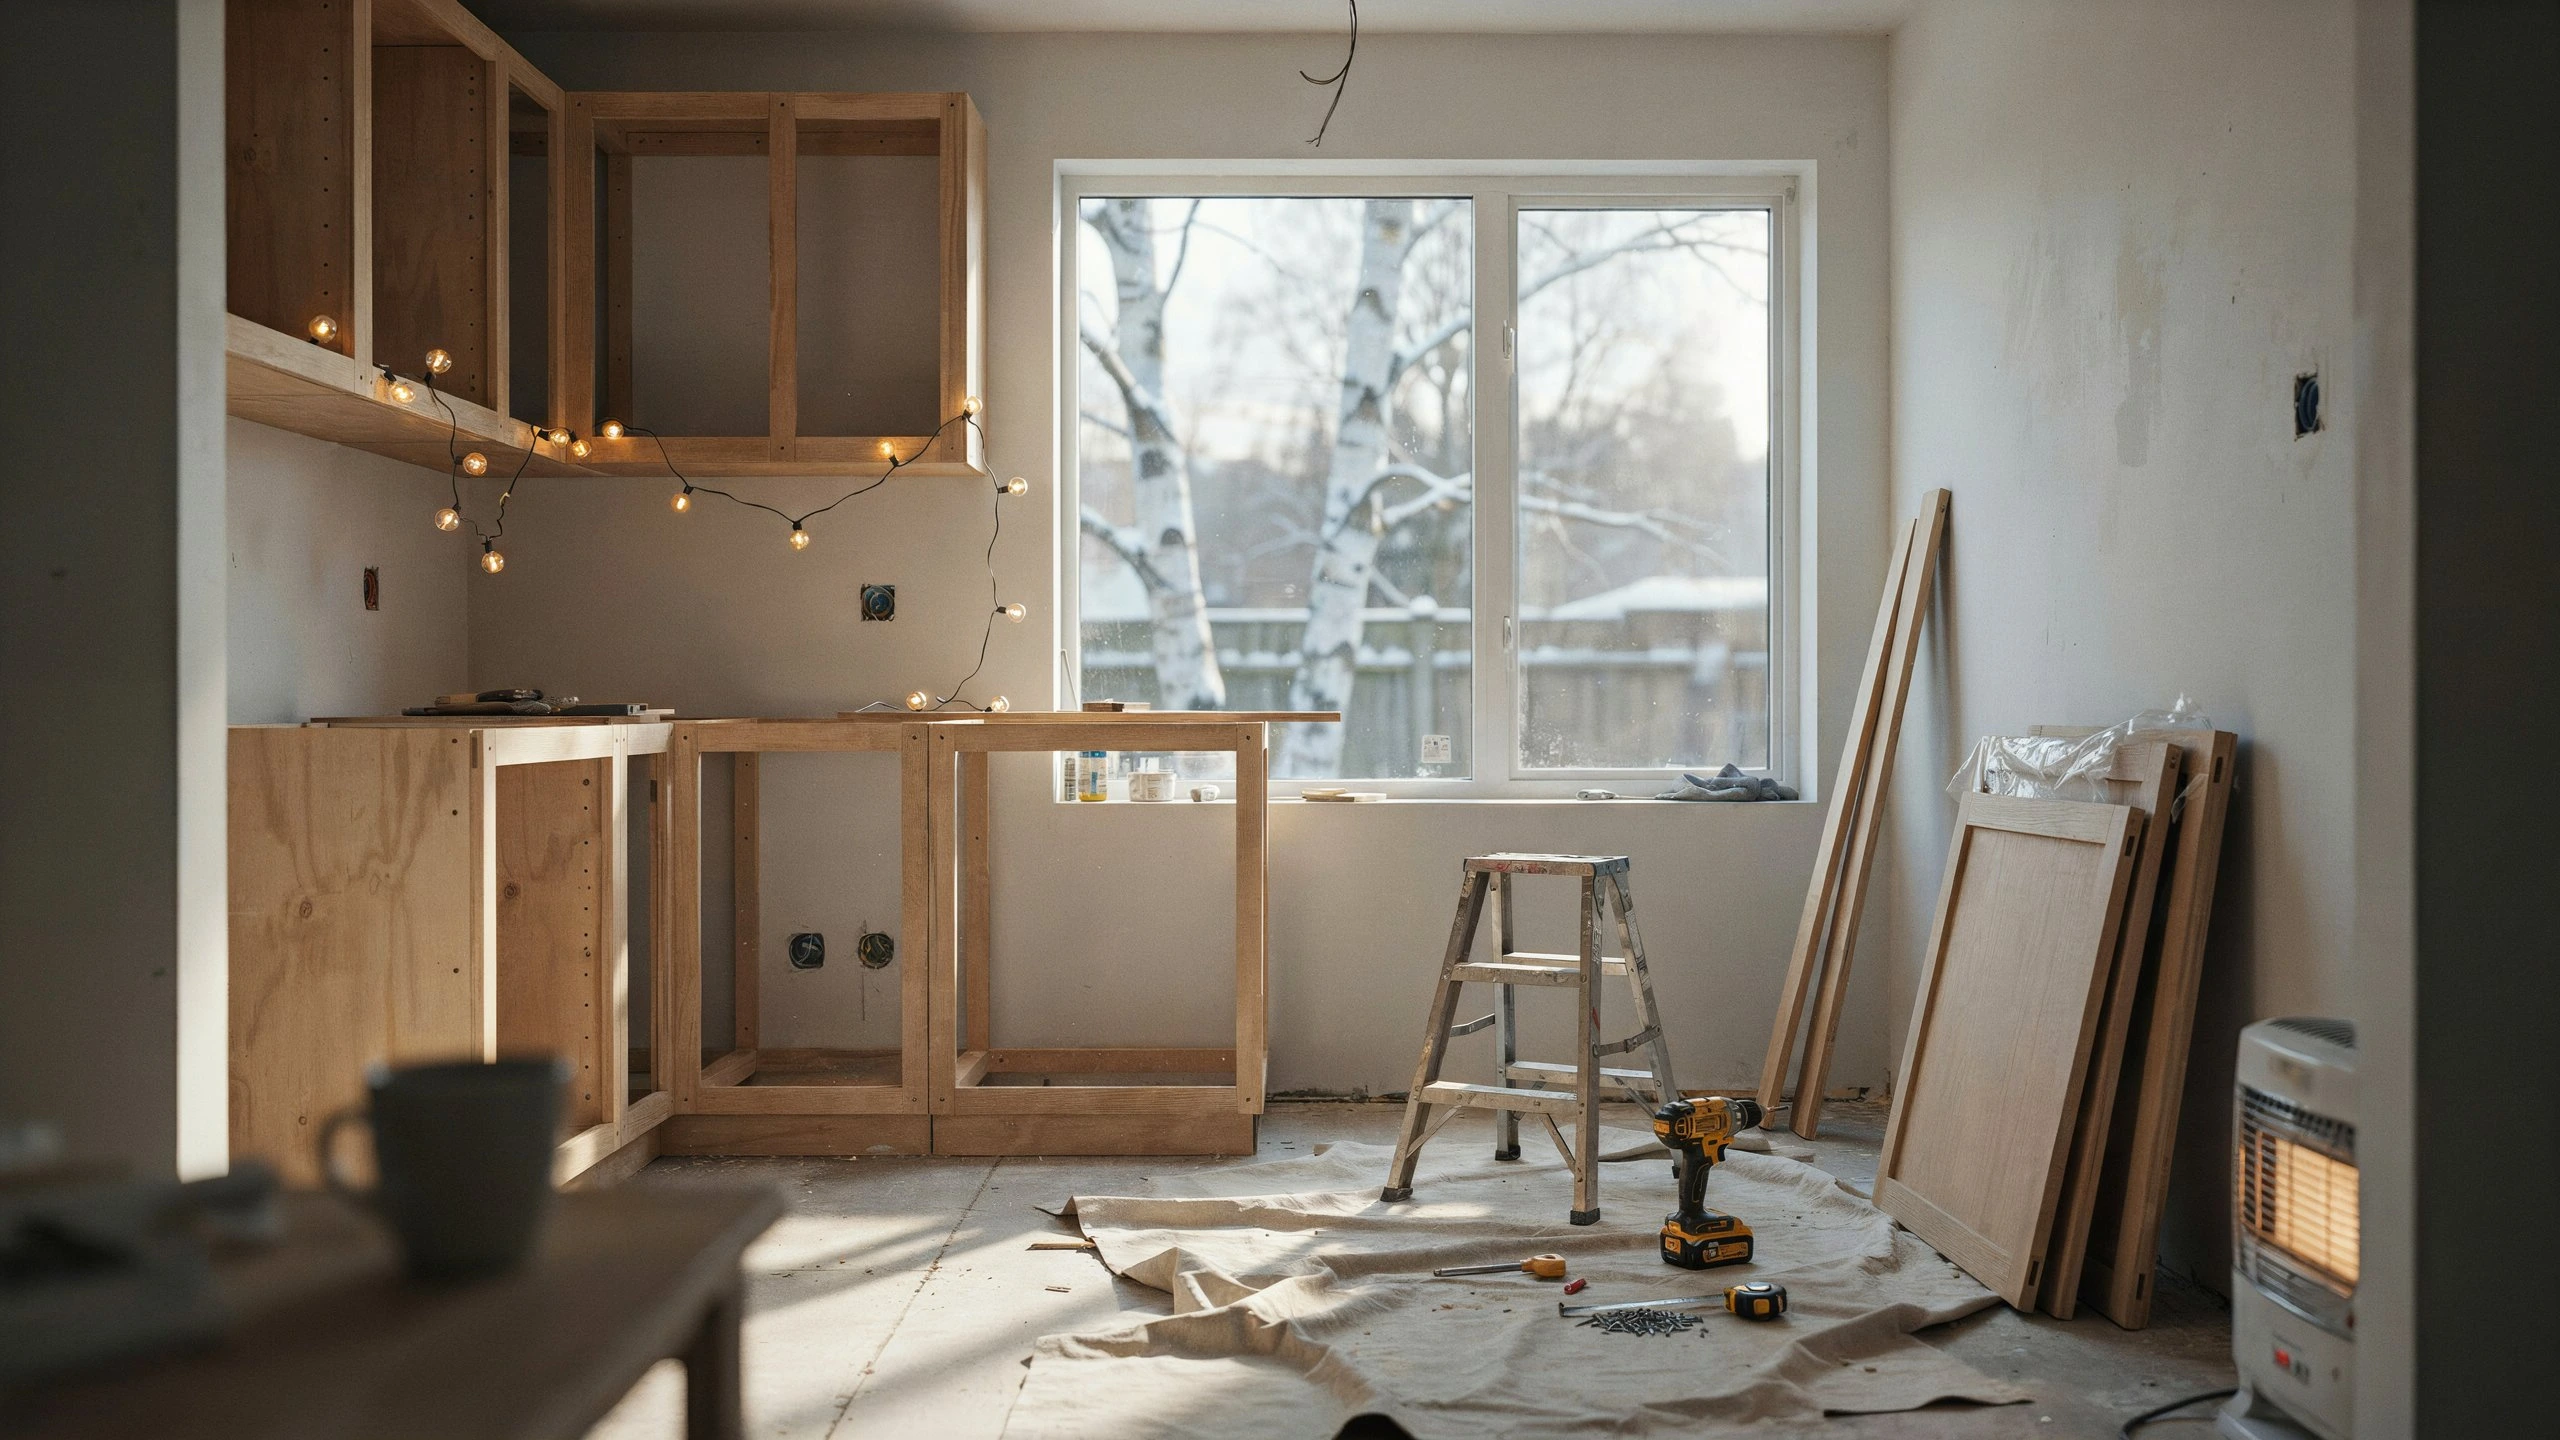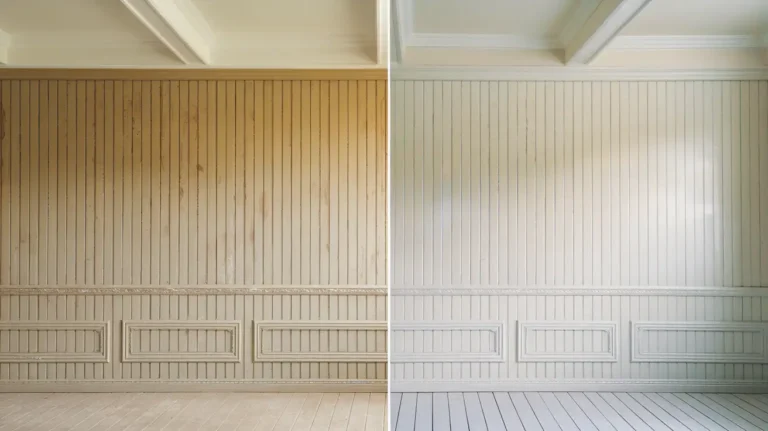
Wood paneling can make a room feel dark and closed in. It was popular decades ago, but many homes now benefit from a brighter, updated look. The good news is you don’t have to tear it out or spend thousands on new walls. A few coats of paint can give old paneling a fresh, modern finish. At San Diego Home Remodeling, we’ve helped homeowners refresh outdated interiors with professional painting solutions that save both time and money.
Learning how to paint wood paneling is simpler than most homeowners expect. With the right prep, primer, and paint, you can transform any room without removing a single board. Whether you choose a DIY approach or hire San Diego Home Remodeling, following the right steps will help you achieve a smooth, long-lasting finish.
Table of Contents
Can You Paint Wood Paneling?
Yes, you can paint almost any type of wood paneling. This includes real wood, plywood paneling, and the thin, glossy paneling common in older homes built before 1980. Knowing how to paint wood paneling correctly starts with understanding what you’re working with.
The key is prep work. Paneling often has a wax or oil finish that stops paint from sticking. It also has deep grooves between each board that need extra attention. Skip the prep, and paint will peel within months.
Older paneling from before 1980 sometimes contains formaldehyde in its glue. This isn’t usually a health risk once sealed and painted, but wear a dust mask and open a window if you’re sanding a large area. If your home was built before 1978, test for lead paint before sanding any layer underneath.
Tools and Materials You'll Need
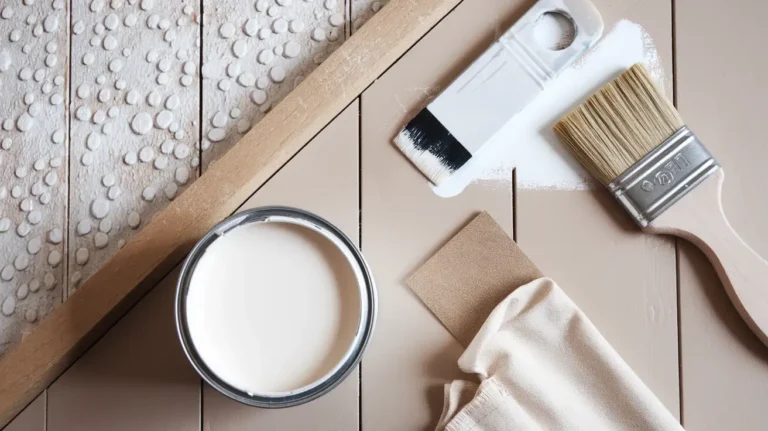
Before you start, gather your supplies. Having everything ready saves time and keeps the project moving.
- Liquid deglosser or medium-grit sandpaper (120-150 grit)
- Trisodium phosphate (TSP) cleaner or a strong degreaser
- Wood filler for grooves and gaps
- Painter’s tape and drop cloths
- Stain-blocking primer
- Angled brush for corners and grooves
- Small foam roller (3/8-inch nap works well)
- Paint tray and paint
- Caulk gun and paintable caulk (optional)
Most of these items cost less than $75 total. You likely already own a few, like tape and drop cloths.
How to Paint Wood Paneling (Step-by-Step)
This is the part most people search for, and it’s where mistakes happen most. Follow these steps in order for the best results.
Step 1: Clean the Walls
Grease, dust, and smoke residue build up on paneling over the years. Mix TSP cleaner with water and scrub each panel with a sponge. Rinse with clean water and let the walls dry fully before moving on. Skipping this step is one of the top reasons paint fails on paneling.
Step 2: Sand or Deglos the Surface
Paint needs something to grip onto. Lightly sand the entire surface with 120-150 grit sandpaper, or use a liquid deglosser if you’d rather skip the dust. You’re not trying to remove the finish, just scuff it enough for the primer to bond.
Step 3: Fill the Grooves (Optional)
If you want a flat, drywall-like look, use wood filler or lightweight spackle to fill the grooves between panels. Let it dry, then sand it smooth. If you like the texture, skip this step and paint right over the grooves.
Step 4: Wipe Down and Tape Off
Wipe away all sanding dust with a damp cloth. Tape off trim, outlets, and ceiling lines. Lay down drop cloths to protect your floors.
Step 5: Apply Primer
This step matters more than any other. Use a stain-blocking, oil-based or shellac-based primer made for wood. Apply one full coat with a roller, then use an angled brush for every groove and corner. Let it dry for the time listed on the can, usually 24 hours.
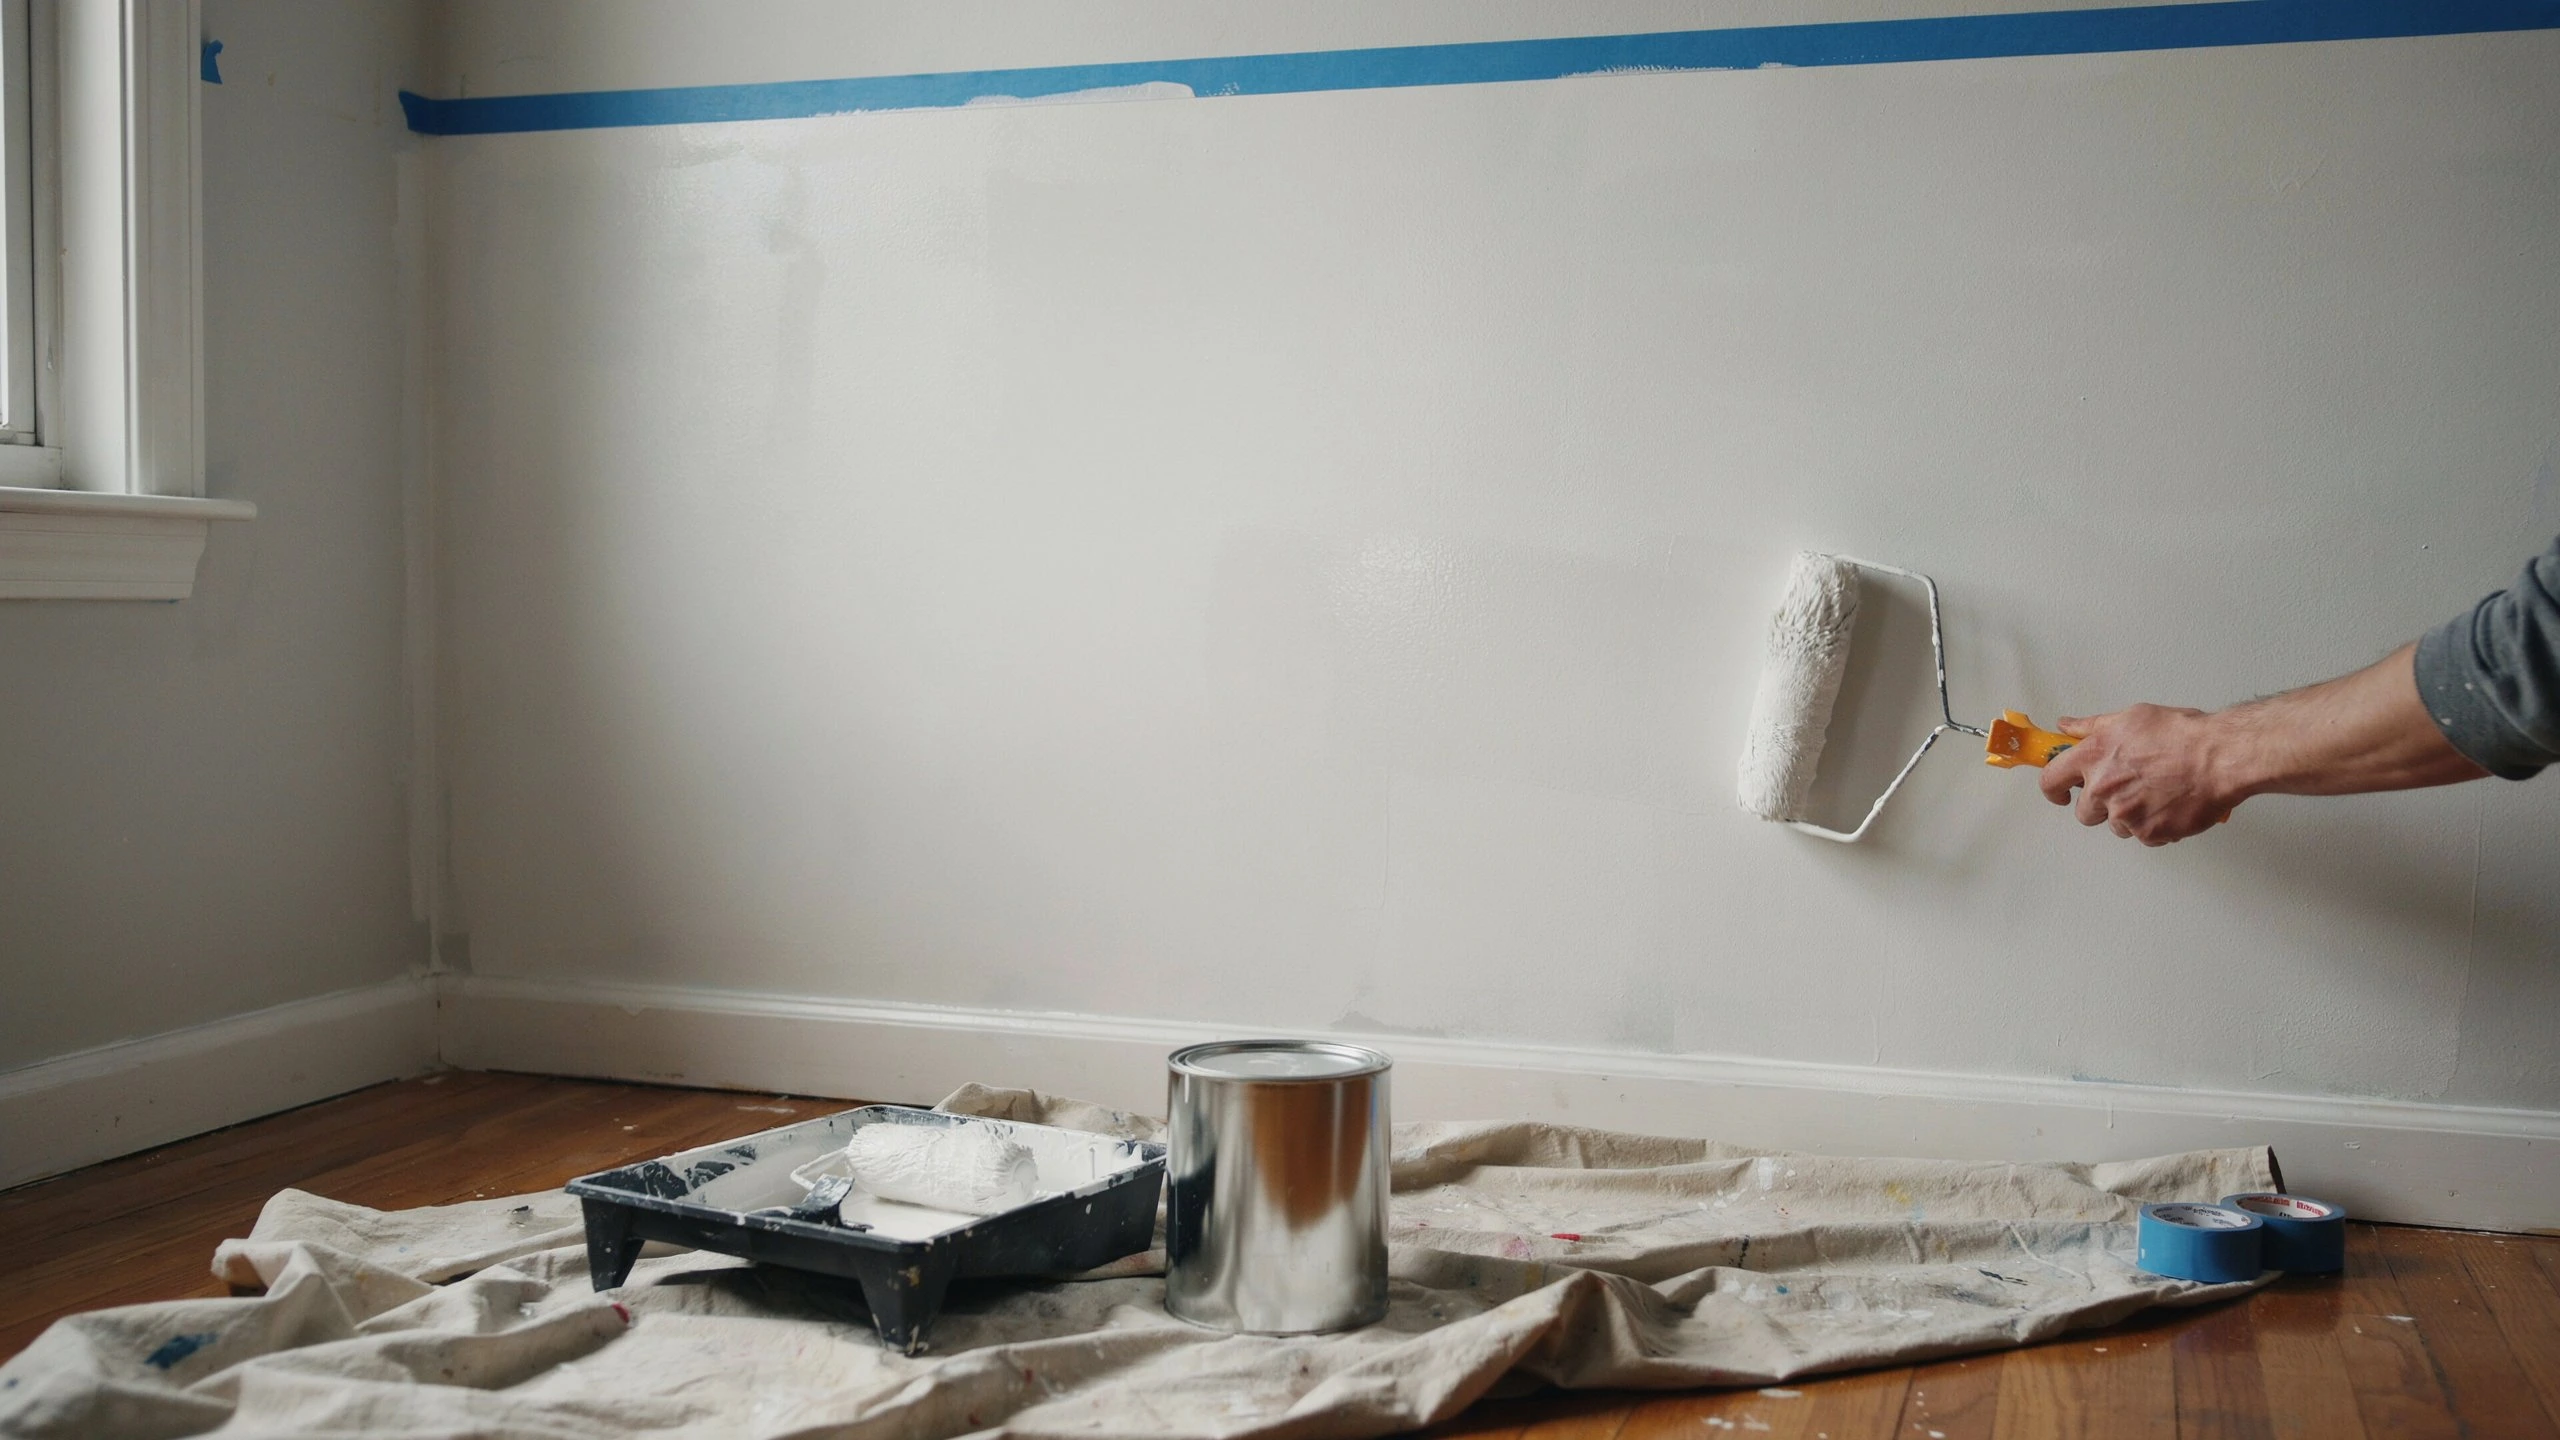
Step 6: Paint the Panels
Once the primer is fully dry, apply your first coat of paint. Work in small sections, brushing the grooves first, then rolling the flat areas. Let it dry, then add a second coat. Two coats are almost always needed for solid, lasting color.
Step 7: Remove Tape and Inspect
Pull the painter’s tape while the final coat is slightly tacky, not fully dry. This gives you a clean edge. Once everything is dry, check for missed spots in the grooves and touch up as needed.
What Is the Best Primer for Wood Paneling?
The best primer for wood paneling is a stain-blocking, oil-based or shellac-based product. Brands like Zinsser B-I-N or KILZ Original are common choices among painters. These primers seal in old stains, smoke odor, and wood tannins that can bleed through regular latex paint.
Skipping a proper primer is the number one reason painted paneling fails. Latex primer alone often isn’t enough to block stains or help paint stick to a glossy surface. Spend the extra money here. It’s the difference between a finish that lasts years and one that peels in months.
What Type of Paint Works Best on Wood Paneling?
For most rooms, a satin or eggshell latex paint gives the best mix of durability and looks. These finishes are easy to wipe clean and hide small surface flaws better than glossy paint.
For high-traffic areas like hallways, kitchens, or kids’ rooms, consider a semi-gloss paint. It holds up better to scuffs and cleaning. Avoid flat paint on paneling since it tends to show every imperfection in the wood grain and grooves.
Water-based acrylic paints have improved a lot and now bond well to primed paneling. You don’t need oil-based paint for the topcoat, even though oil-based primer is often the better choice underneath.
Common Mistakes to Avoid
Painting paneling tips only work if you avoid these common errors:
- Skipping primer. This is the most common mistake, and it leads to peeling and stains bleeding through within months.
- Not cleaning first. Paint won’t stick to grease or dust, no matter how many coats you apply.
- Using flat paint. It shows grooves and flaws more than satin or eggshell finishes.
- Rushing dry times. Adding a second coat too soon causes bubbling and uneven color.
- Ignoring the grooves. Missed paint in the grooves is easy to spot once the room is finished.
- Using cheap brushes. A stiff, low-quality brush leaves streaks in the grooves that are hard to fix later.
Taking your time on each step saves you from redoing the whole job later.
How Much Does It Cost to Paint Wood Paneling?
For a DIY project, expect to spend between $50 and $150 for a single room. This covers primer, paint, brushes, and basic supplies. A gallon of quality primer runs $25 to $40, and a gallon of paint costs about the same.
If you hire a professional to paint wood panel walls, costs typically range from $2 to $6 per square foot. A 12×12 room with 8-foot ceilings has roughly 320 square feet of wall space, which puts professional costs between $640 and $1,920. Prices go up if the paneling needs heavy repair or extra coats to cover dark wood tones.
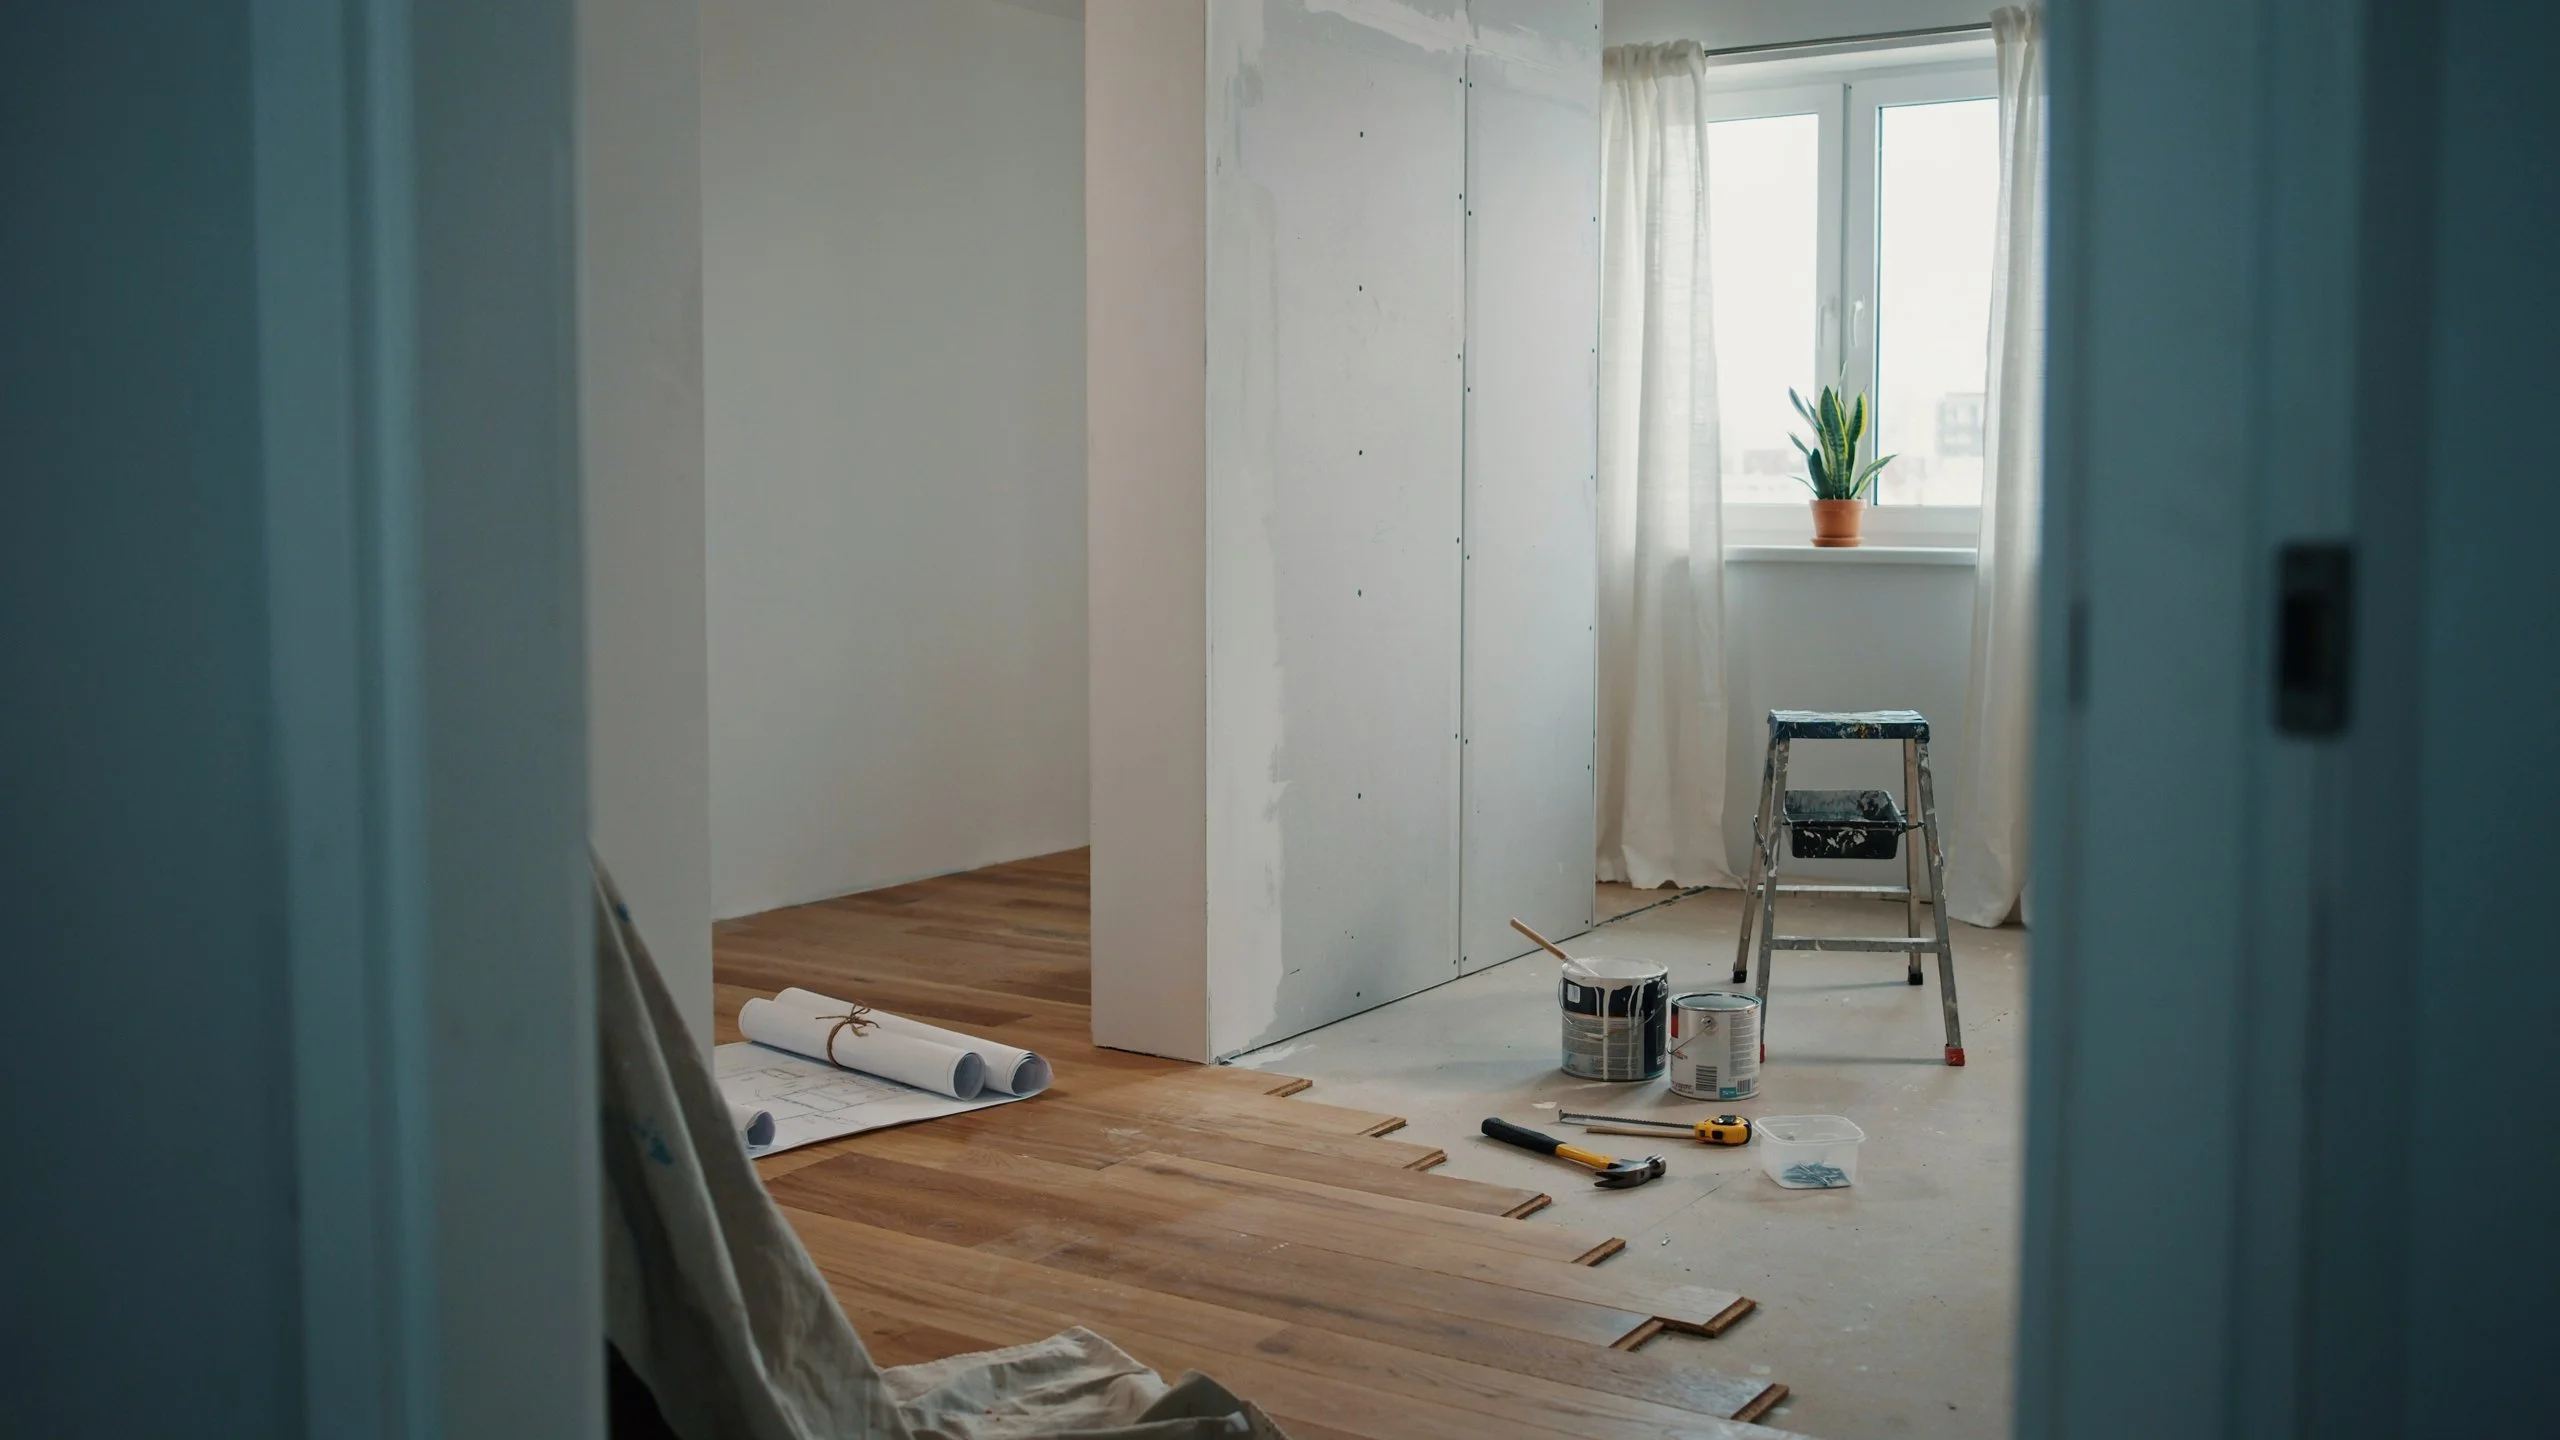
Should You DIY or Hire a Professional?
Painting wood paneling yourself is a realistic weekend project if you have basic tools and patience for the prep work. Most homeowners can handle a single room without much trouble.
Hire a professional if you have a large area, water-damaged panels, or old lead paint that needs safe removal. A pro also makes sense if you want a flawless finish without spending your weekend on sanding and taping.
If you’re in Southern California, house painters San Diego from San Diego Home Remodeling handle paneling prep, priming, and painting with the right products for lasting results. Getting a quote first is a smart way to compare real DIY versus hiring costs.
Do You Need to Sand Wood Paneling Before Painting?
In most cases, yes. Light sanding removes the glossy finish so primer can bond properly. If you’d rather skip sanding, a liquid deglosser does a similar job with less dust and mess. Either method works, but skipping both steps almost always leads to paint that peels or scratches off easily.
How Long Does It Take to Paint Wood Paneling?
A single room usually takes one full weekend from start to finish. Cleaning and sanding take a few hours, primer needs a full day to cure, and two coats of paint with drying time between them take another day. Rushing any of these steps is the fastest way to end up with a poor result.
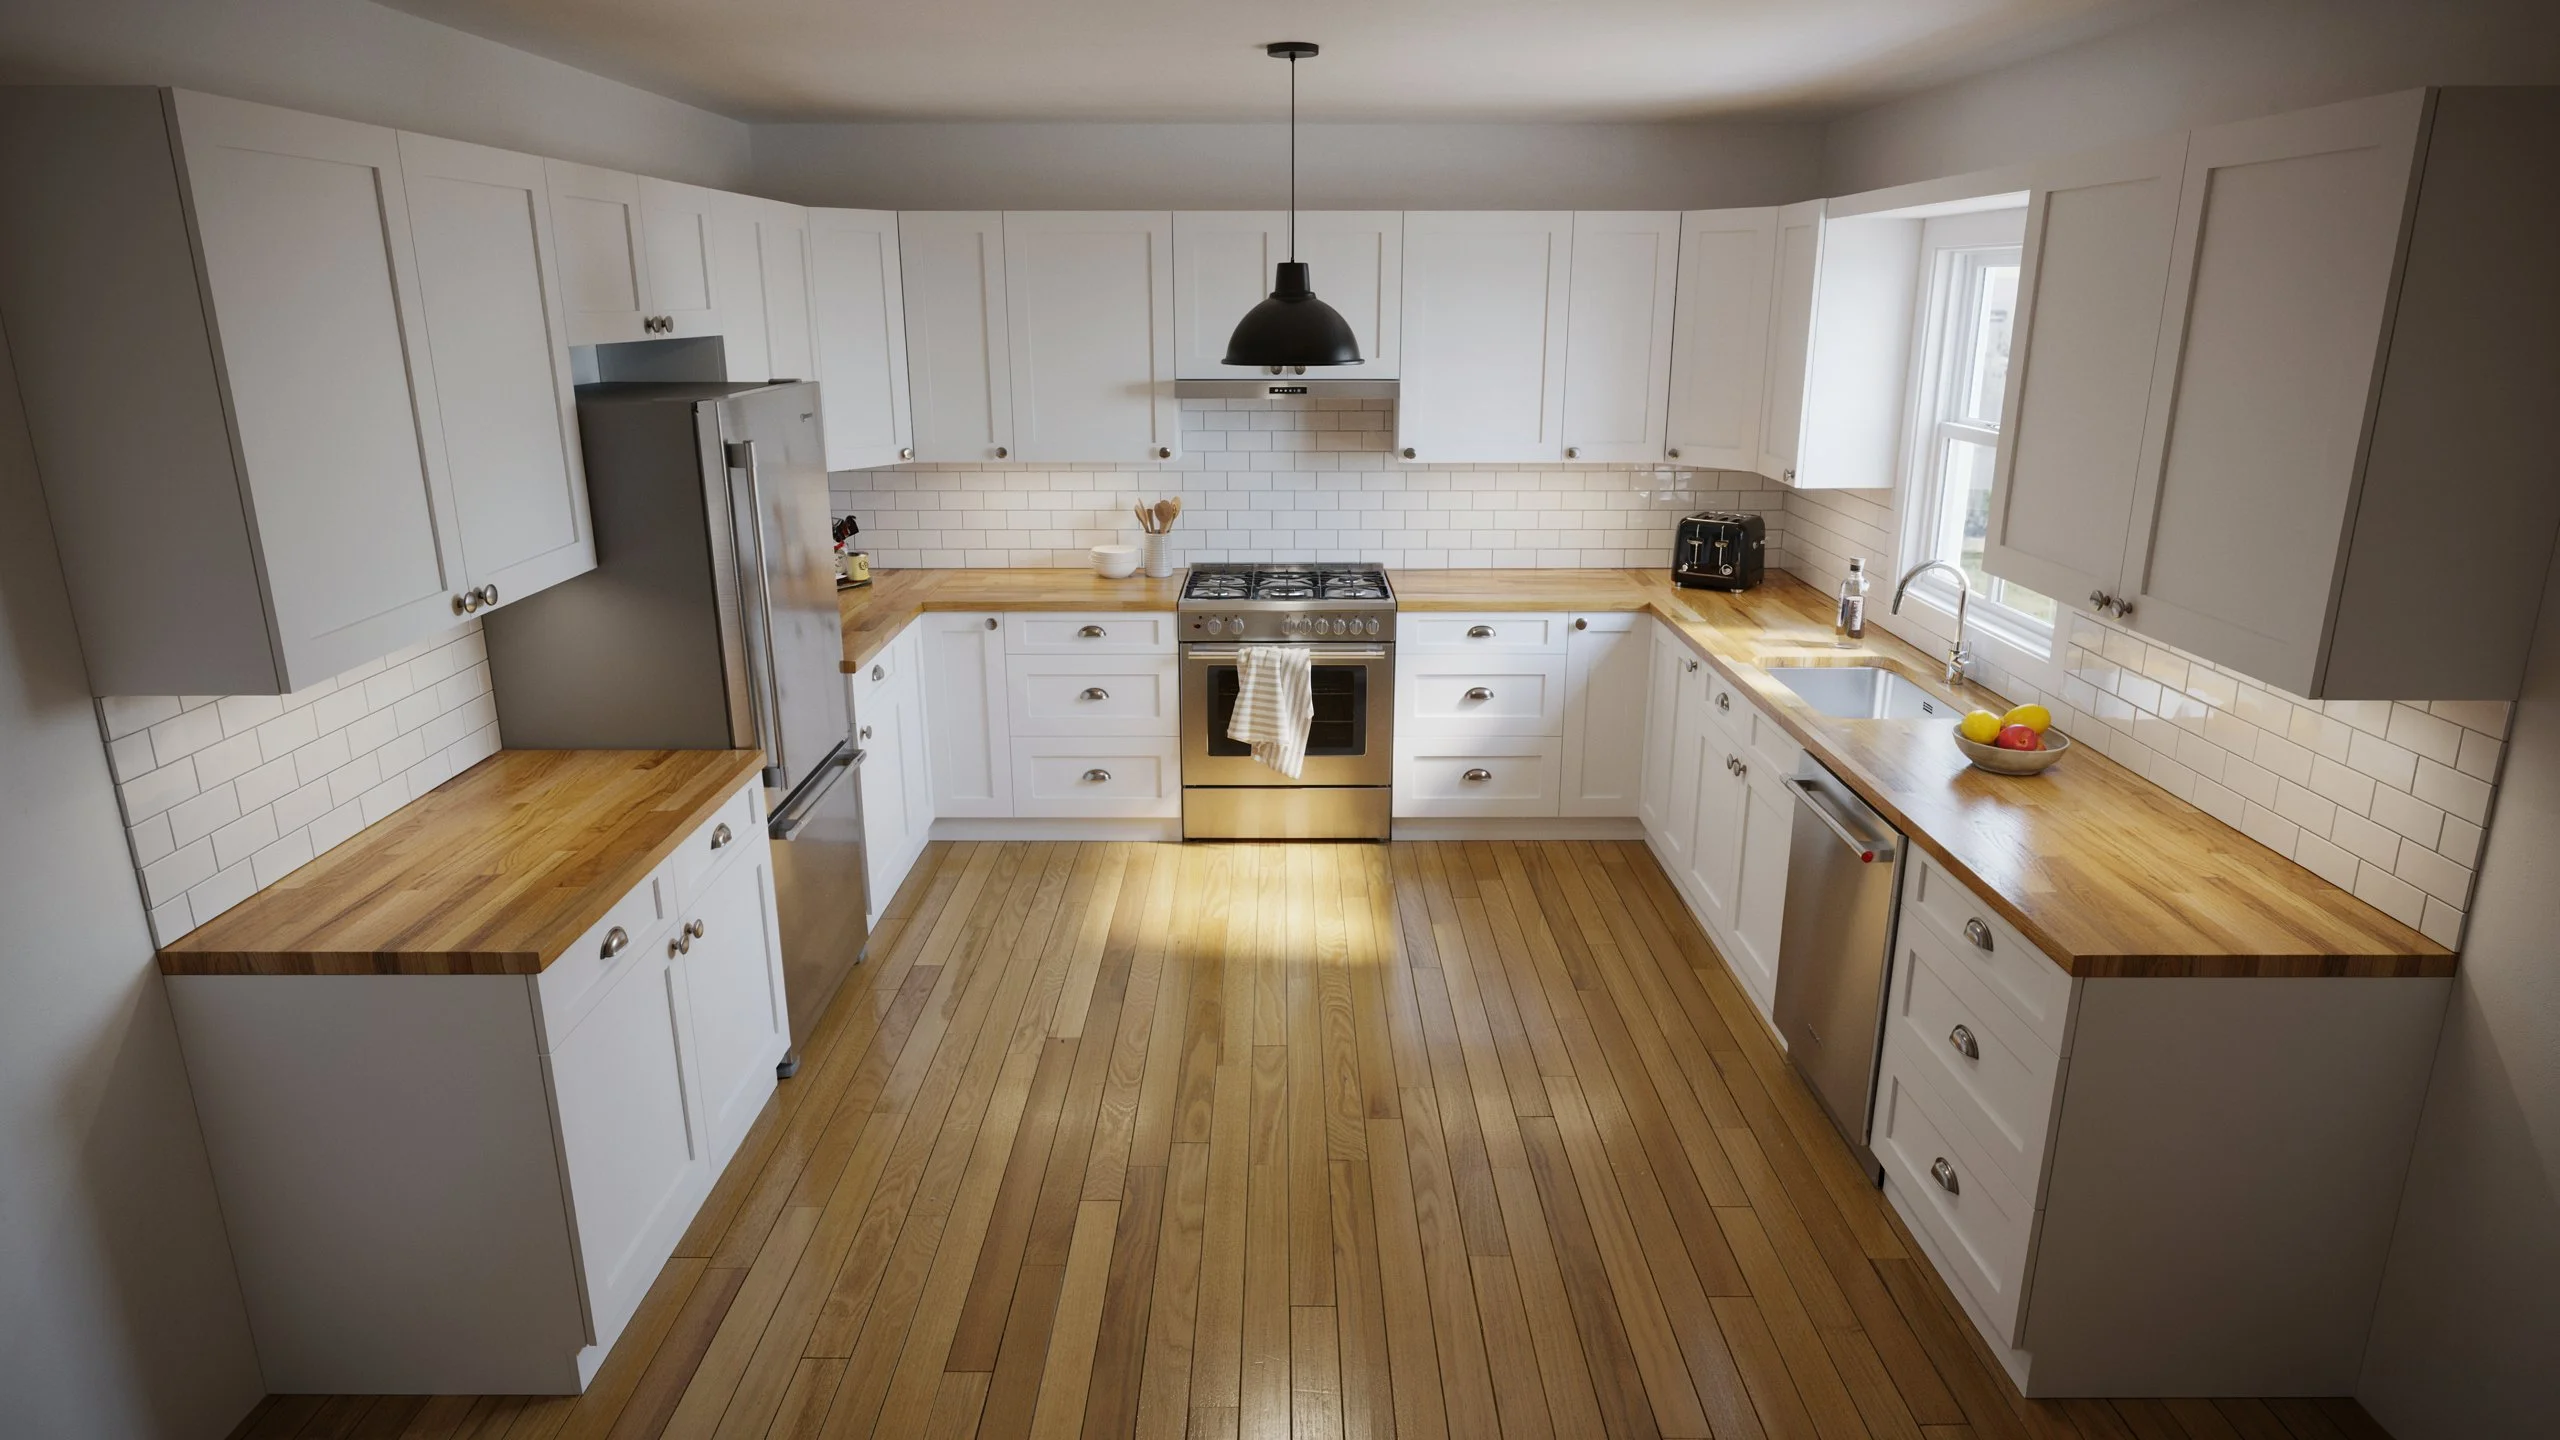
Conclusion
Learning how to paint wood paneling is one of the most affordable ways to update an outdated room. With proper cleaning, sanding, stain-blocking primer, and two coats of quality paint, your paneled walls can look brand new. Whether you paint wall paneling yourself or hire a professional, these steps will give you a finish that lasts for years, not months.
If you’d rather leave the job to experienced professionals, contact us today for expert painting services and a free consultation.
Frequently Asked Questions
Do I have to remove wood paneling before painting?
No. Part of learning how to paint wood paneling is knowing you can paint directly over it, as long as you clean, sand or deglos, and prime it first. Removal is only needed if the wood is damaged or rotting.
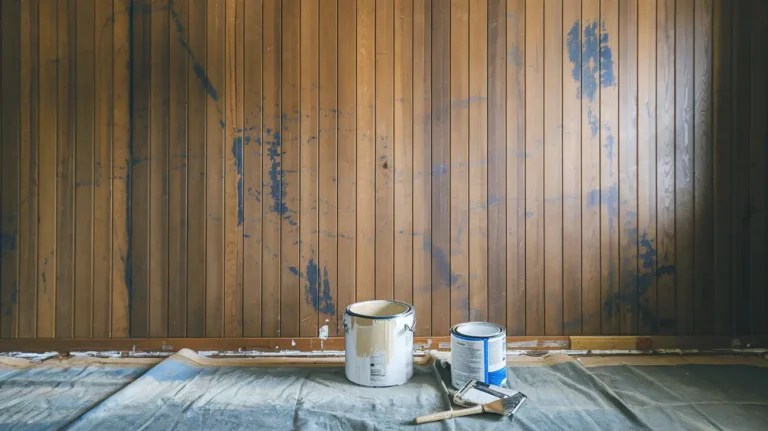
Can you paint over dark wood paneling without it bleeding through?
Yes, but only if you use a stain-blocking, oil-based or shellac-based primer. Regular latex primer often lets dark wood tones bleed through the topcoat.
How many coats of paint does wood paneling need?
Most paneling needs one coat of primer and two coats of paint for full, even coverage.
What is the best color for painted wood paneling?
Light, neutral colors like white, soft gray, or warm beige make rooms feel bigger and brighter. Darker colors work well as accent walls but can make small rooms feel closed in.
Does painting wood paneling increase home value?
Yes. Painted, updated walls typically appeal to more buyers than dated wood paneling, which can make a home feel older than it is.