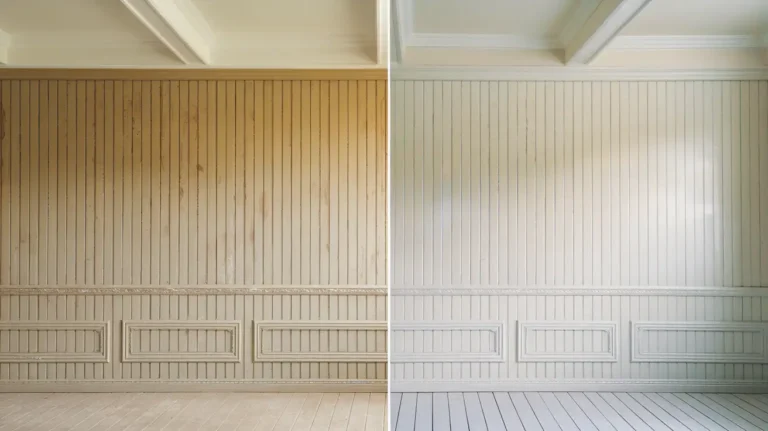
Removing old wood paneling can make a room feel dark and dated, but it’s a big, expensive job. Your room will look new and trendy in no time at all if you paint over wood paneling. The key to success is in the preparation, ensuring the new paint lasts for years without peeling or bleeding through stains.
This professional guide will show you how to paint wood paneling like an expert, focusing on the quality, methods, and supplies you’ll need for a great finish. We’ll talk about the specific steps you need to take to paint board walls, from fake wood from the 1970s to real wood.
Table of Contents
To Paint or Not to Paint?
Consider what kind of wood paneling you have before you paint it. Every time, it’s worth painting the cheap 1970s veneer paneling. It changes the space’s look right away and costs a lot less than taking it down.
You need to think more about real wood paneling. Paint covers solid hardwood, which is worth more than paint. Once you start, you can’t stop the procedure. During dry seasons, the wood may also get tiny cracks in the seams.
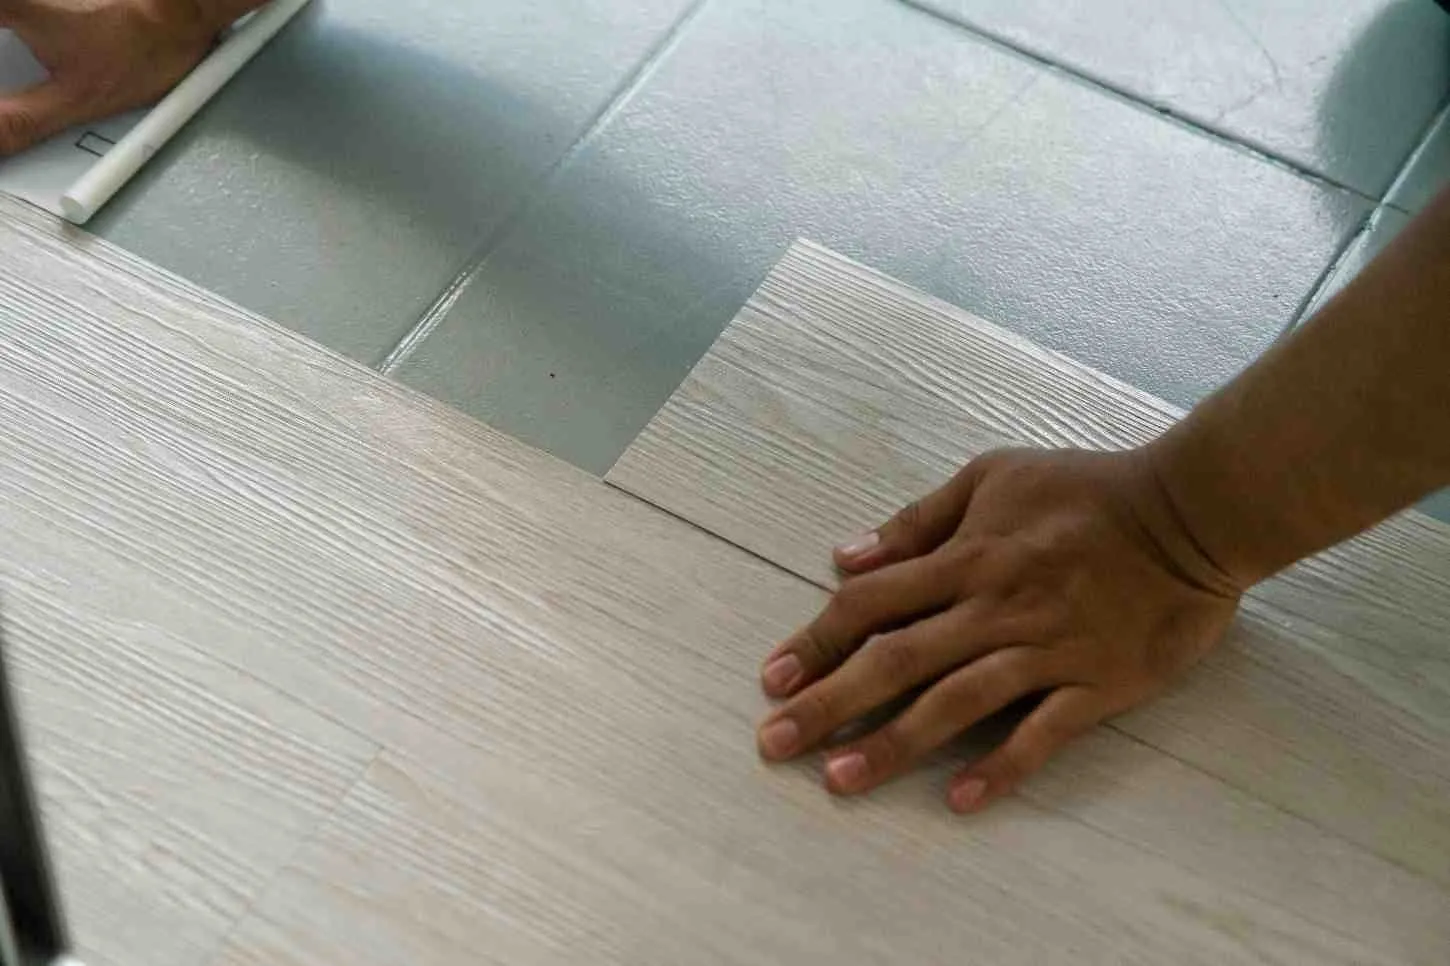
First, check what kind of paneling you have. Take off a piece of trim or an HVAC grate to see the edge. Veneer is a thin layer of wood that goes over a fiberboard. Real wood goes all the way through. Faux paneling feels like plastic and is smooth to the touch.
Most homeowners decide to paint since it costs $2 to $4 per square foot to have it removed. If you do it yourself, painting paneling in an average room costs less than $200. The cost of professional painting services in San Diego ranges from $300 to $800, depending on the size of the space.
Also, think about the style of your home. If you paint mid-century homes with original knotty pine, they may lose some of their charm. Ranch homes with cheap paneling walls go up in value when they are updated.
What You’ll Need
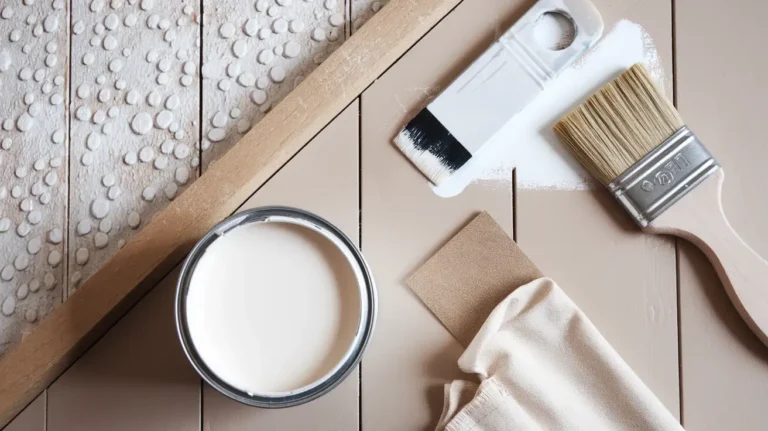
Gather these supplies before starting your project:
Cleaning Materials:
- TSP cleaner or degreasing solution
- Damp cloth for wiping
- Bucket and sponge
- Rubber gloves
Prep Tools:
- 150-grit and 220-grit sandpaper
- Sanding block or electric sander
- Putty knife or spackling knife
- Caulking gun
- Drop cloths
- Painter’s tape
- Safety goggles and dust mask
Filling Materials:
- Wood filler or wood putty
- Joint compound for paneling grooves
- Paintable caulk for seams
Painting Supplies:
- Oil based primer or stain blocking primer
- Interior latex paint (satin finish recommended)
- Paint roller with foam covers
- Quality paintbrush for edges
- Paint tray
- Stir sticks
Most rooms need one gallon of primer and one to two gallons of paint. Measure your wall square footage and follow can coverage guides. Budget $150 to $250 for all materials for an average bedroom.
Choosing the Right Paint and Primer for Wood Paneling
The best paint for wood paneling starts with proper primer selection. Your primer type matters more than your top coat for long-term results.
- For Laminate or Veneer Paneling: Use a bonding primer designed for glossy surfaces. These primers grip slick finishes that regular primers can’t hold. Look for products labeled for challenging surfaces.
- For Real Wood Hardwood Paneling: Choose a high-hiding, stain blocking primer. Real wood bleeds tannins through paint without proper blocking. Water based stain blockers work well for most hardwoods.
- For Cedar, Redwood, or Knotty Pine: Only oil based primer stops tannin bleed from these woods. Knotty pine needs special attention since knots seep through multiple paint coats. Apply extra primer on knots directly.
- For Melamine or Fake Wood Paneling: Lightly sand first, then use a bonding primer. Paint over 1970’s fake wood paneling requires a good tooth for adhesion since the surface is extremely smooth.
The best paint for paneling is interior latex paint in a satin or semi-gloss finish. Satin hides imperfections better while still being washable. Semi-gloss works great for high-traffic areas or bathrooms where moisture is present.
Avoid flat paint on paneling. It shows every flaw and can’t be cleaned easily. High quality latex paint brands provide better coverage and durability than budget options.
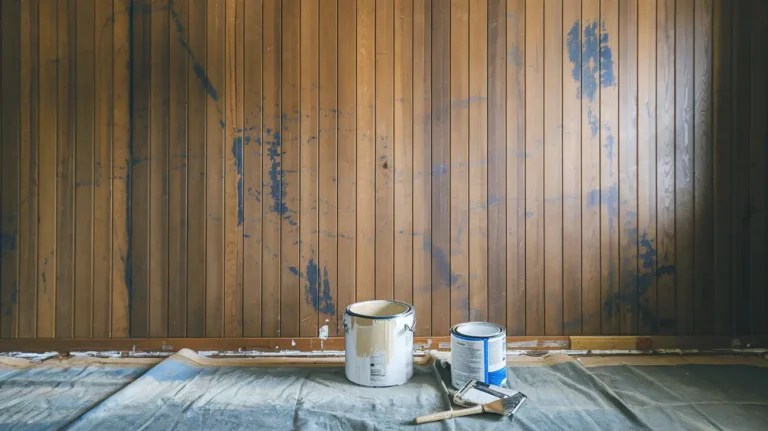
Preparing Wood Paneling for Painting
Proper prep determines your final result quality. Skip these steps and your paint will peel within months.
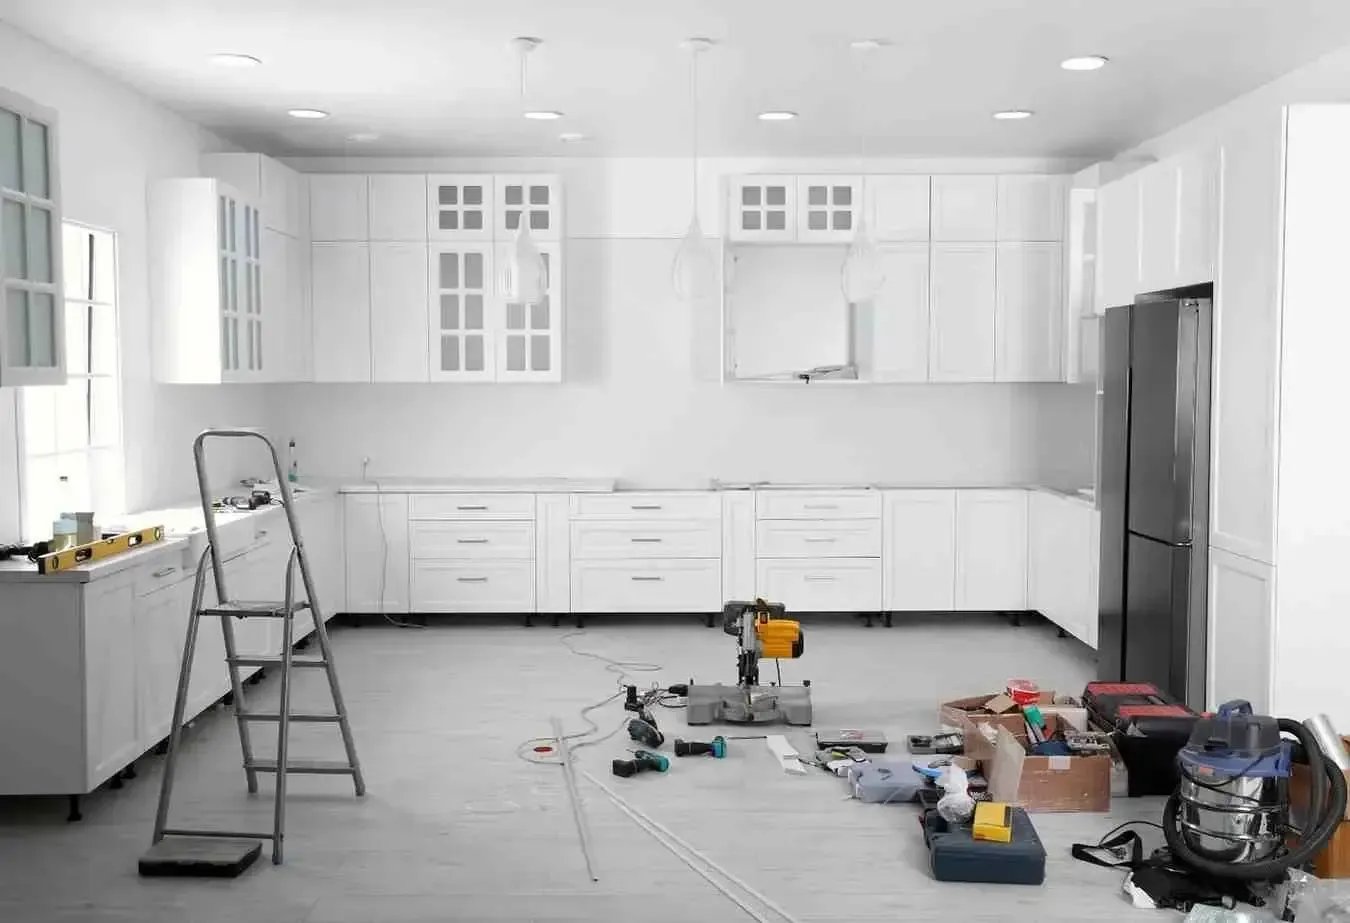
Step 1: Protect Your Space
Cover floors with drop cloths. Remove outlet covers and light switch plates. Tape off baseboards, crown molding, and trim if painting walls only. Move furniture to the center or out completely.
Step 2: Clean Thoroughly
Painting over wood paneling requires removing all grease, grime, and cleaning product buildup. Mix TSP cleaner according to package directions. Scrub every inch of paneling with a sponge. Decades of residue prevent paint adhesion.
Wipe everything down with a damp cloth after cleaning. Let the paneling dry completely for at least two hours. Touch the surface to confirm it’s dry before moving forward.
Step 3: Fill Holes and Damage
Apply wood filler to nail holes, dents, and scratches with a putty knife. Press firmly to fill completely. Scrape excess flush with the surface. Let dry per manufacturer instructions.
Fill larger gouges in layers. Deep holes need multiple applications with drying time between coats. Sand filled areas smooth once fully cured.
Step 4: Sand the Surface
Lightly and all paneling with 150-grit sandpaper. You’re not removing the finish completely. You’re just dulling the glossy surface so the primer can grip properly.
Use a sanding block for flat areas. Fold sandpaper for grooves and details. Sand in the direction of the wood grain to avoid scratches. Don’t sand through thin veneer layers.
Vacuum all dust thoroughly. Wipe down with a slightly damp cloth. Even tiny dust particles cause bumps in your final finish.
Step 5: Decide on Groove Treatment
Painting old wood paneling means choosing between keeping grooves visible or creating a smooth wall. Both options look great when done right.
For a smooth finish, fill grooves with joint compound for paneling. Apply with a putty knife, pressing the compound deep into grooves. Feather edges onto panel faces. Let dry for 24 hours, then sand smooth with 220-grit paper.
For visible grooves, skip filling. The dimensional look has returned to popularity in modern design. Just ensure grooves are clean and primed well.
Step 6: Caulk the Seams
Apply paintable caulk between panel seams, around windows, and where paneling meets trim. Caulk flexes as panels shift slightly over time. Joint compound cracks at seams, so always use caulk there.
Cut caulk tube tips at a 45-degree angle for neat beads. Smooth with a wet finger immediately after applying. Wipe excess before it dries.
How to Paint Wood Paneling Like Our Expert Painters Do
Professional technique makes the difference between amateur and expert results.
Step 1: Apply First Coat of Primer
Pour primer into your paint tray. Use a paintbrush to cut in around all edges first. Paint 2 to 3 inches from corners, ceiling lines, and trim. Brush into grooves thoroughly.
Load your paint roller evenly. Roll in W patterns across the wall. Don’t press too hard or you’ll create roller marks. Keep a wet edge to avoid lap marks. Check grooves for pooled primer and brush out immediately.
Let the first coat of primer dry completely. Most primers need 4 to 6 hours. Touch a hidden spot to test dryness.
Step 2: Spot Prime Problem Areas
Check for any bleed-through after the first primer coat. Knots, stains, or dark wood grain showing through need extra attention. Simply apply a second primer coat to those spots only.
Step 3: Sand Lightly Between Coats
Lightly sand the primed surface with 220-grit sandpaper. This creates the perfect tooth for your paint coat. Vacuum and wipe with a damp cloth again.
Step 4: Apply Second Coat of Primer
A second full coat of primer ensures even coverage and proper stain blocking. Follow the same cutting in and rolling technique. Let dry completely overnight for best results.
Step 5: Paint the First Top Coat
Finally, the color goes on. Pour your latex paint into a clean tray. Cut in all edges with a quality brush. Roll walls in the same W pattern as priming.
Work in 4-foot sections to maintain wet edges. Overlap slightly into wet areas to blend. Roll vertically for your final pass to match typical wall texture.
Paint wood panel walls using this same approach on all surfaces. Consistency matters for even appearance.
Step 6: Apply Second Coat of Paint
Wait for the first coat of paint to dry per can instructions. Usually 4 hours minimum, but overnight is better. Apply your second coat using identical technique.
Two coats provide full coverage and hide any remaining wood grain show-through. Dark paneling under light paint colors may need a third coat.
Let the final coat cure for 24 hours before replacing outlet covers or moving furniture against walls.
Tips for Painting Different Types of Paneling
- Painting Veneer Paneling: Never sand aggressively. You’ll cut through the thin wood layer and expose ugly fiberboard underneath. Use chemical deglosser instead of heavy sanding when possible.
- Painting Real Wood Paneling: Expect some grain to show through even with primer. This adds character rather than looking bad. Use a wood conditioner before priming if working with raw wood.
- Painting Wood Panel Walls in Basements: Address moisture issues first. Paint won’t stick to damp surfaces. Use mold-killing primer if any mildew is present. Consider semi-gloss paint for easier cleaning.
- Painting Paneling Walls with Grooves: Use a small brush to push primer and paint deep into grooves. Foam rollers work better than traditional rollers for textured surfaces. They don’t leave as many stipple.
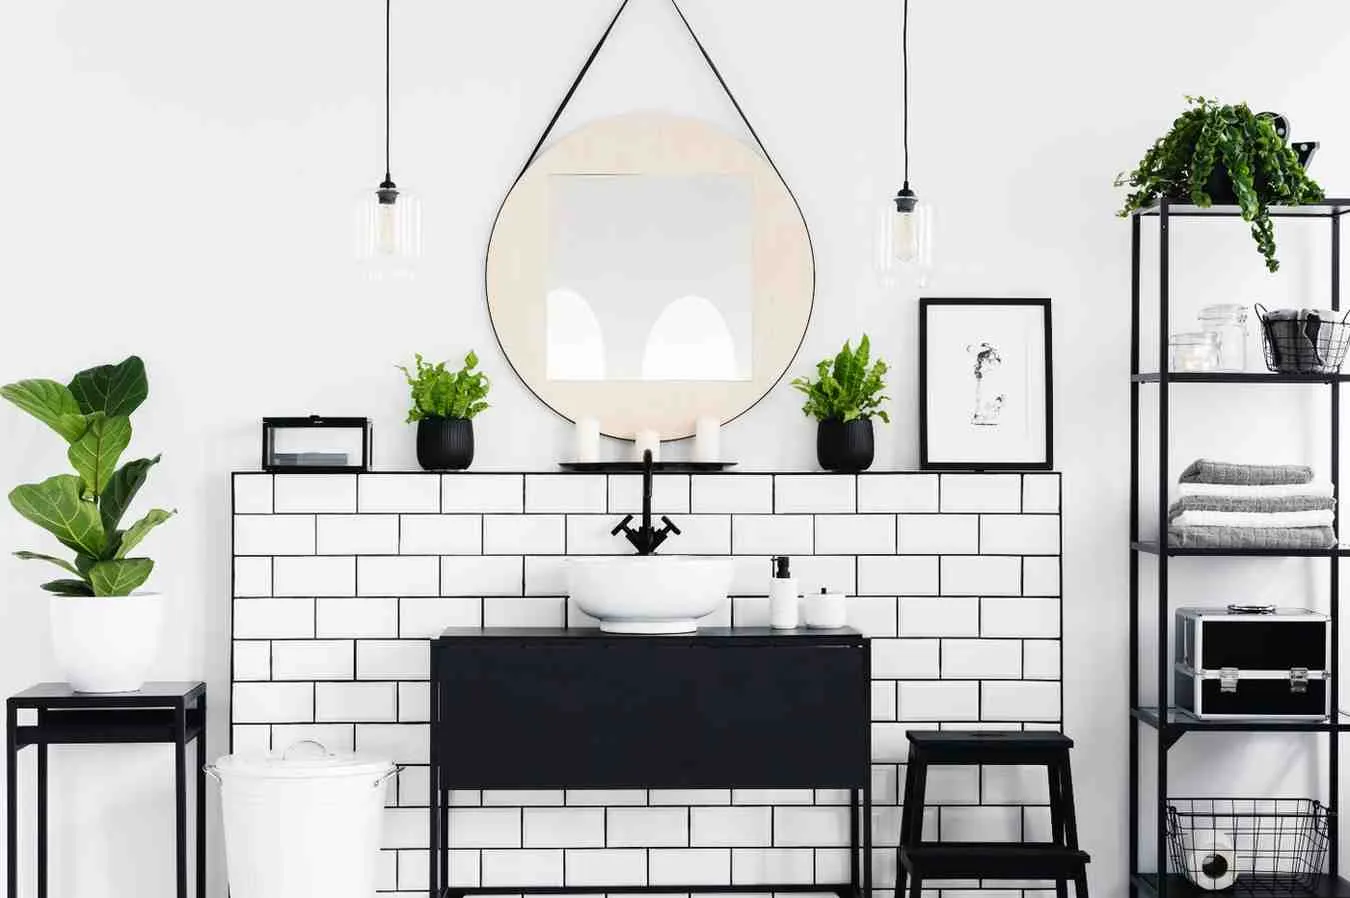
- Painting Paneling in High-Moisture Rooms: Bathrooms and kitchens need mildew-resistant paint formulas. Add extra ventilation during drying. Semi-gloss or satin finishes clean up easier than flat.
Common Challenges and Solutions for Painting Wood Paneling
Challenge: Paint Won’t Stick
Solution: The surface wasn’t properly cleaned or deglossed. Strip the fresh paint, clean with TSP, sand thoroughly, and start over with proper primer.
Challenge: Knots Bleeding Through
Solution: Spot prime knots with shellac-based primer. Let dry, then apply your regular oil based primer over the entire surface. Two barrier coats stop tannin bleed.
Challenge: Roller Marks Showing
Solution: You’re pressing too hard or using cheap rollers. Use quality foam roller covers. Roll with light pressure in consistent patterns. Maintain wet edges.
Challenge: Grooves Filled But Still Visible
Solution: Joint compound shrinks as it dries. Apply a second coat after the first dries. Sand smooth between coats. Three thin coats work better than one thick coat.
Challenge: Paint Cracking at Seams
Solution: You used joint compound instead of caulk at panel seams. Scrape out the compound and replace with a paintable caulk. Caulk flexes with panel movement.
Challenge: Brushstrokes Showing in Cut Lines
Solution: Use a better quality brush. Cheap brushes leave visible marks. Feather cut lines into rolled areas while both are still wet. Work in smaller sections.
Challenge: Uneven Sheen or Color
Solution: Coverage wasn’t consistent. You either skipped primer or applied paint too thin. Add another coat of paint ensuring even coverage throughout.
Enjoy the Look of Your Freshly Painted Wood Paneling
Painted wood paneling can completely transform a room. Dark and old rooms are made bright and up to date. The work and materials put in will pay off right away in the value and enjoyment of the house.
The new finish should last 5 to 7 years before needing repair. Getting ready ahead of time stretches this timeline. To keep the look, wipe down the walls occasionally with a damp cloth.
Change the trim color to match the new paint on your paneled walls. Putting colored walls up against white trim makes a clean, modern difference. Trim and walls in the same color make rooms look smoother and bigger.
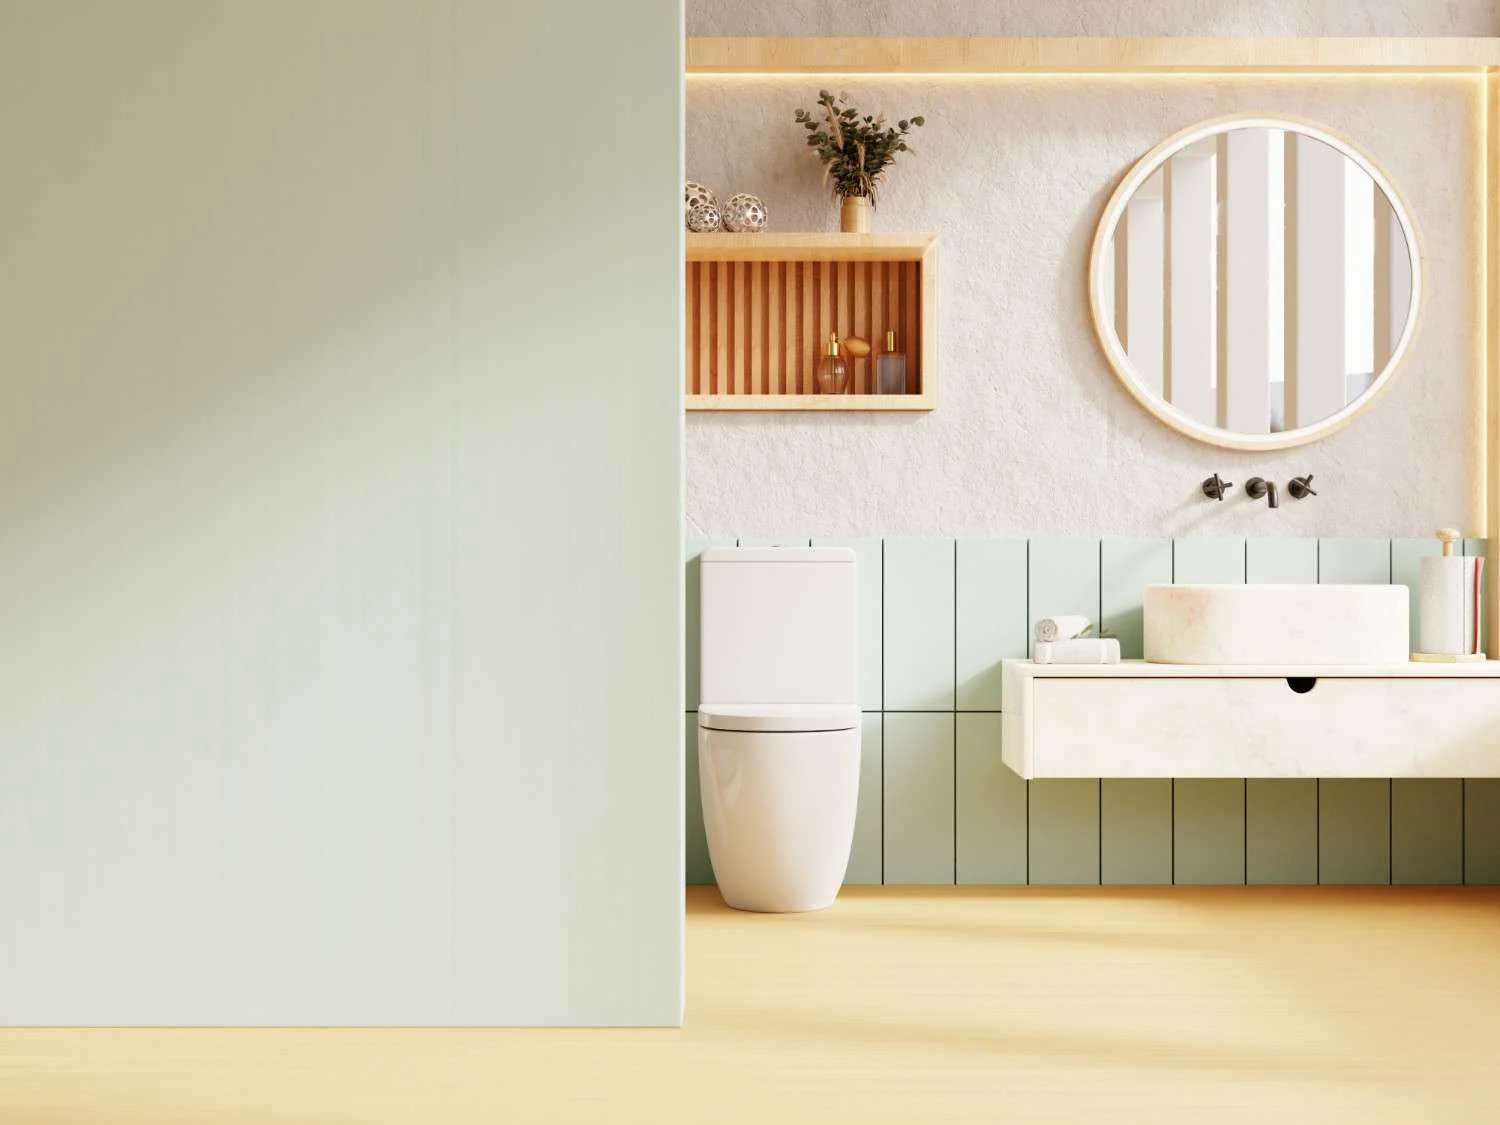
To finish the room’s makeover, add new light fixtures, artwork, and decorations. Everything else stands out against the new background.
Final Words
Learning how to paint wood paneling gives you the skills to update any room in your home. The process takes time and careful prep work, but results rival professional quality when done right. Most homeowners complete a standard room in a weekend.
The key is proper preparation and using the right materials for your paneling type. Don’t skip cleaning, priming, or between-coat sanding. These steps determine whether your paint lasts years or fails in months.
If you’re in San Diego and prefer professional results without the DIY hassle, San Diego Home Remodeling offers expert painting services in San Diego. Our team has transformed hundreds of homes with painted paneling that looks factory-fresh. We handle everything from prep to final touches.
Whether you tackle this project yourself or hire professionals, updating old paneling brings new life to your space. The dramatic before-and-after difference makes this one of the most satisfying home improvement projects you can complete.
Frequently Asked Questions
Can you paint directly over paneling?
No. You should never simply apply paint directly. To ensure a durable, long-lasting finish, you must first clean, lightly sand, and apply a coat of primer. Skipping this prep will result in peeling or stains bleeding through.
What is the best way to paint wood paneling without sanding?
The best paint for paneling without sanding is a specialty bonding primer. This primer paint for wood paneling is designed for superior adhesion to glossy surfaces. You must still clean thoroughly with a degreaser.
Do you need to fill in the grooves when painting wood paneling?
You do not have to. If you want a smooth wall look (like drywall), then fill the grooves with joint compound for paneling. If you want to keep the plank look, fill only the seams and major cracks with caulk.
What kind of paint do you use on wood paneling?
An acrylic-latex paint is generally the best paint for wood paneling. It is easy to clean and flexible. Choose a satin or semi-gloss sheen for the best durability and light reflection.