May 9, 2025/
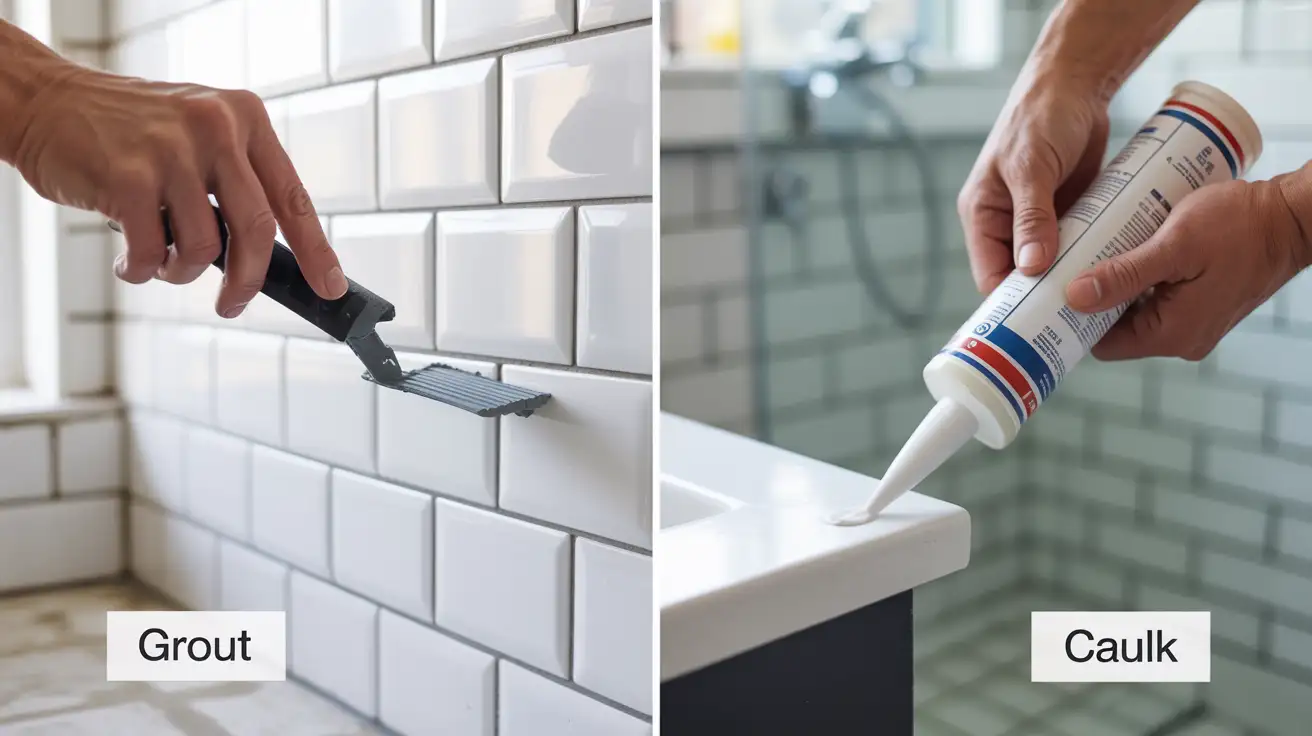
When starting a tile project or fixing up areas like the bathroom or kitchen, many homeowners get confused between grout...

When starting a tile project or fixing up areas like the bathroom or kitchen, many homeowners get confused between grout...
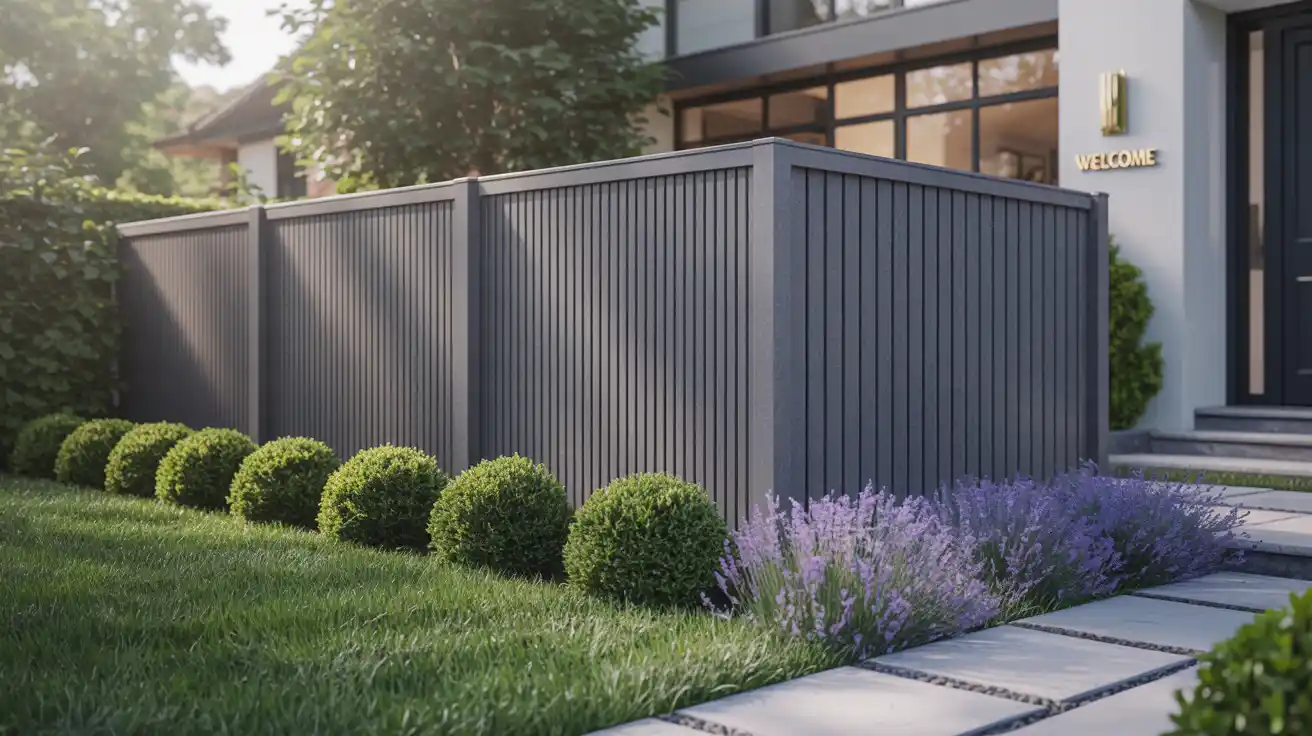
If you are thinking about adding privacy, security, or curb appeal to your property, you likely want to know how...
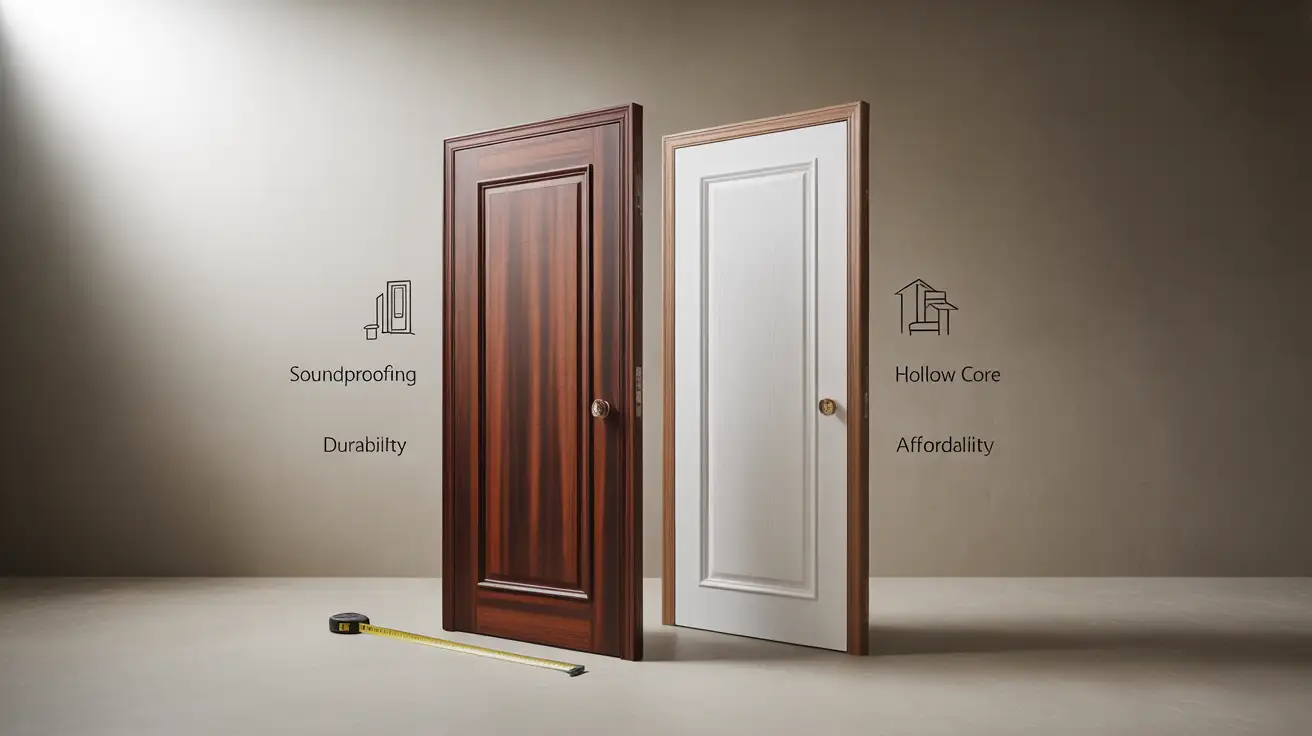
Choosing the right interior doors isn’t just about looks, it’s about how they perform in your home every day. From...
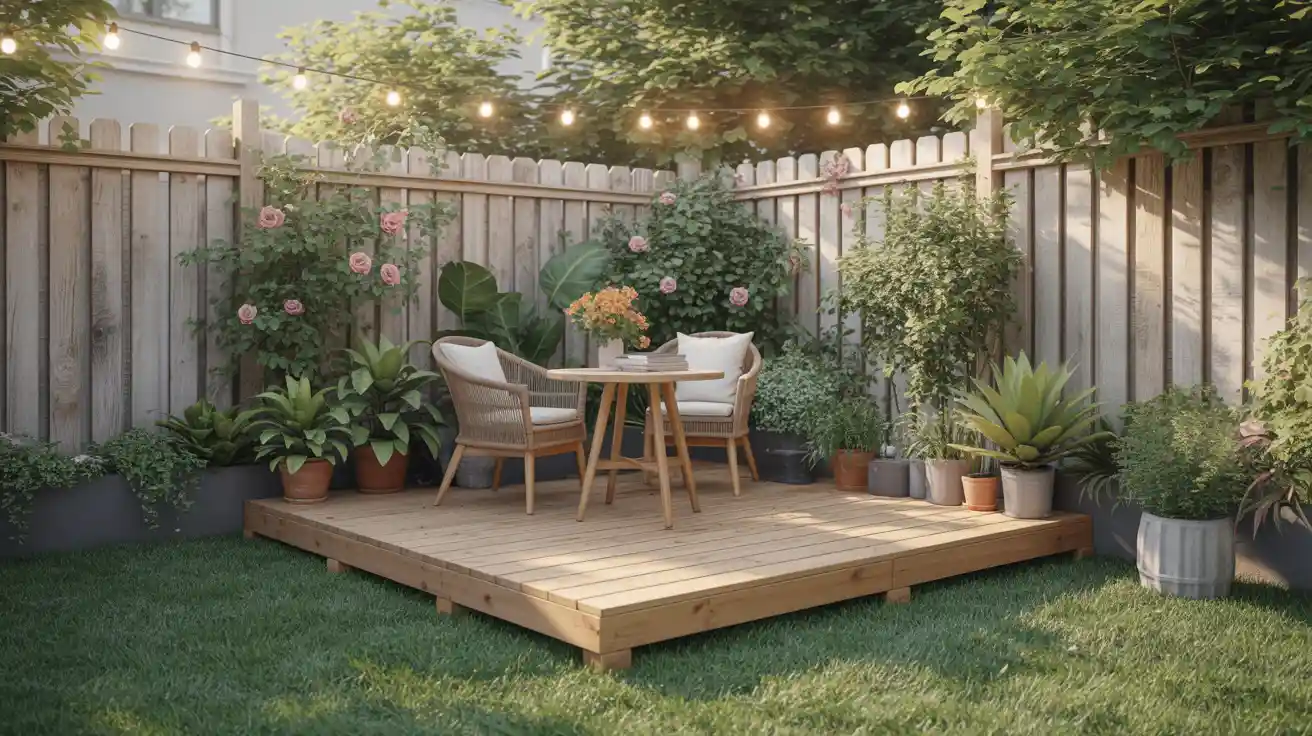
Want to improve your garden without having to dig big holes or pour concrete? You can build a floating deck...

The average cost of drywall restoration for households is roughly $300, but it can range from $75 to $880. It...

Ever stood there staring at a blank wall, wondering where the heck the stud is? Yep—been there. If you’re asking,...

A shim is a thin, wedge-shaped piece of material used to fill gaps and make slight adjustments between surfaces. Shims...

When you invest in a beautiful oil painting for your home, the first thing you want to do is hang...

Can you paint pressure treated wood? The direct answer is yes, absolutely, but only if you follow a crucial rule:...

