Proper painting technique is important, but a true professional knows the real secret to flawless walls is a clean, well-maintained set of tools. Learning how to clean paint rollers correctly is the single most valuable skill you can master to save significant money on supplies.
Quality roller covers from brands like Purdy or Wooster can handle 3 to 4 paint jobs when cleaned properly. This guide walks you through the exact steps for both water-based and oil-based paint. You’ll discover which tools work best, common mistakes that ruin rollers, and storage tricks that keep your equipment ready for years.
Table of Contents
Key Points to Clean Paint Rollers
- Remove excess paint first.
- For water-based paint, wash with warm water and soap.
- For oil-based paint, use mineral spirits then soap and water.
- Dry rollers upright to protect the nap.
- Store clean rollers in plastic or sealed bags.
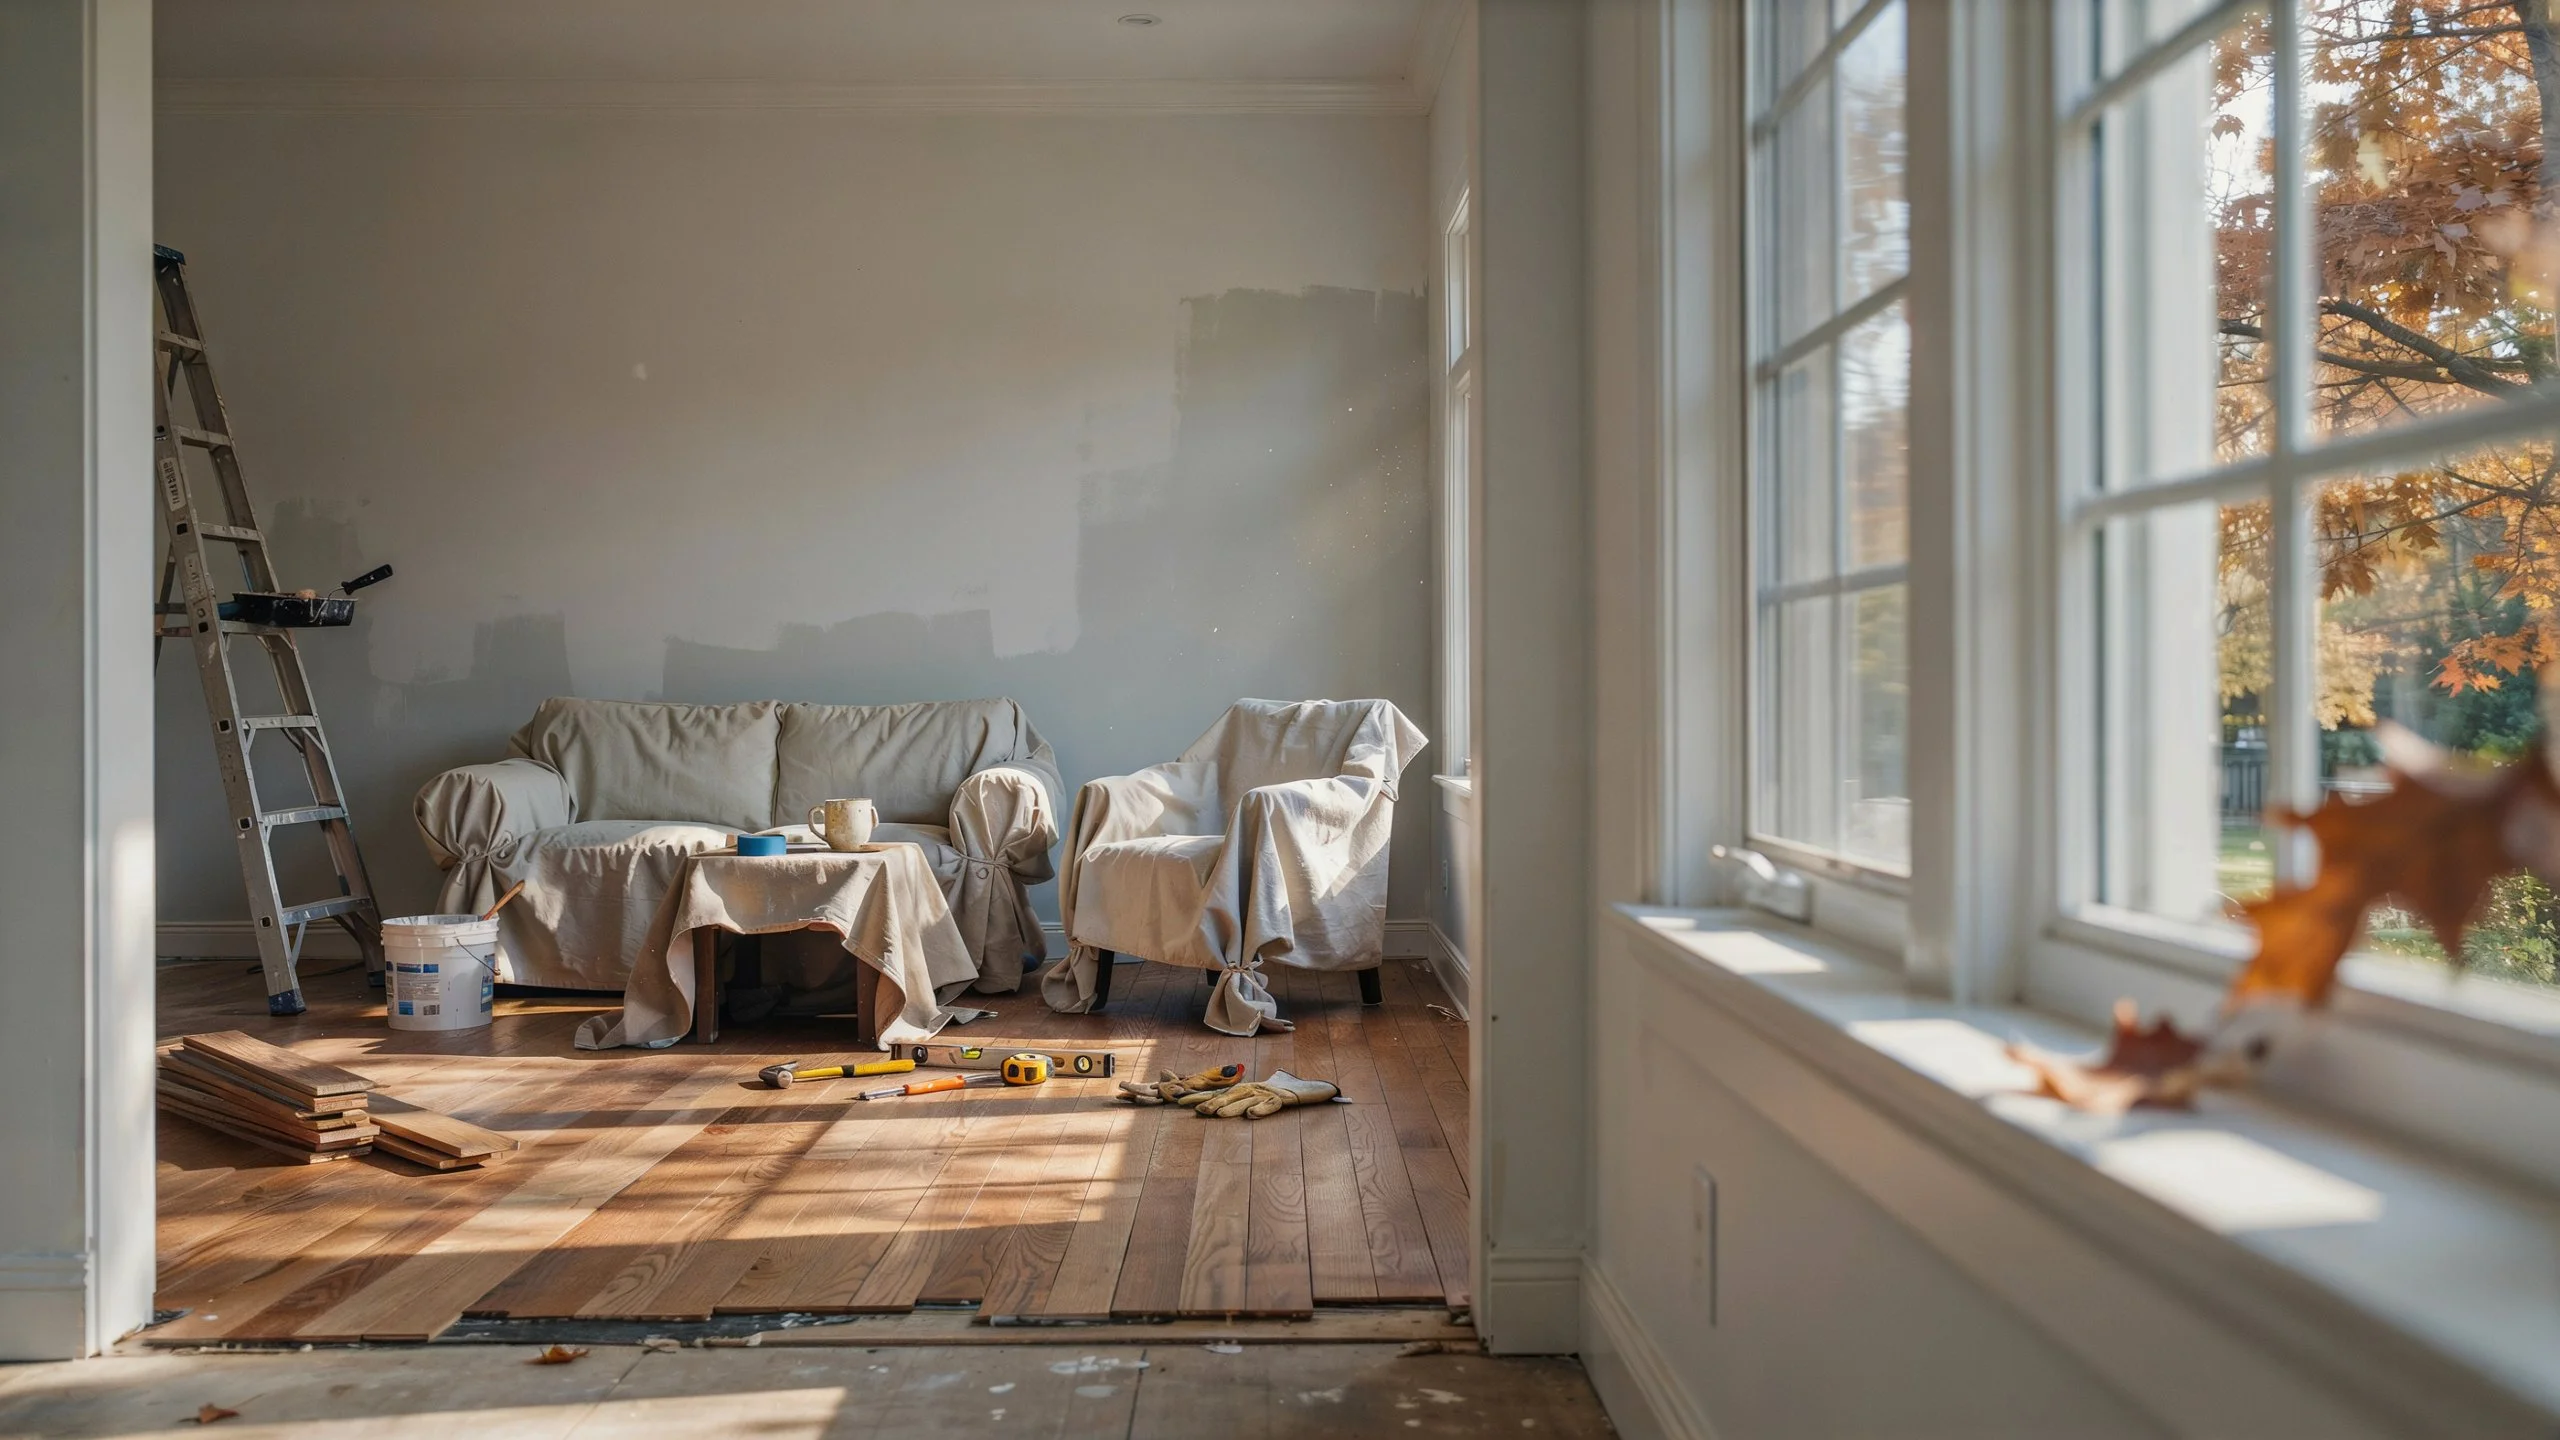
Roll With It: The Key to Smoother Walls and Cleaner Tools
Nobody enjoys scrubbing paint equipment. But throwing away a $15 roller after each project adds up fast. A single quality roller cover can last through multiple rooms when you clean it correctly.
Dirty tools cause problems beyond wasted money. Old paint trapped in roller fibers creates texture issues on your next job. Those bumps and streaks you see on restaurant bathroom walls? That’s usually dried paint from a reused roller that was never cleaned properly.
Professional painters clean their equipment after every shift. They know clean tools produce better results and last longer. The process takes less time than driving to the hardware store for replacements.
How to Clean a Paint Roller (Quick Answer)
Short on time? Here’s the fast method for cleaning paint rollers:
- For latex or water-based paint: Scrape off excess paint with a putty knife. Fill a bucket with warm water and add a few drops of dish soap. Submerge the roller and work the paint out with your hands. Rinse under running water until it runs clear. Shake out excess water and stand the roller upright to dry.
- For oil-based paint: Scrape the roller clean first. Soak it in mineral spirits for 5 to 10 minutes, squeezing the solvent through the fibers. Move to fresh mineral spirits for a second rinse. Finish with a soapy water wash and final rinse.
- Taking a break mid-project? Wrap the wet roller in plastic wrap or seal it in a plastic bag. Store in your refrigerator for up to two days. The paint stays workable and you skip the cleanup until you’re done painting.
Reasons Why It's Beneficial to Clean Paint Rollers
Your wallet thanks you when you reuse roller covers. A quality sleeve costs $8 to $15. Multiply that across several rooms and you’ve spent enough for a nice dinner out.
Clean equipment delivers professional results. Fresh paint glides on smooth when your roller is free of dried chunks. Dirty tools leave visible marks that show through even after multiple coats.
Think about the environment too. Reusing rollers reduces landfill waste. Americans throw away millions of paint applicators yearly. Cleaning yours makes a small but real difference.
Time matters on big projects. Running to the store for new supplies stops your momentum. A clean roller sitting in your garage means you can start painting immediately next time.
Tools and Materials You'll Need to Clean Paint Rollers
Gather these items before you start the cleaning process:
Tools:
- Two 5-gallon buckets (one for oil-based paint cleanup)
- Putty knife or paint roller cleaner squeegee
- Stiff wire brush for frames
- Rubber gloves for hand protection
- Safety glasses when handling solvents
- Plastic wrap or resealable bags
Materials:
- Dawn or similar dish soap
- Warm water from your utility sink
- Mineral spirits or paint thinner for oil-based finishes
- Clean rags or old towels
- Newspaper or cardboard for rolling off paint
- Spinner tool (optional but speeds up the process)
Having everything ready prevents mid-cleanup trips to the store. Washing paint rollers goes much faster when your supplies are within reach.
Get to Know Your Paint Type Prior to Beginning
Check your paint can label before you start cleaning. Using the wrong method damages roller covers and wastes your time.
- Latex-based or water-based paint cleans up with simple soap and water. Most interior wall paints fall into this category. These dry faster and pose fewer health risks. Room temperature water works fine, though warm water speeds things up.
- Oil-based paint requires mineral spirits or paint thinner to break down properly. These paints are common for trim work, cabinets, and exterior surfaces. Water alone won’t remove the paint. You need chemical solvents and proper ventilation.
The cleanup method depends entirely on paint type. Latex paint responds to water. Oil-based needs solvents. Using water on oil-based paint just spreads the mess around.
How to Clean Paint Rollers After Using Latex or Water-Based Paint
Water-based finishes are the easiest to clean. Act before the paint dries for best results.
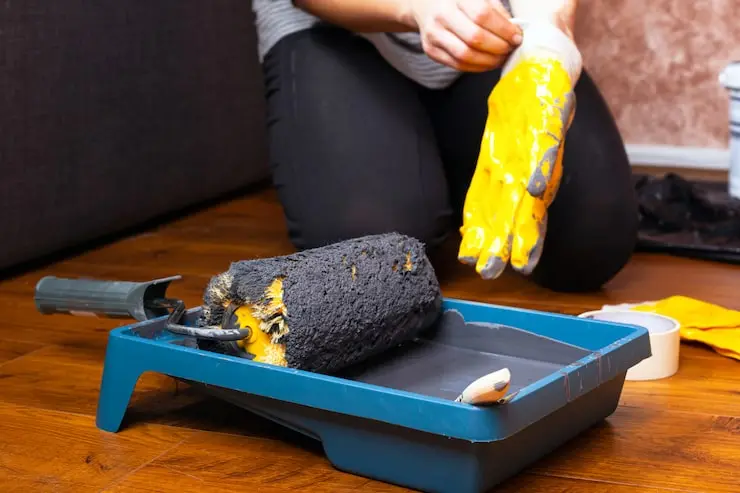
Step 1: Remove Excess Paint
Hold your roller over the paint can. Use a putty knife or 5-in-1 tool to scrape paint back into the container. You can also roll the sleeve onto cardboard or newspaper to squeeze out extra paint. Less paint on the roller means faster cleanup.
Step 2: Take Off the Roller Cover
Slide the roller covering off the frame carefully. Set the frame aside for separate cleaning. This prevents water from getting into the frame’s bearings.
Step 3: Wash in Soapy Water
Fill a bucket with warm water and add three to four drops of dish soap. Don’t overdo the soap too much and create hard-to-rinse suds. Push the roller under water and massage the fibers with gloved hands. Work from the center outward to force paint from deep in the nap.
Step 4: Rinse the Roller Thoroughly
Hold the roller under running warm water. Squeeze and rotate it as water flows through. Keep rinsing until water runs completely clear with no paint traces. This usually takes 3 to 5 minutes of steady rinsing.
Step 5: Dry It Properly
Shake the roller hard to remove excess water. Stand it upright on its end or hang it from a wire. Never lay rollers flat while drying. Flat storage crushes the nap and ruins the roller’s texture. Let it air dry completely before storing damp rollers to grow mold.
How to Clean Paint Rollers After Using Oil-Based Paint
Oil-based finishes require more effort but the same basic approach works.
Step 1: Scrape Away Excess
Remove as much paint as possible before using solvents. Scrape with your putty knife and roll onto scrap cardboard. Less paint in the roller means less solvent needed.
Step 2: First Mineral Spirits Soak
Pour mineral spirits into a bucket enough to submerge the roller completely. Wear rubber gloves and work in a well-ventilated space. Push the roller into the solvent and squeeze it repeatedly for 5 to 10 minutes. The liquid will turn cloudy with paint.
Step 3: Second Solvent Rinse
Move the roller to a second bucket with clean mineral spirits. Squeeze out the dirty solvent into the first bucket. Work the fresh solvent through the fibers. This second rinse removes paint the first soak loosened.
Step 4: Soap and Water Wash
Once most paint is gone, wash the roller in warm soapy water. This removes remaining solvent and any final paint traces. Rinse under running water until clean.
Step 5: Safe Solvent Disposal
Pour used mineral spirits into a labeled container with a tight lid. Never dump solvents down drains or onto the ground. Contact your local waste management for proper disposal locations. Used solvent-soaked rags are flammable and store them in water or approved containers until disposal.
How to Clean the Roller Frame and Paint Tray
Don’t skip cleaning your roller frame and paint tray. Dried paint on these tools causes problems on your next project.
Cleaning the Frame:
The roller frame needs attention too. Fill a bucket with warm soapy water and scrub the frame with a stiff wire brush. Pay special attention to the curved ends where the roller sits. Paint builds up in these corners quickly. Rinse the frame and let it air dry completely before attaching a clean roller cover.
Cleaning the Paint Tray:
Empty leftover paint back into your can if it’s still usable. For dried paint, let it harden completely and peel it out. Scrub the tray with your brush in warm water. A putty knife helps lift stubborn dried spots. Many painters use disposable plastic liners in their trays. These peel out after each use and cut cleanup time in half.
Keep your bucket screen or tray grid clean too. Paint buildup on these surfaces transfers to your roller during loading.
What Not to Do When Cleaning Paint Rollers
Avoid these mistakes that damage roller covers or create bigger messes:
- Don’t wait. Clean while the paint is still wet. Even two hours of drying makes the job twice as hard. Dried paint requires harsh scrubbing that damages roller fibers.
- Don’t lay rollers flat to dry. Flat storage flattens the nap permanently. Your roller won’t hold paint properly on the next use. Always stand rollers upright or hang them.
- Don’t use too much soap. Three to four drops per bucket is plenty. Extra soap creates foam that takes forever to rinse out. The roller feels slippery even when clean.
- Don’t pour dirty water outside. Latex paint water goes down indoor drains connected to sewer systems only. Storm drains flow directly to rivers and lakes. Oil-based cleanup water requires hazardous waste disposal.
- Don’t force water into frame bearings. The metal parts rust quickly when wet. Remove the roller cover before washing to protect your frame.
How to Store Clean Paint Rollers for Long-Term Use
Proper storage extends roller life significantly. Clean rollers sit ready for your next project when stored correctly.
Let rollers dry completely in a well-ventilated area. This takes 24 hours for thick nap rollers. Damp storage causes mold and unpleasant odors that transfer to walls.
Once fully dry, wrap each roller in plastic wrap or slide it into a resealable plastic bag. This keeps dust and debris from settling into the fibers. Even clean-looking garage dust affects paint application.
Store wrapped rollers upright in a box or bin. Keep them in a cool, dry location away from extreme temperatures. Heat degrades roller materials over time.
Quality roller covers from Wooster or Purdy last through 3 to 4 complete paint jobs when cleaned and stored properly. Cheap foam rollers rarely survive one thorough cleaningtheir cardboard cores fall apart in water.
SD Custom Painting Company Knows Clean Tools Make Cleaner Walls
Mastering how to clean paint rollers is an essential skill. By investing a few minutes in cleaning your tools, you save money, reduce waste, and guarantee a professional finish on every surface. This level of care and detail is what separates a DIY attempt from a professional result.
But maybe you’d rather skip the painting altogether. San Diego Home Remodeling specializes in flawless interior and exterior finishes. Our team handles everything from color consultation to final cleanup. We maintain professional-grade equipment so every surface gets perfect coverage. Check out our painting services in San Diego for expert results without the hassle.
Professional painters know that quality tools and proper maintenance create lasting results. The same rollers clean your bedroom walls and backyard fence when you care for them correctly.
FAQs About Cleaning Paint Rollers
Is it worth cleaning paint rollers?
Yes, cleaning paint rollers saves significant money over time. Quality roller covers cost $8 to $15 each. Proper cleaning allows 3 to 4 reuses from a single cover. That’s $30 to $45 in savings. Clean rollers also produce smoother finishes because dried paint won’t create texture problems on your next job.
Can you reuse paint rollers multiple times?
Absolutely. High-quality roller sleeves from brands like Purdy or Wooster handle multiple projects when maintained properly. Cheap foam rollers with cardboard cores usually survive only one use because water destroys the glue holding them together. Invest in quality covers if you plan to reuse them.
How many times can you clean and reuse a paint roller?
Expect 3 to 4 full uses from properly cleaned roller covers. Some professionals get even more from premium sleeves. The nap gradually wears down with each project. Replace rollers when fibers become matted or start shedding during use.
What’s the best way to clean paint rollers quickly?
A paint roller cleaner spinner is the fastest method. Attach your clean roller to the spinner, place it in a tall bucket, and pump the handle. Centrifugal force throws water and paint out of the fibers in seconds. Repeat the soak-and-spin process until water runs clear. This cuts cleaning time by 70% compared to manual washing.
Can you save a paint roller with dried paint?
Sometimes. If paint is slightly dried but not rock-hard, soaking in warm water (latex) or mineral spirits (oil-based) for several hours might revive it. Completely hardened rollers are usually beyond saving. The dried paint never fully releases and creates bumps during application.
Do I need different cleaning methods for different roller materials?
The paint type matters more than roller material. Wool blend, microfiber, and synthetic rollers all clean the same way for their respective paint types. Foam rollers are more delicate and avoid aggressive squeezing that tears the foam surface.
How do you clean a paint roller without making a mess?
Work in a utility sink, bathtub, or outside with a hose. Use a tall 5-gallon bucket to contain spray when rinsing. Wear old clothes and rubber gloves. Remove excess paint before washing the less paint in your roller, the less mess during cleanup.
Should I use hot or cold water to clean paint rollers?
Warm water works best for latex paint. It helps break down paint particles without being hot enough to set the paint. Cold water works but takes longer. Avoid very hot water. It can damage roller adhesives and set some paint types permanently.
Can you clean oil-based paint from rollers without mineral spirits?
Not effectively. Oil-based paint requires a solvent to break down the oils. Water won’t touch it. Some painters use vegetable oil as a first step, then soap, but mineral spirits remain the most effective option. There are citrus-based solvents that work as alternatives if you want to avoid petroleum products.
Where do you dispose of dirty paint water?
Pour latex paint water down indoor drains connected to your municipal sewer system. This includes utility sinks, toilets, and bathtubs. Never use storm drains that flow directly to waterways. Oil-based cleanup requires hazardous waste disposal through your local waste management facility.